RENO'S GARAGE LIFT:
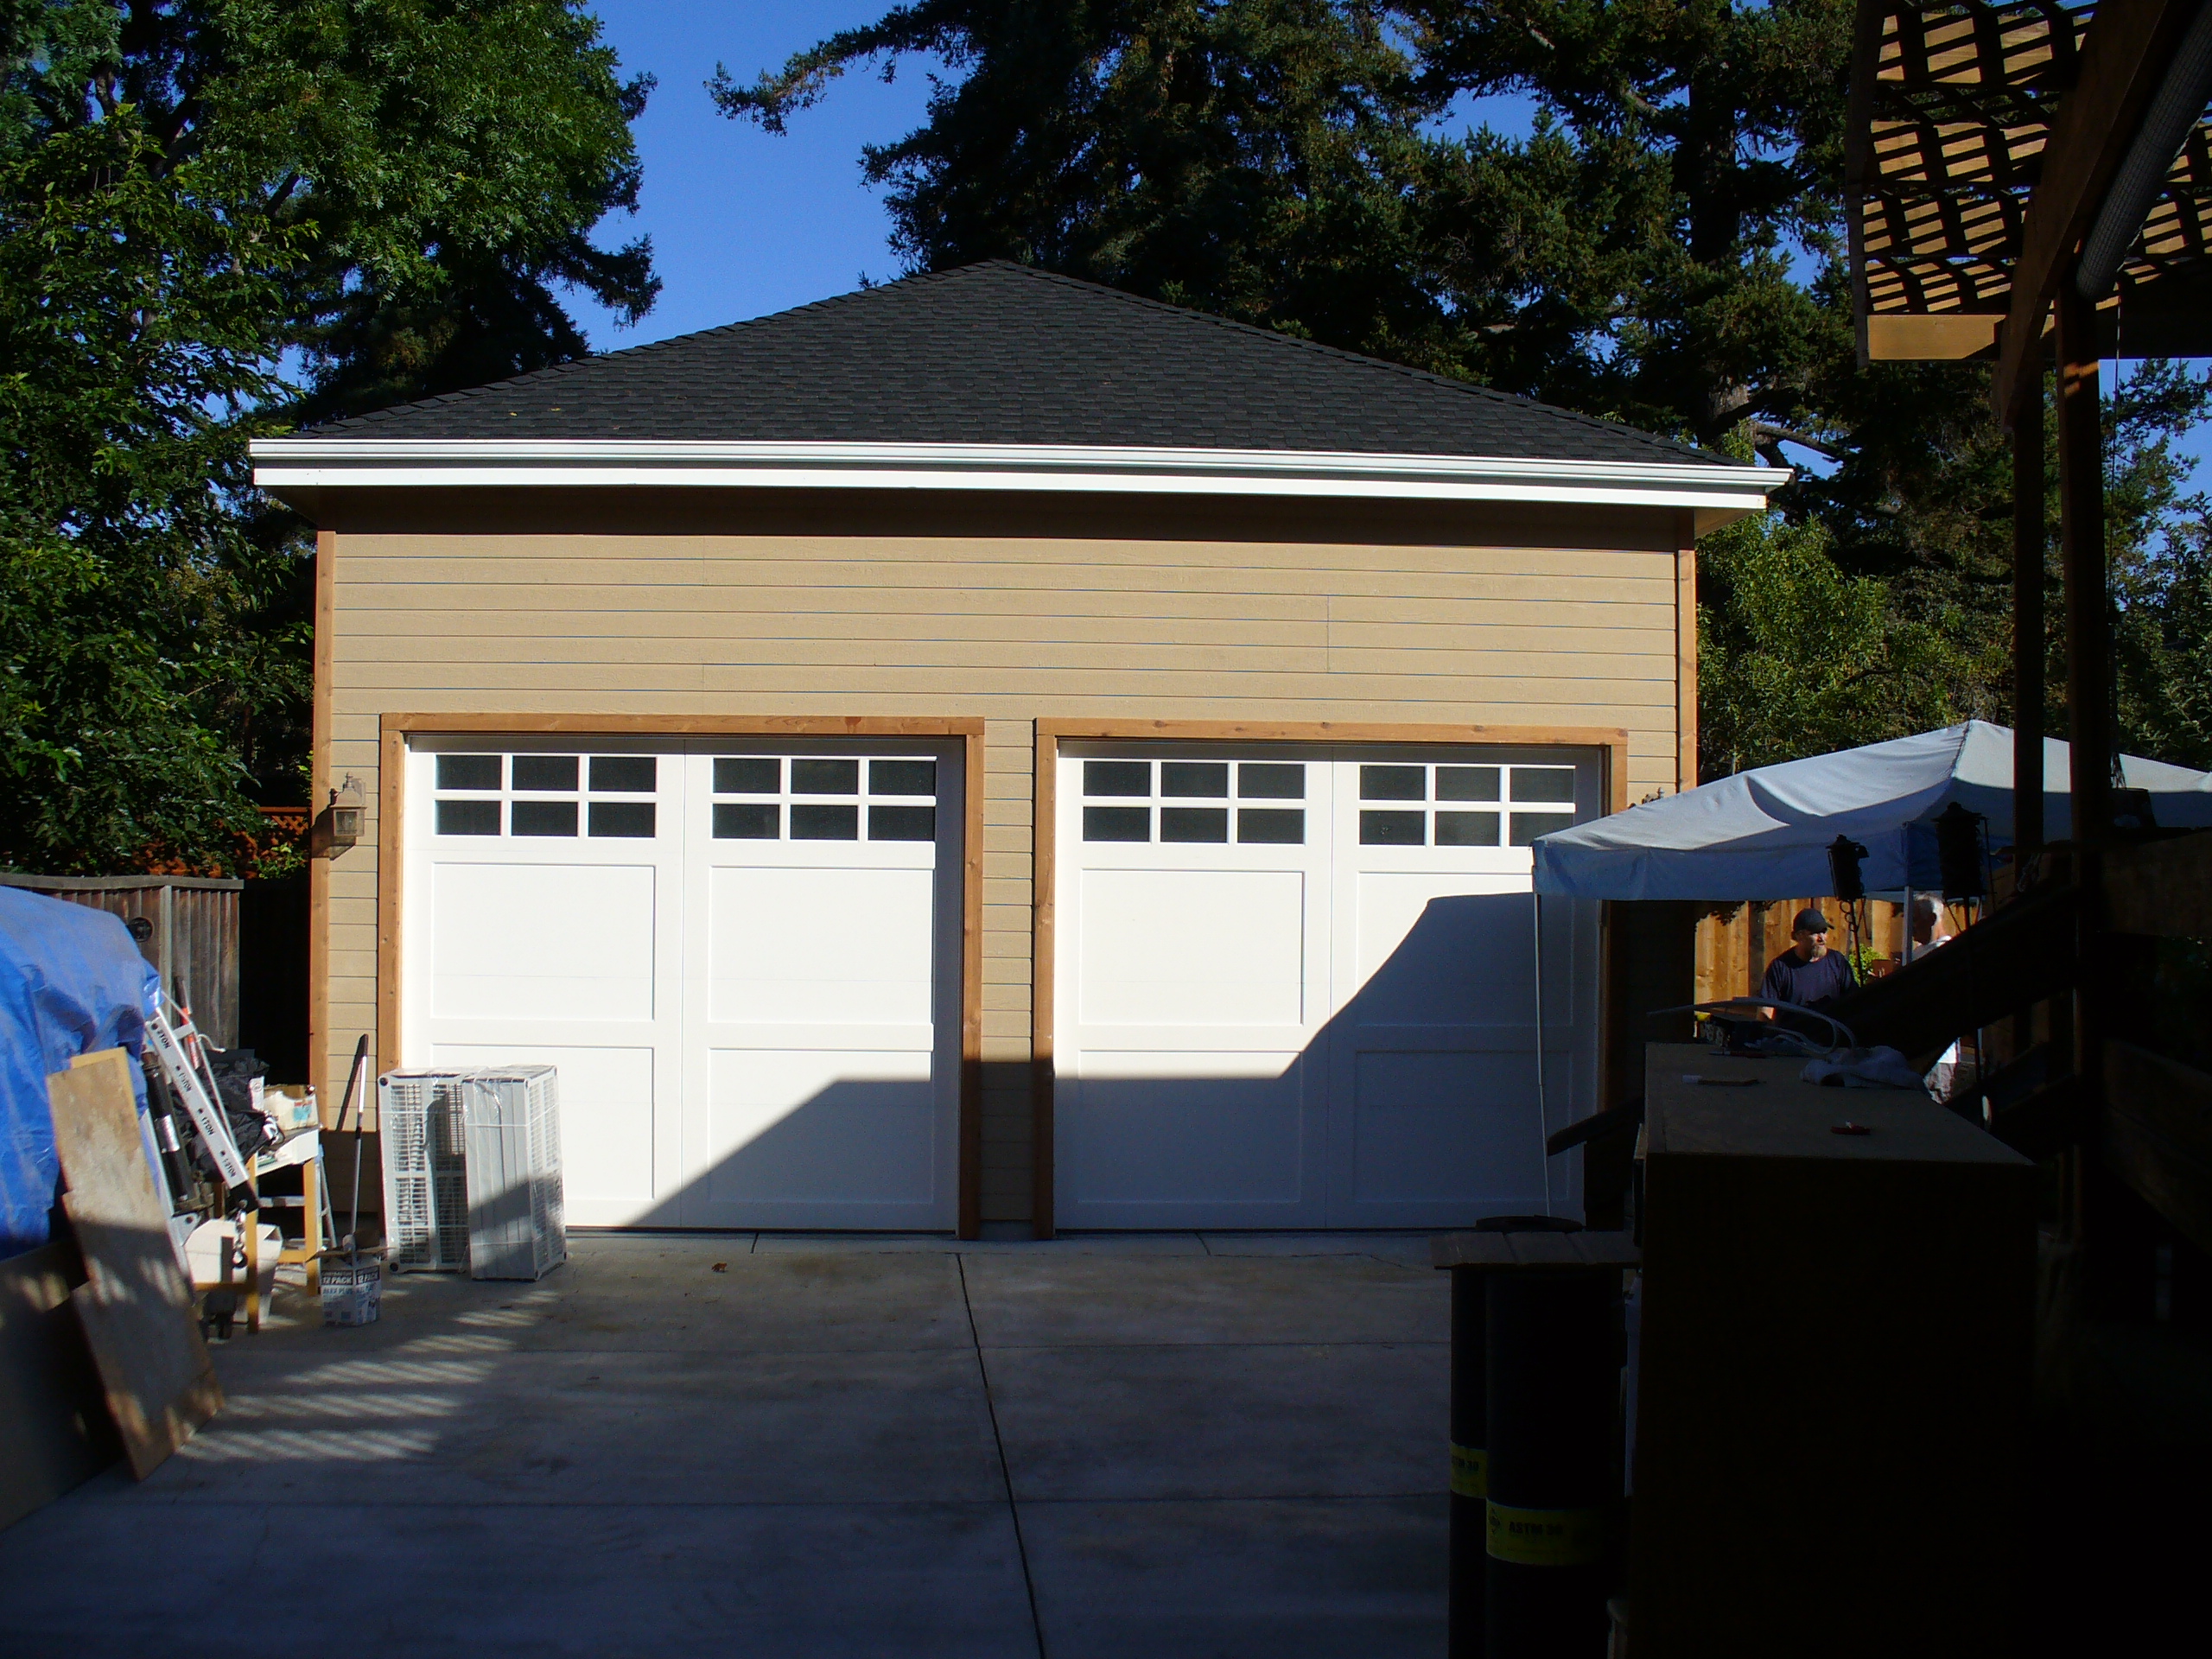
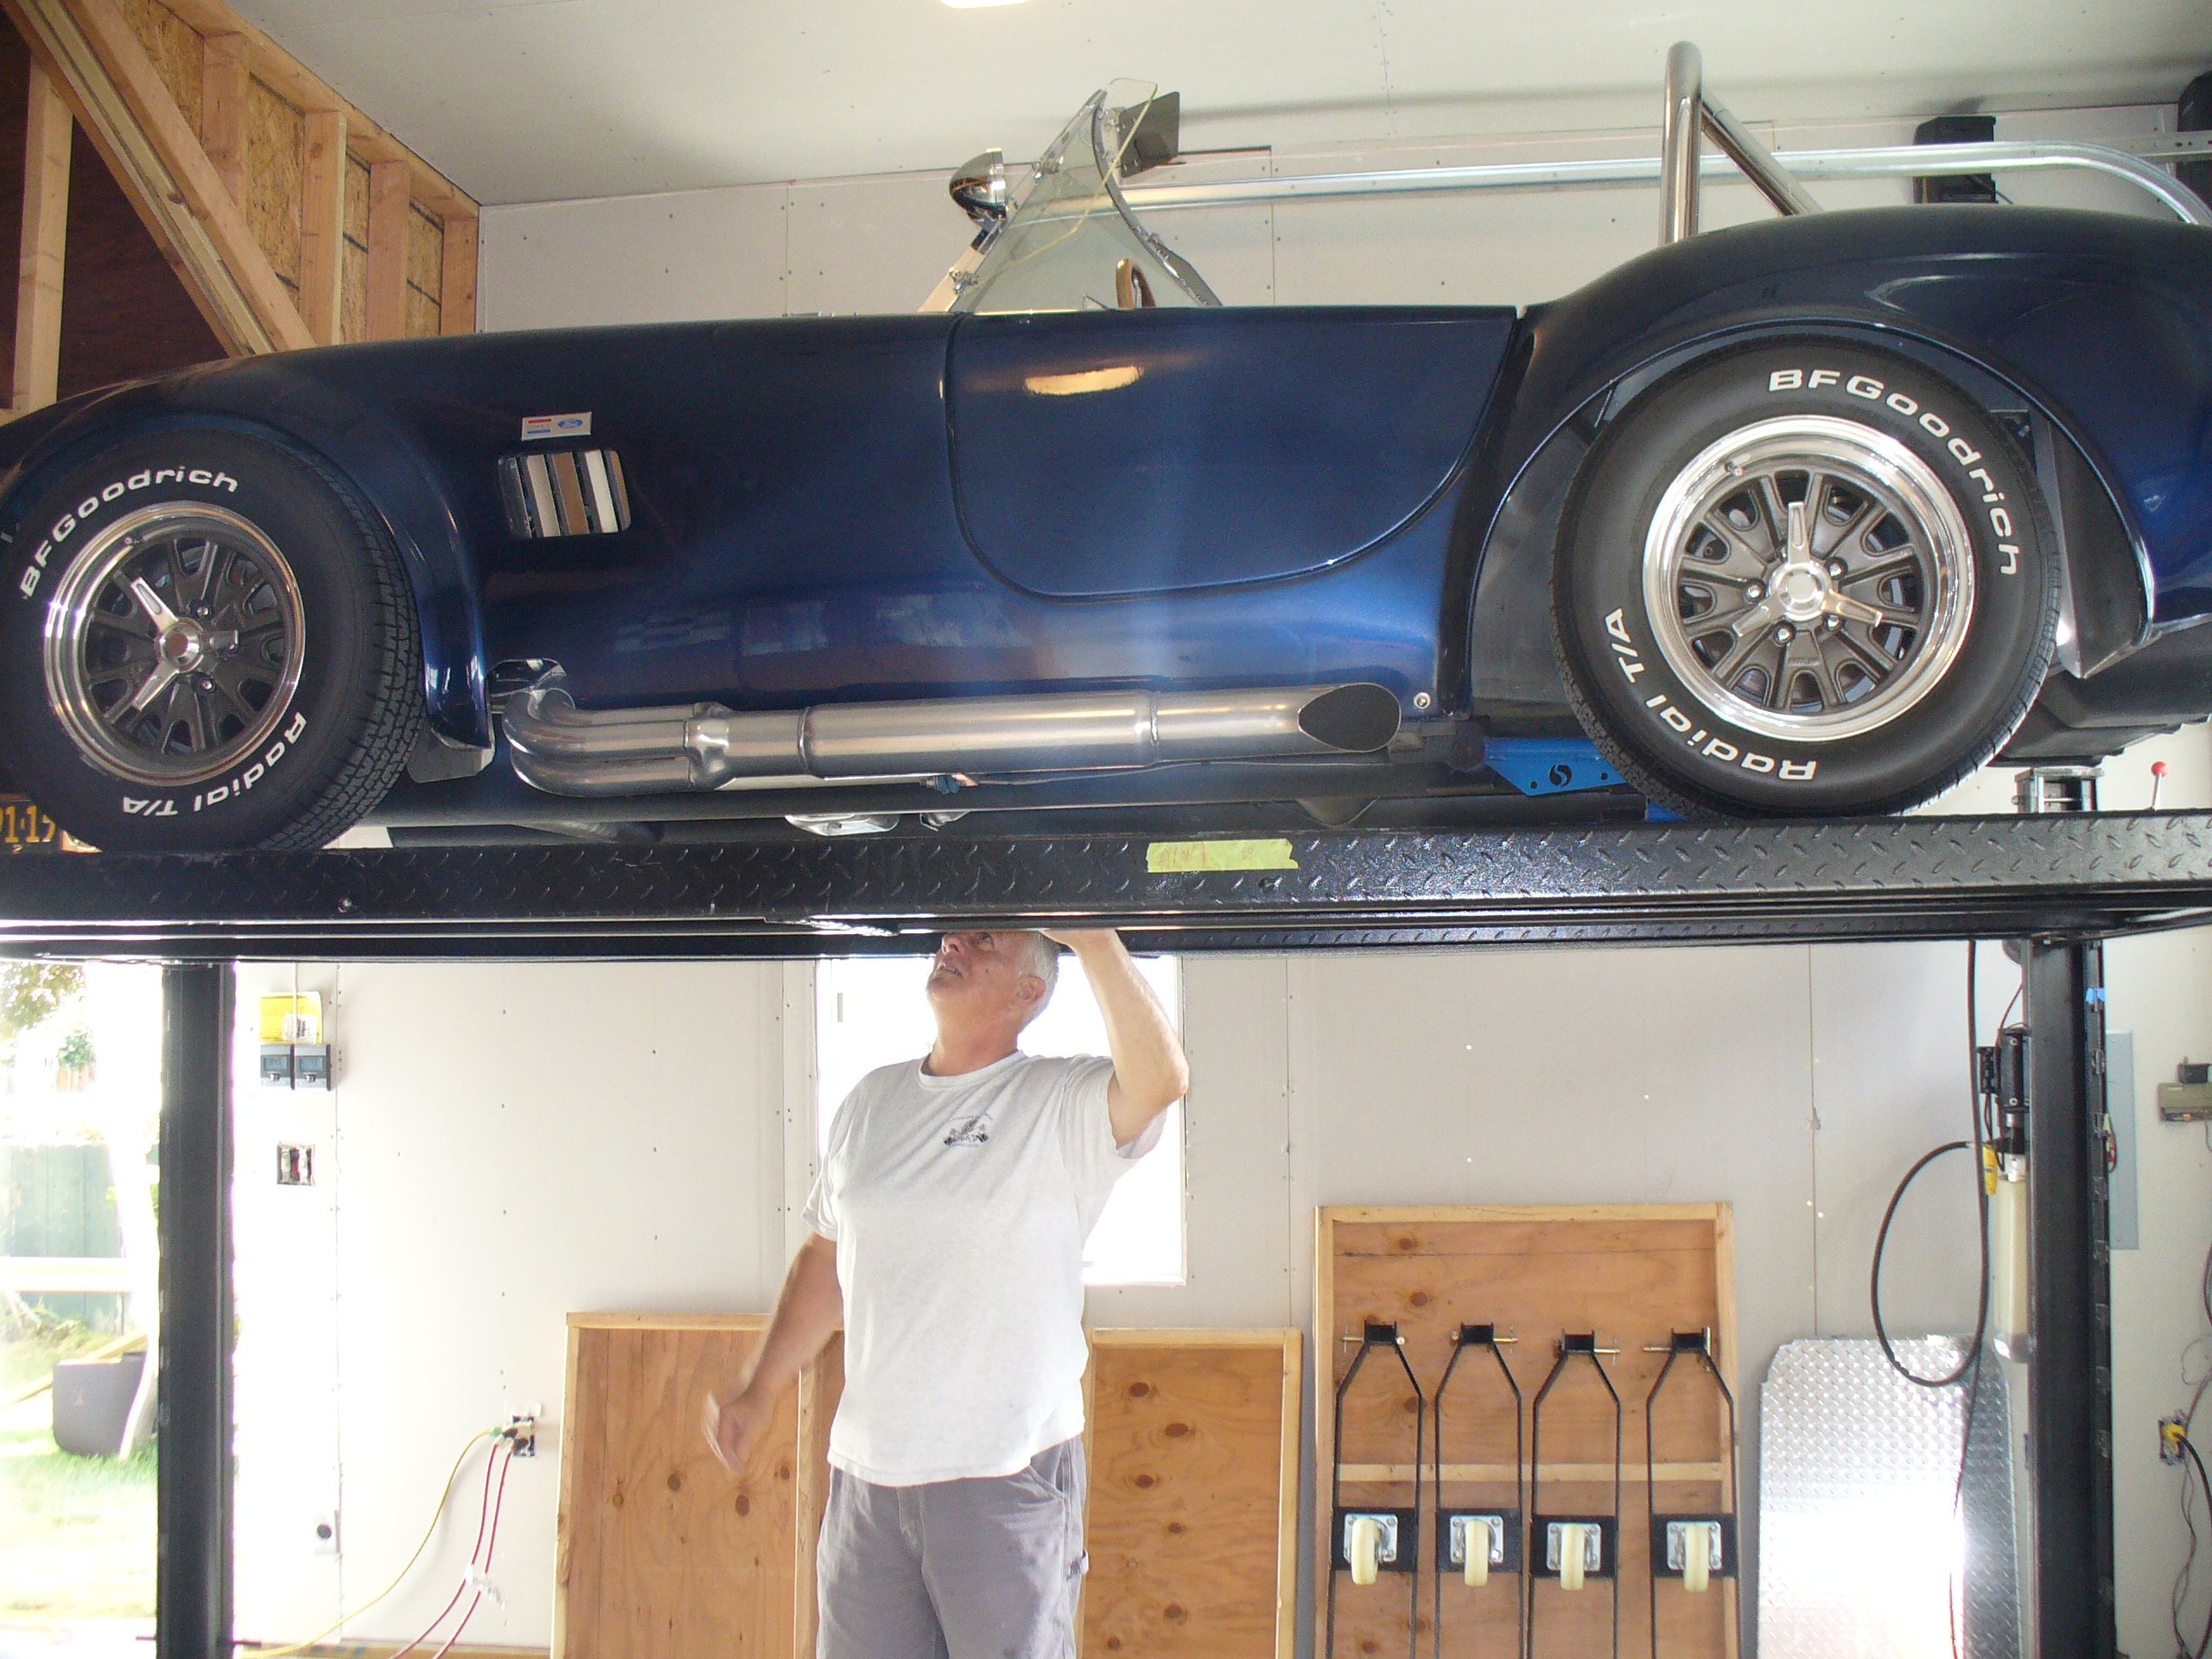
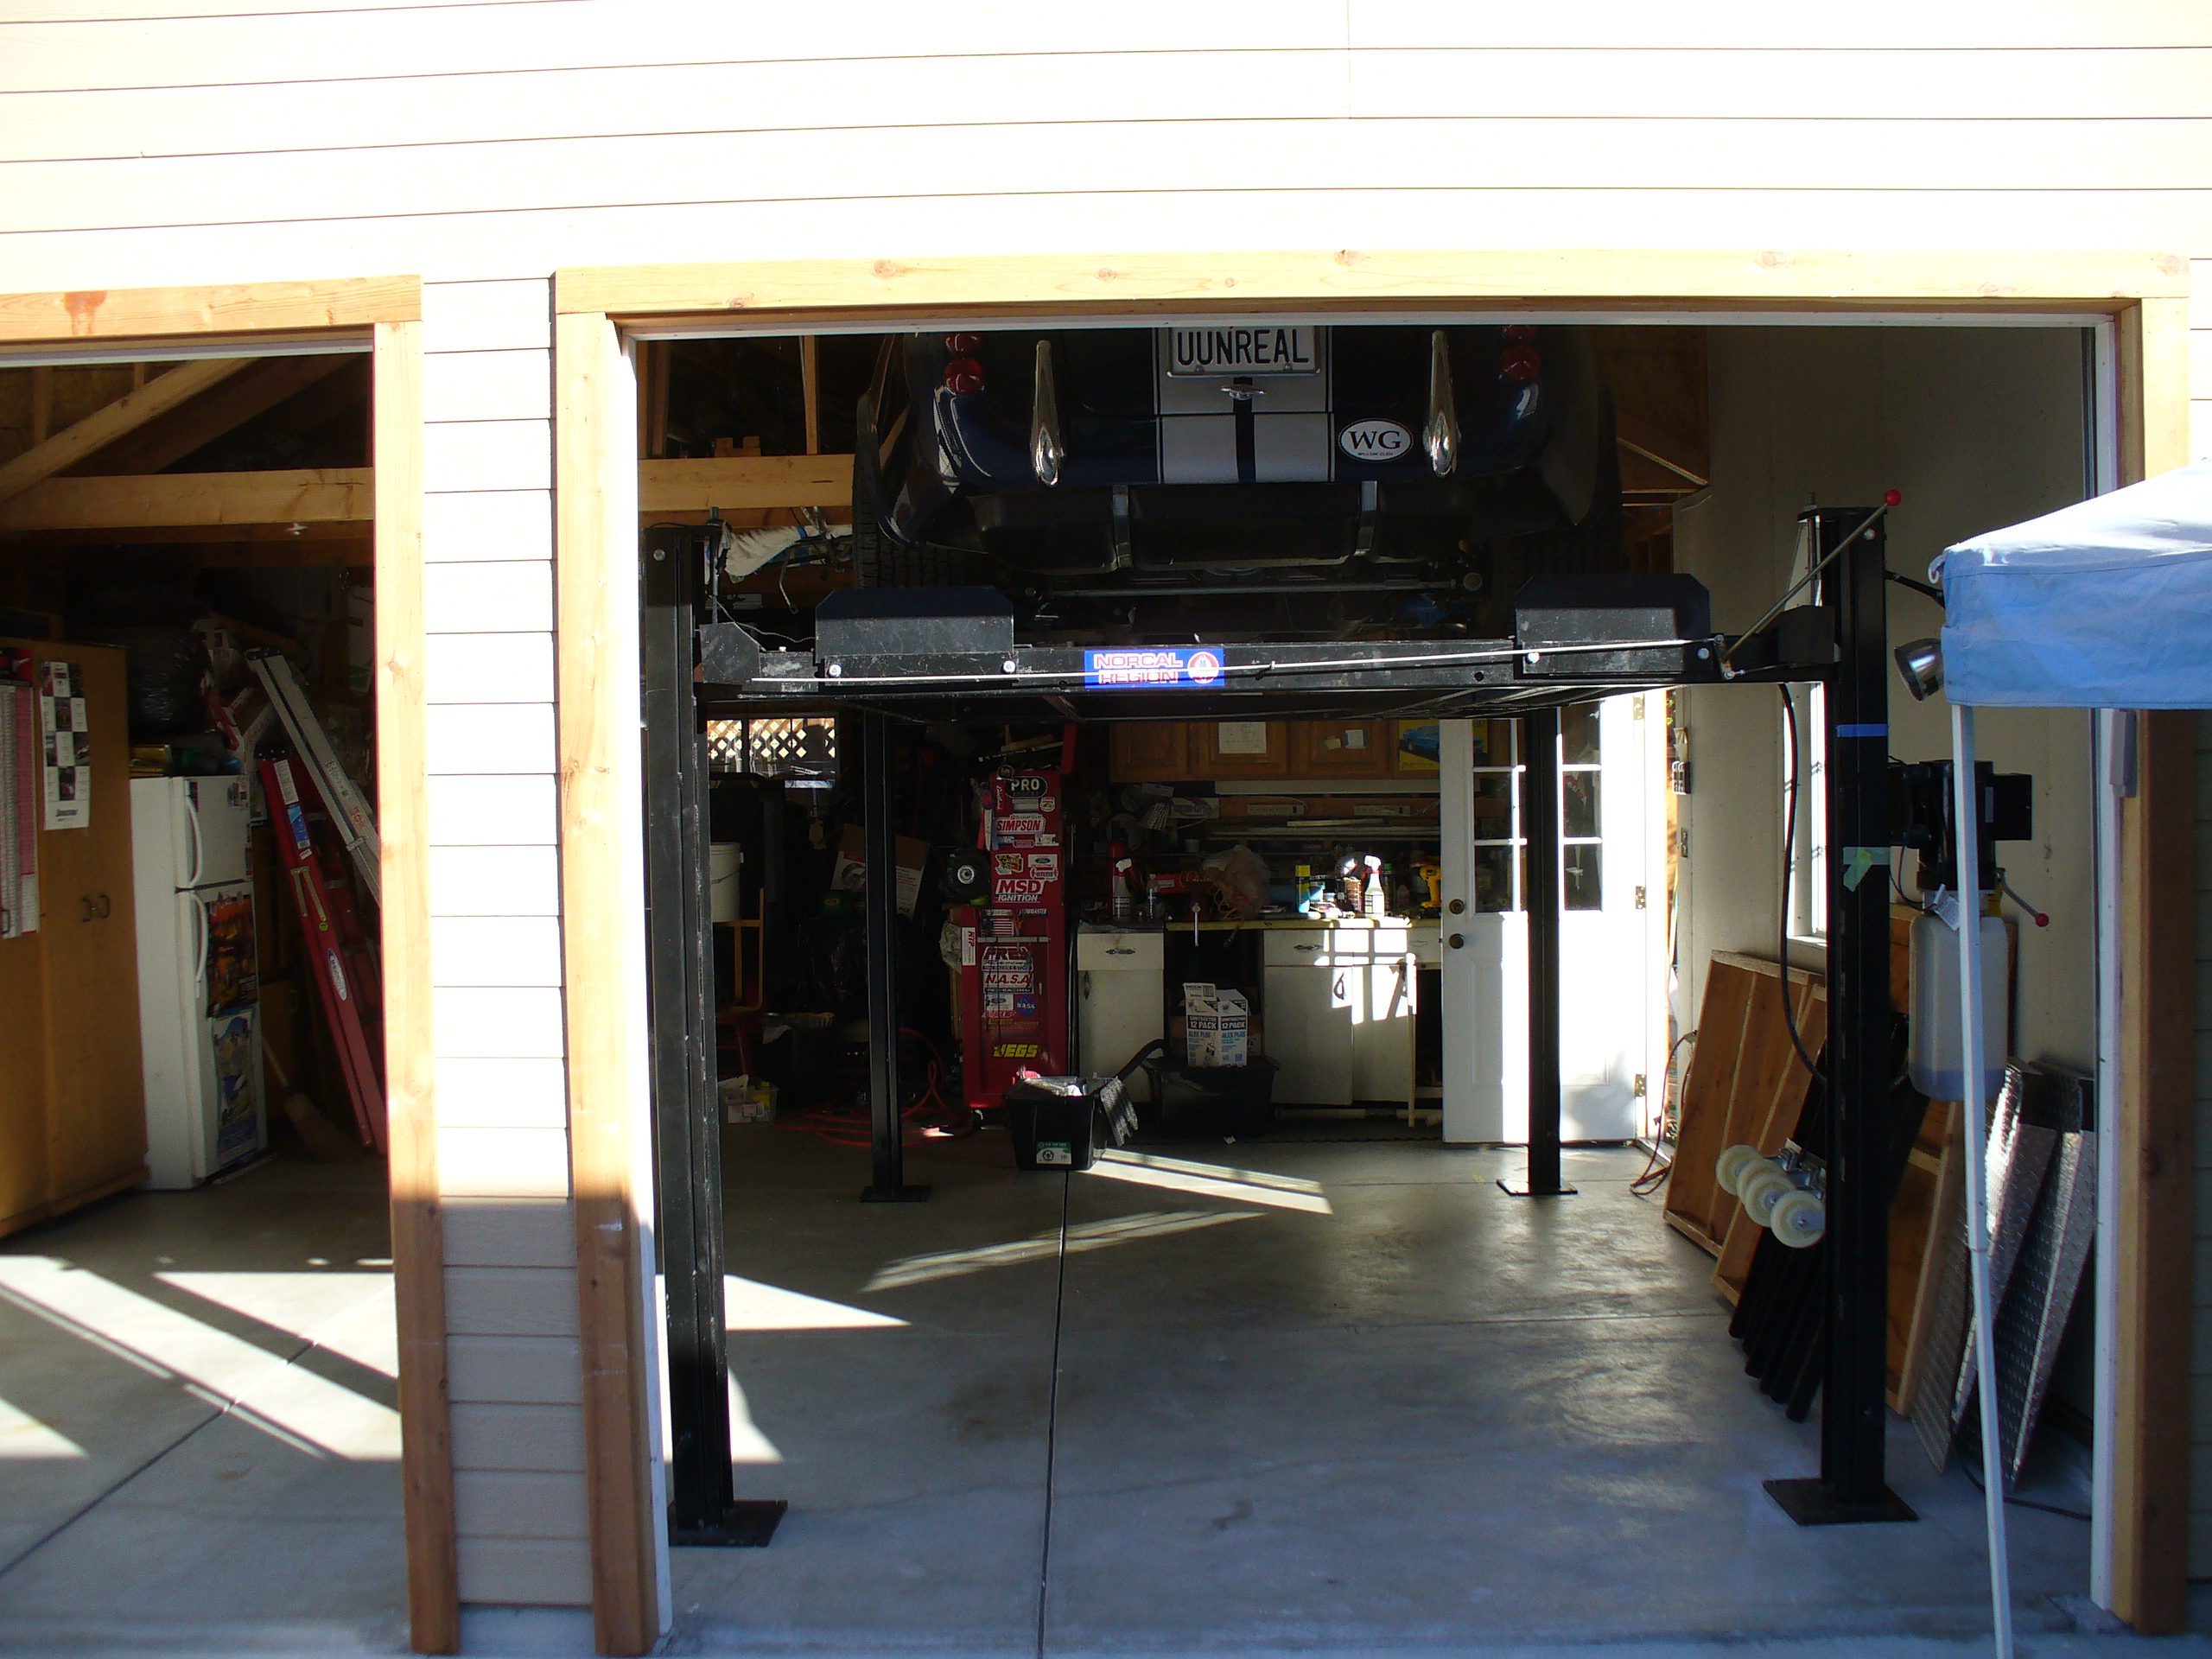
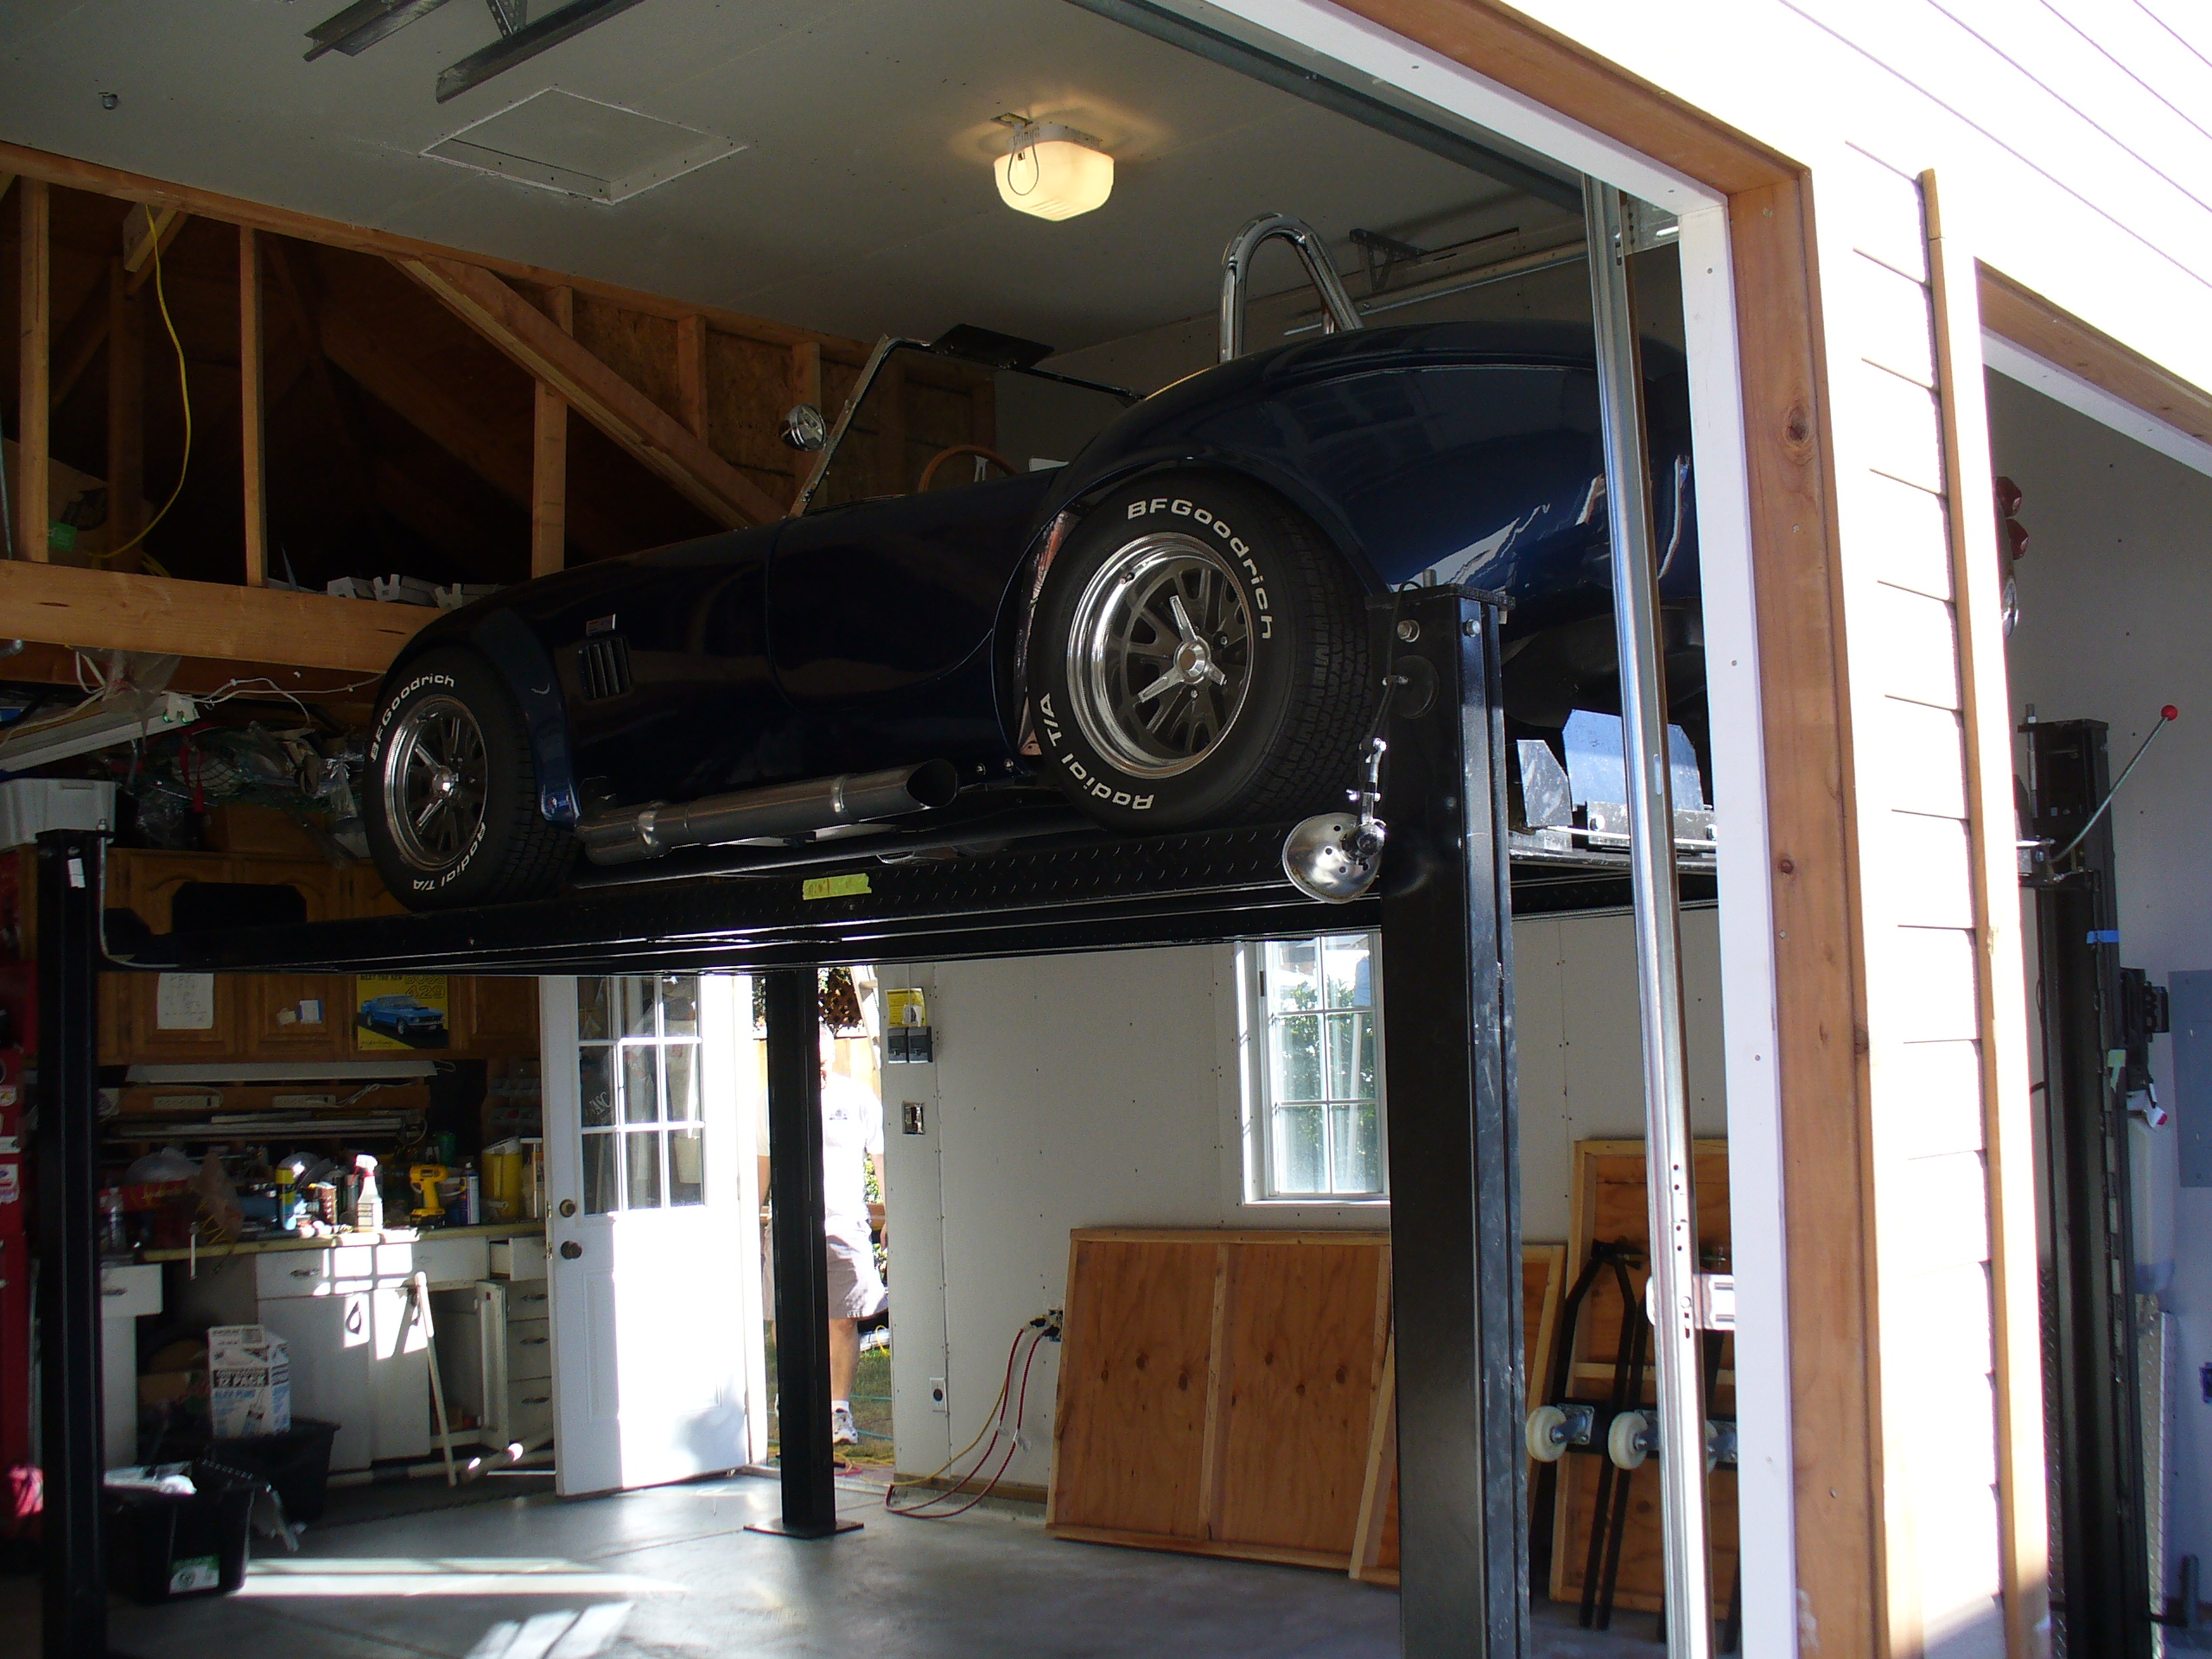
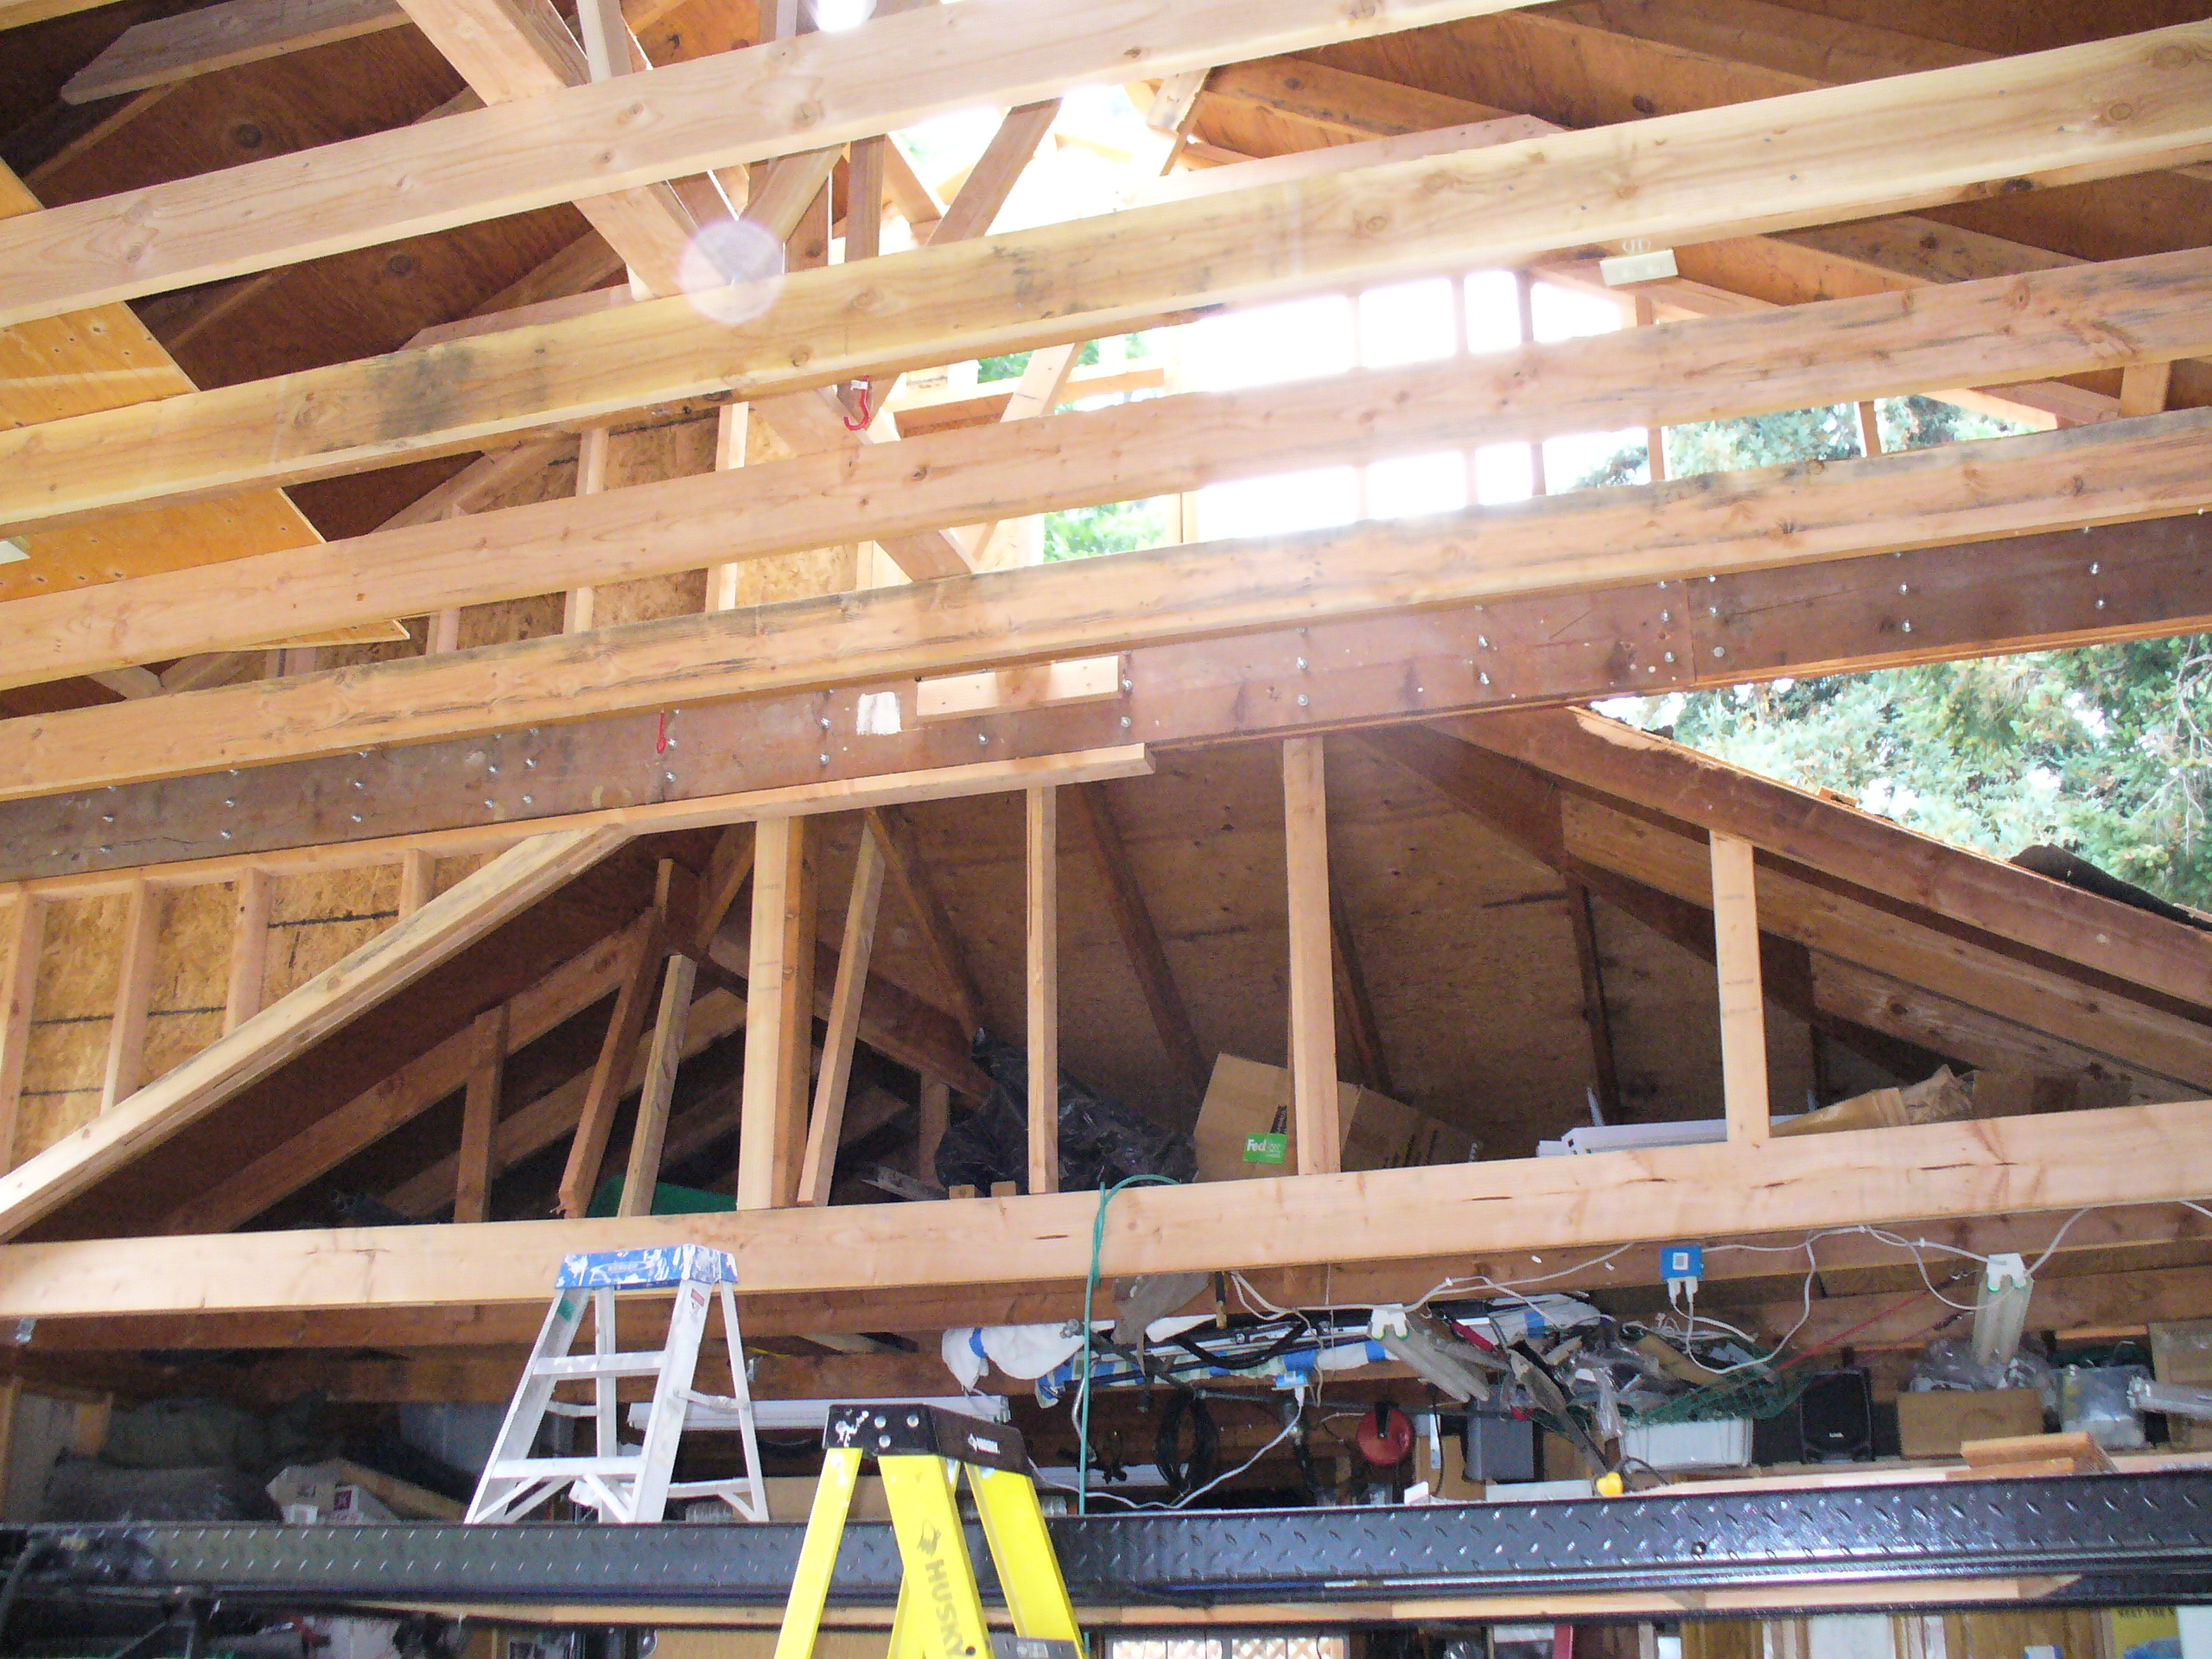
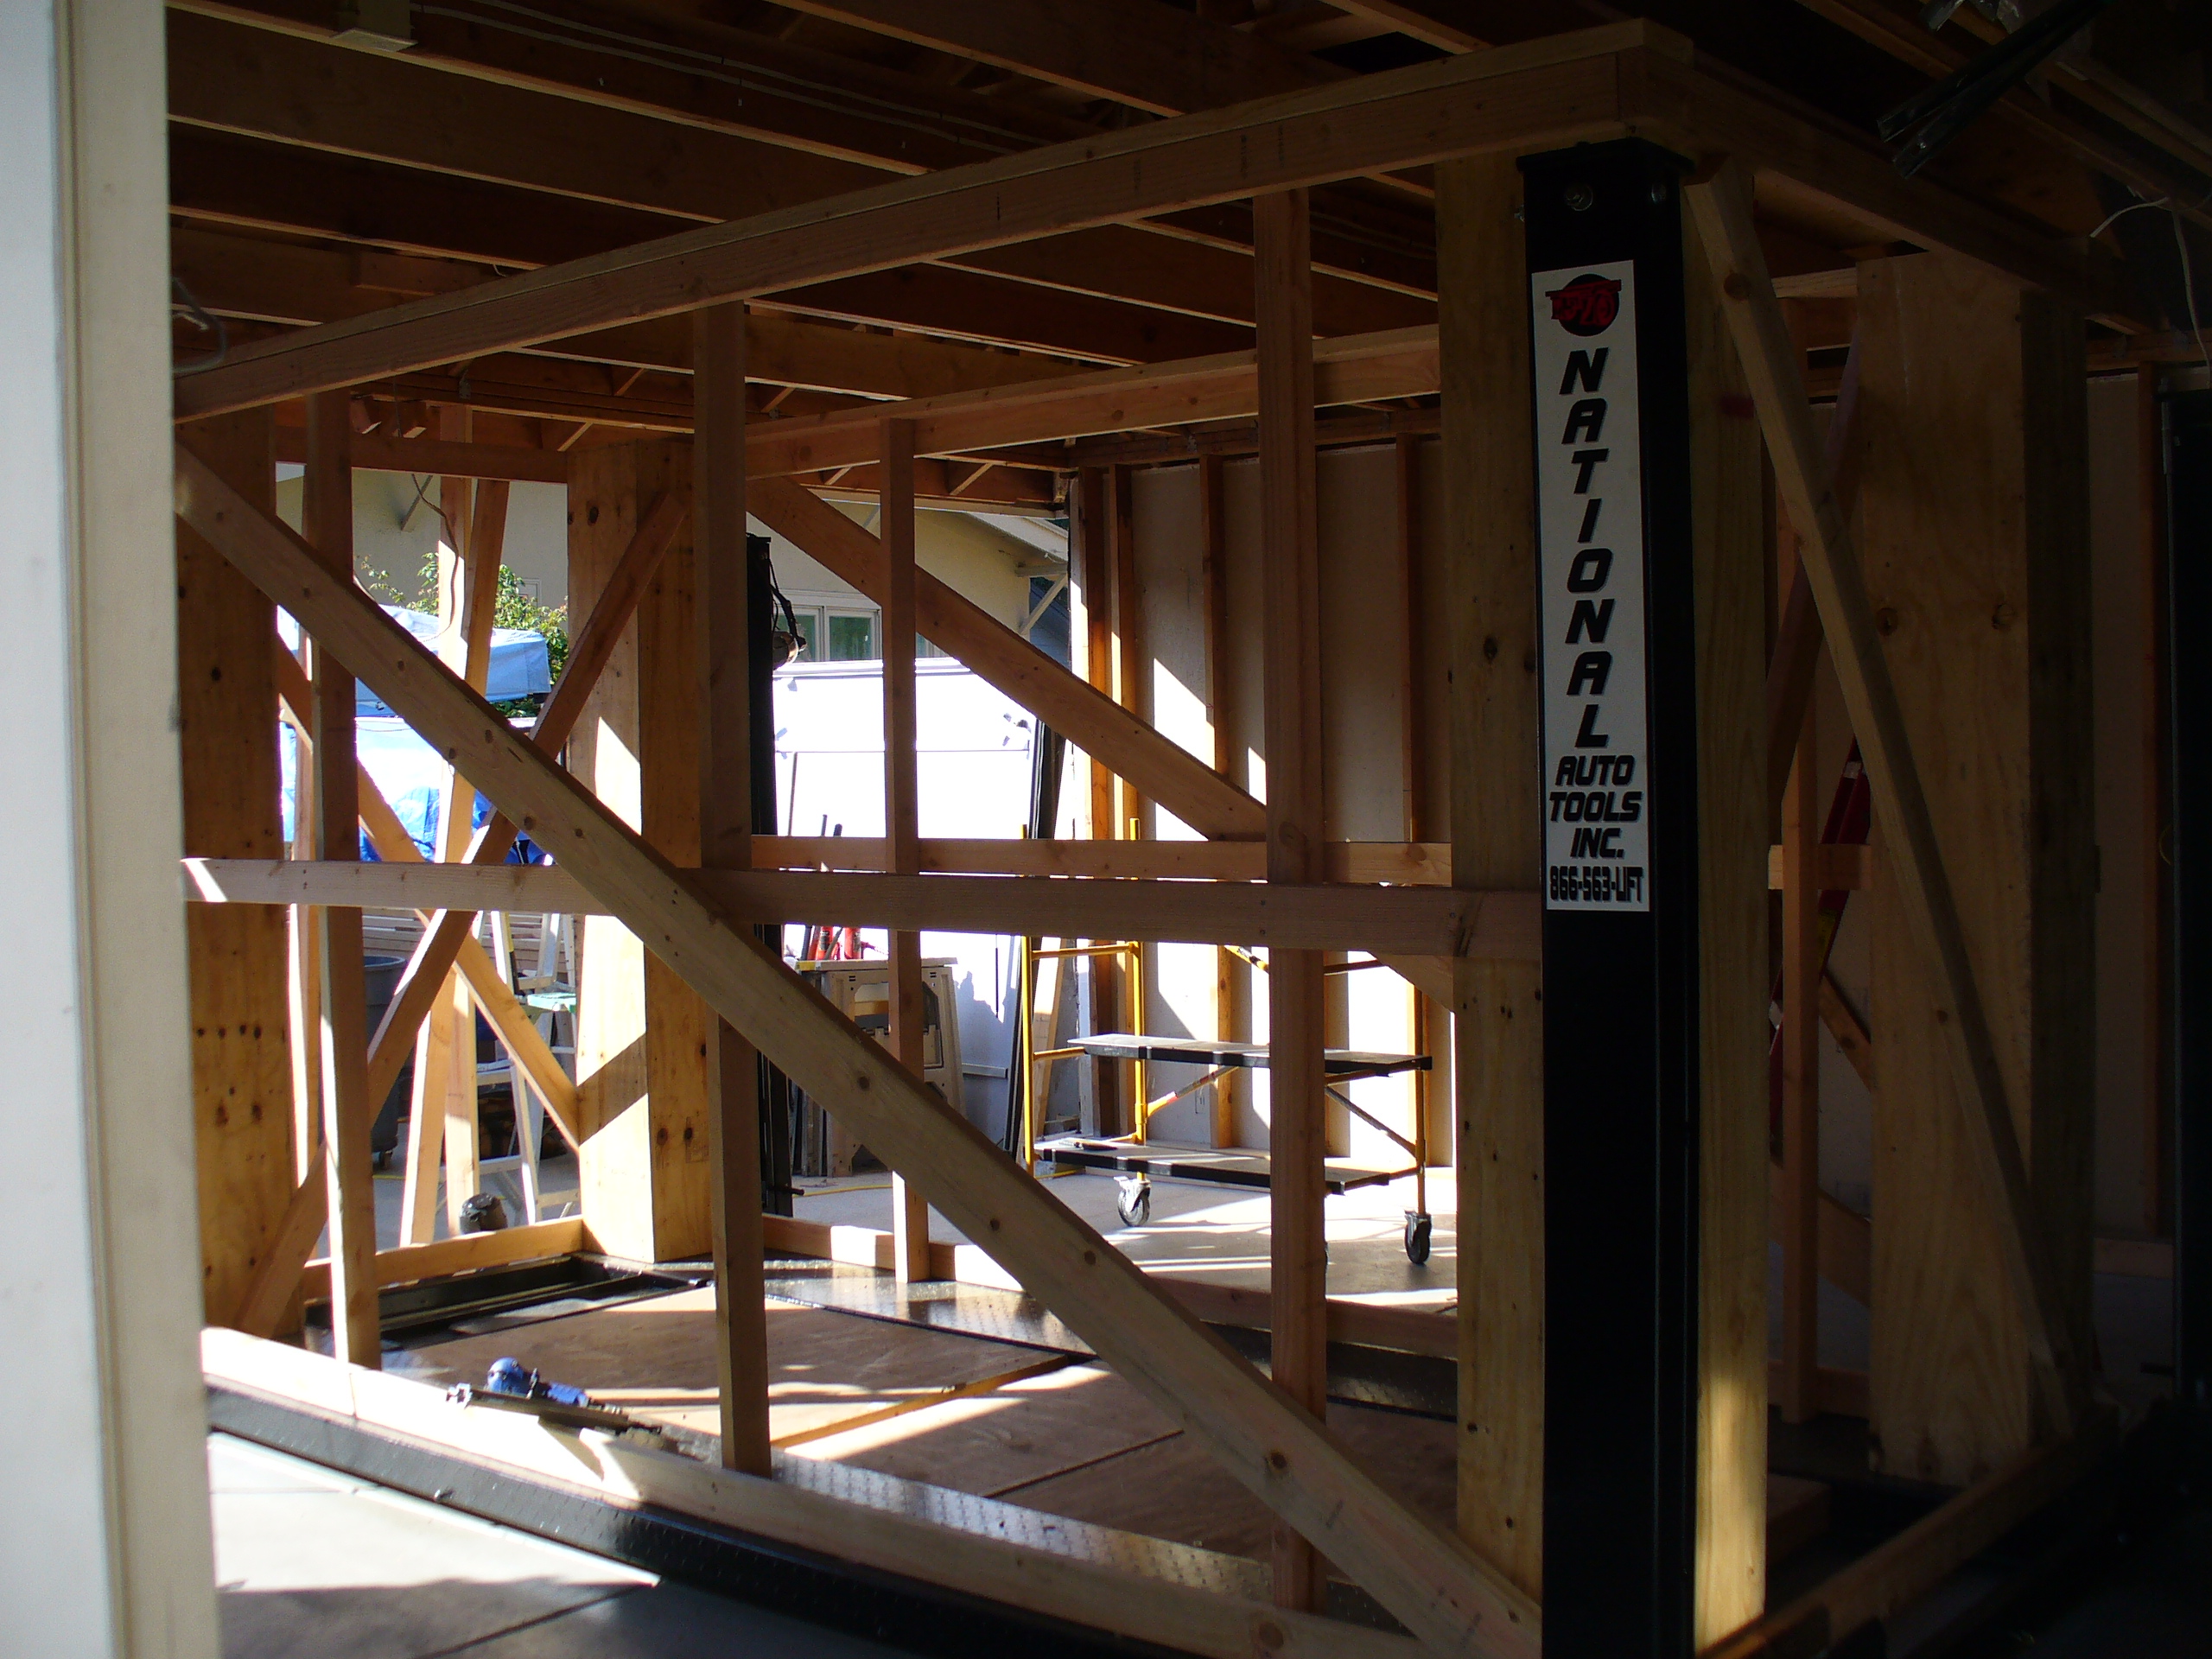
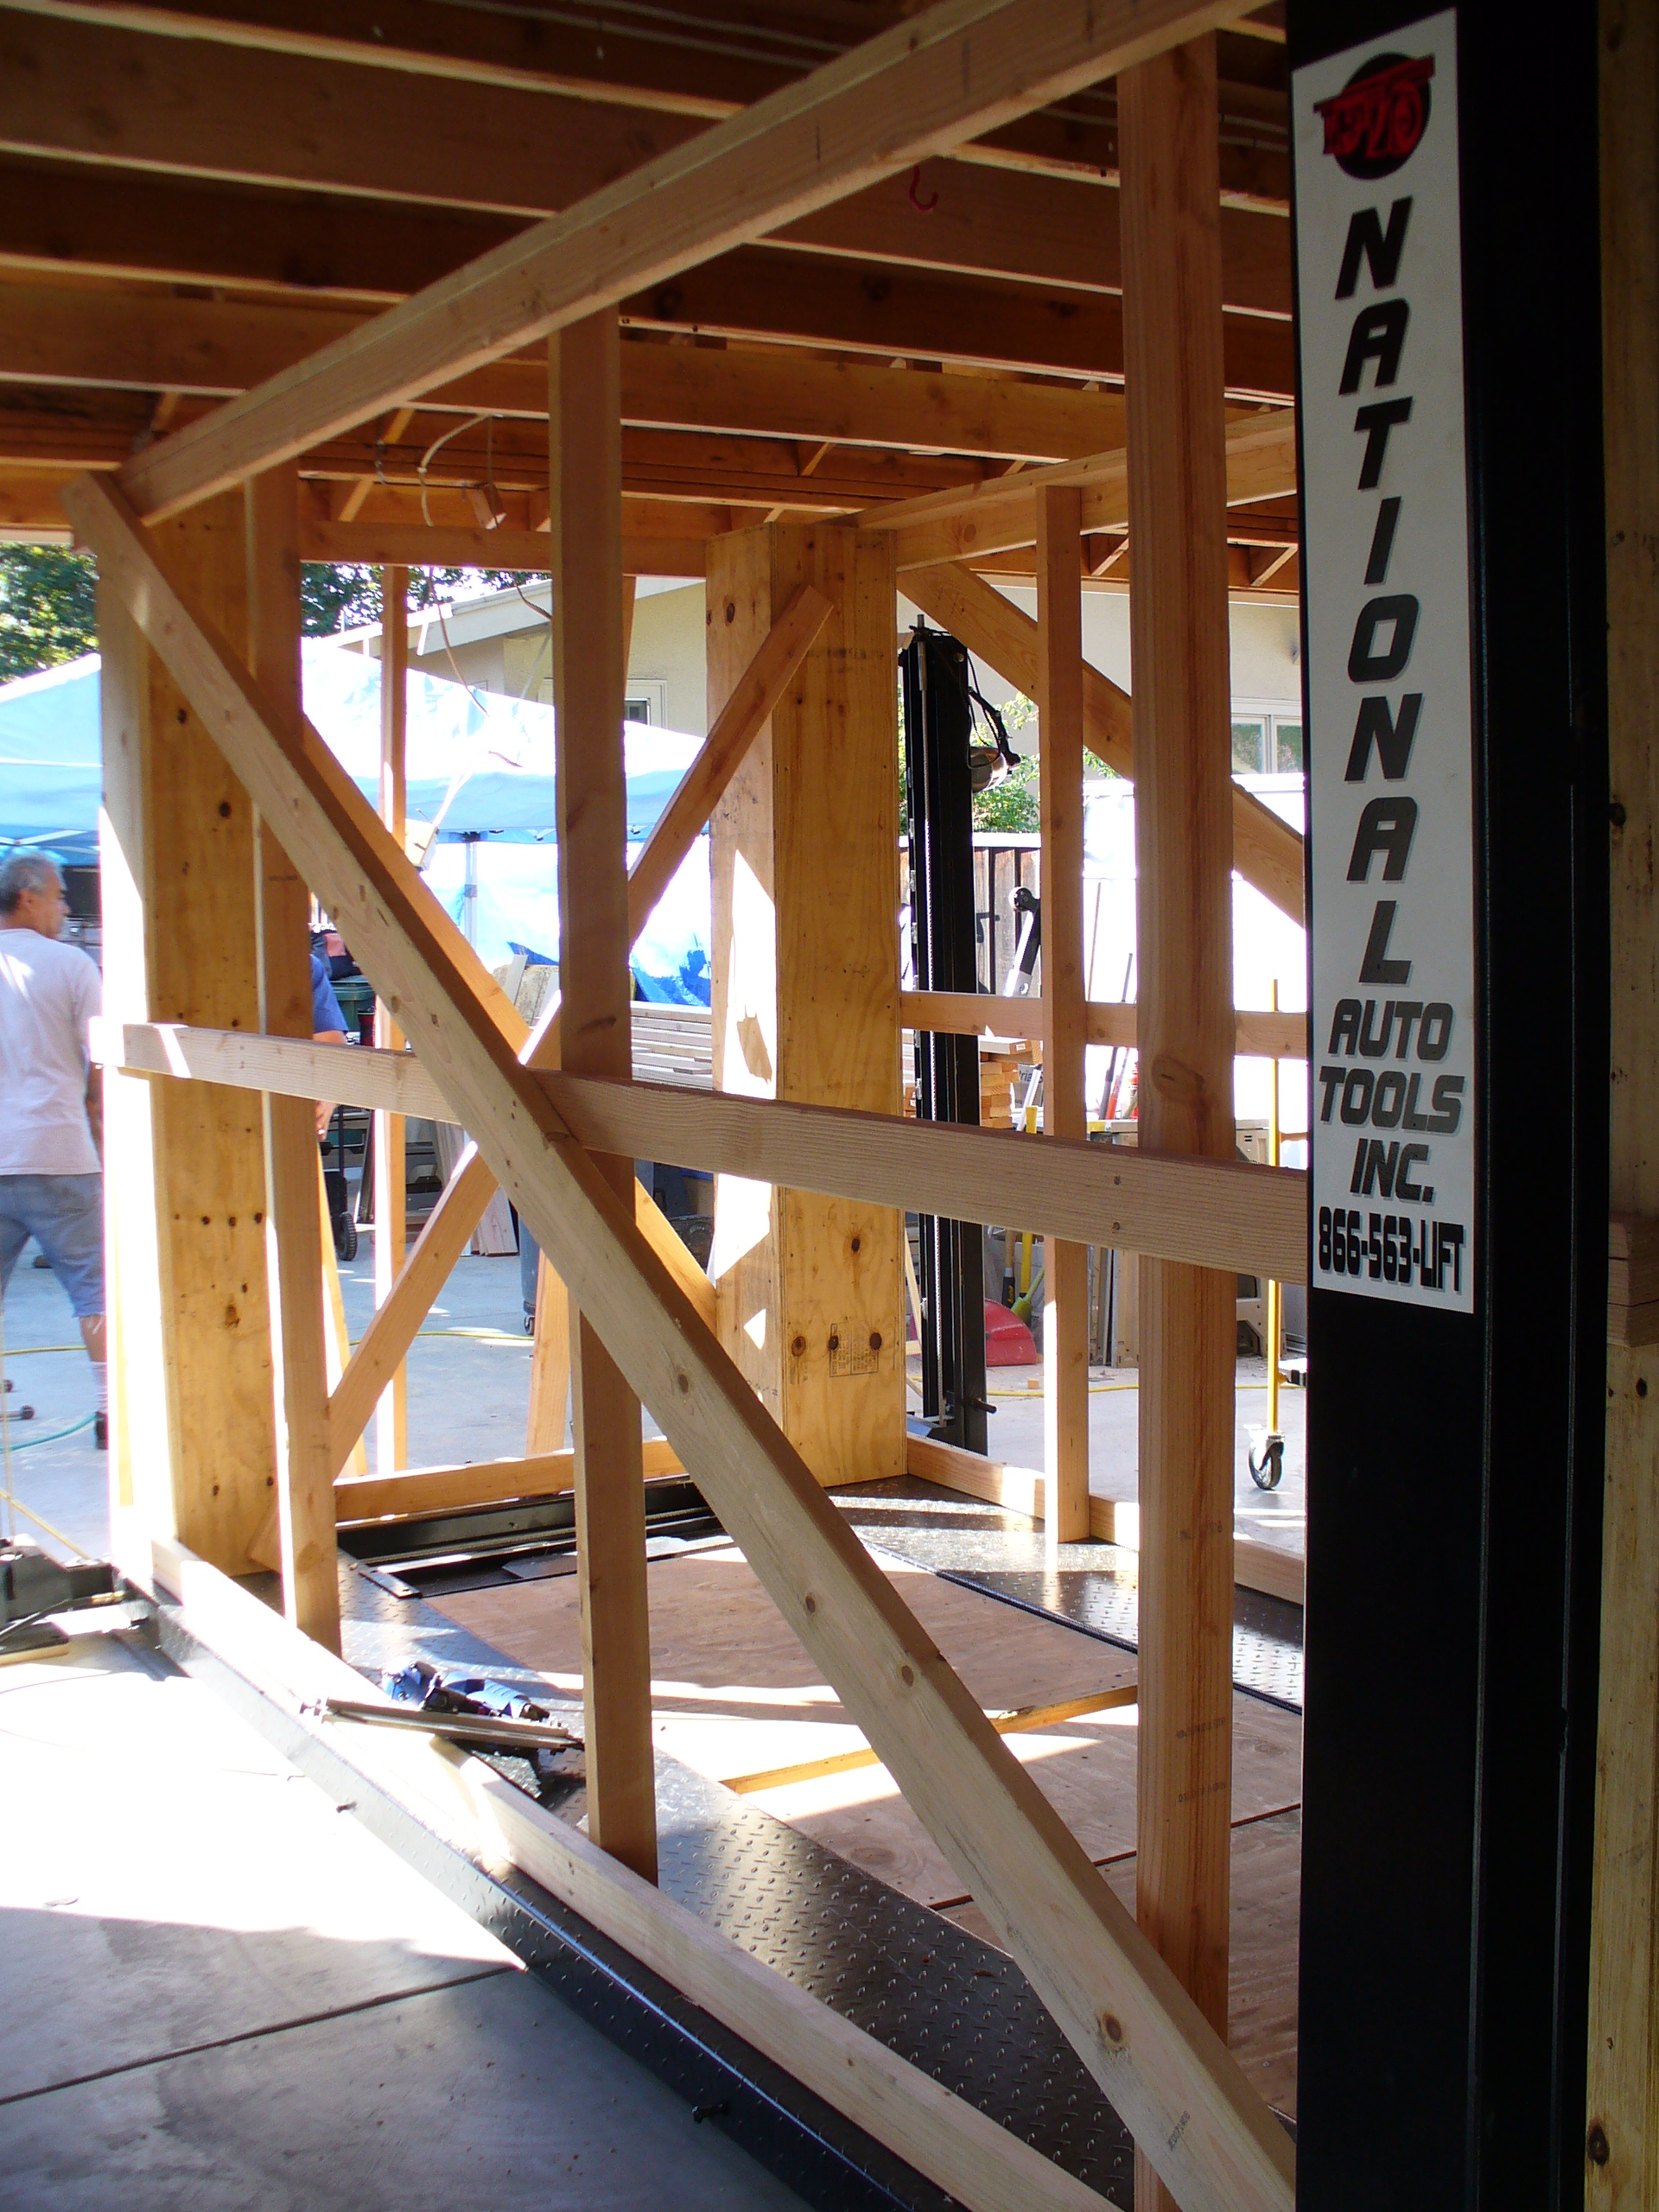
This was a job in earthquake country, requiring quite a bit of engineering that can be seen in the massive framing/restructuring. The owner (Reno) had limited parking space in his existing garage/shop space, and wanted his ceiling height to allow for comfortable stacking of one vehicle over another. With this in mind he had purchased a car lift whose four legs were wide enough to park his BMW under the lift’s platform when raised. The intended vehicle to be lifted was a convertible MG, which though with smallish dimensions, when lifted for the BMW to park under it, was not high enough for comfort, either from it’s windshield to the ceiling, or from the concrete flooring to the lift’s underside when raised.
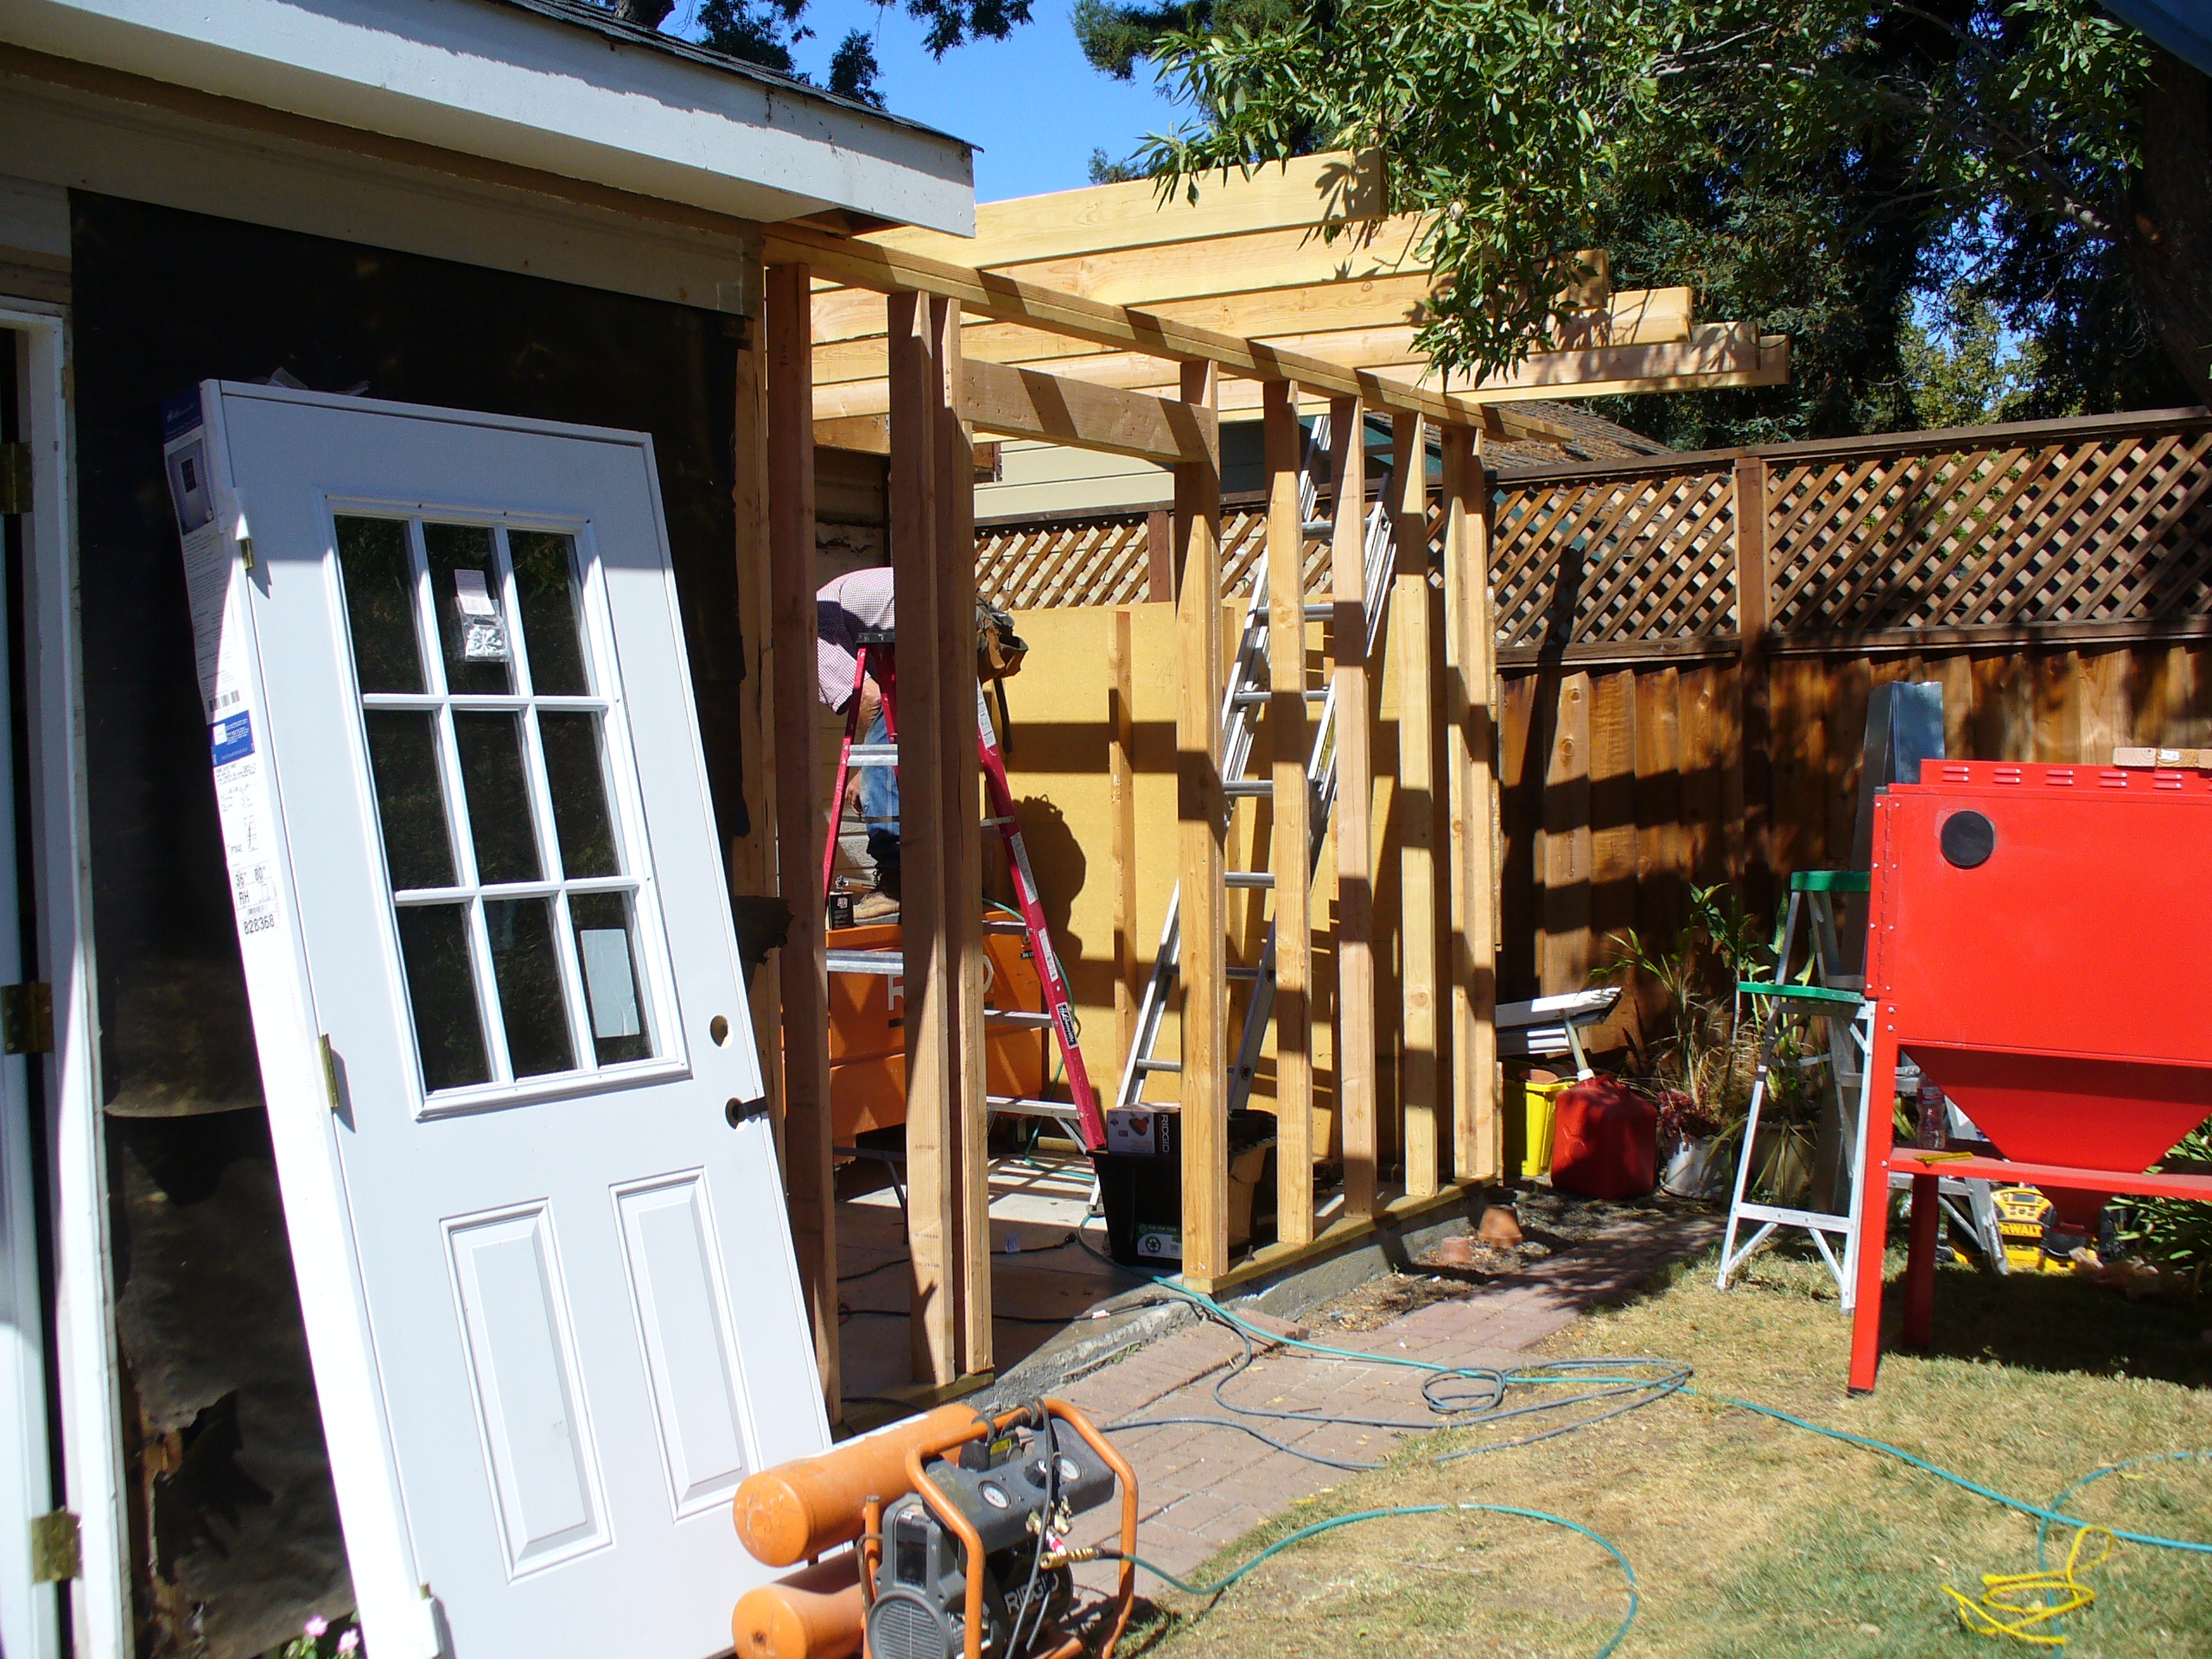
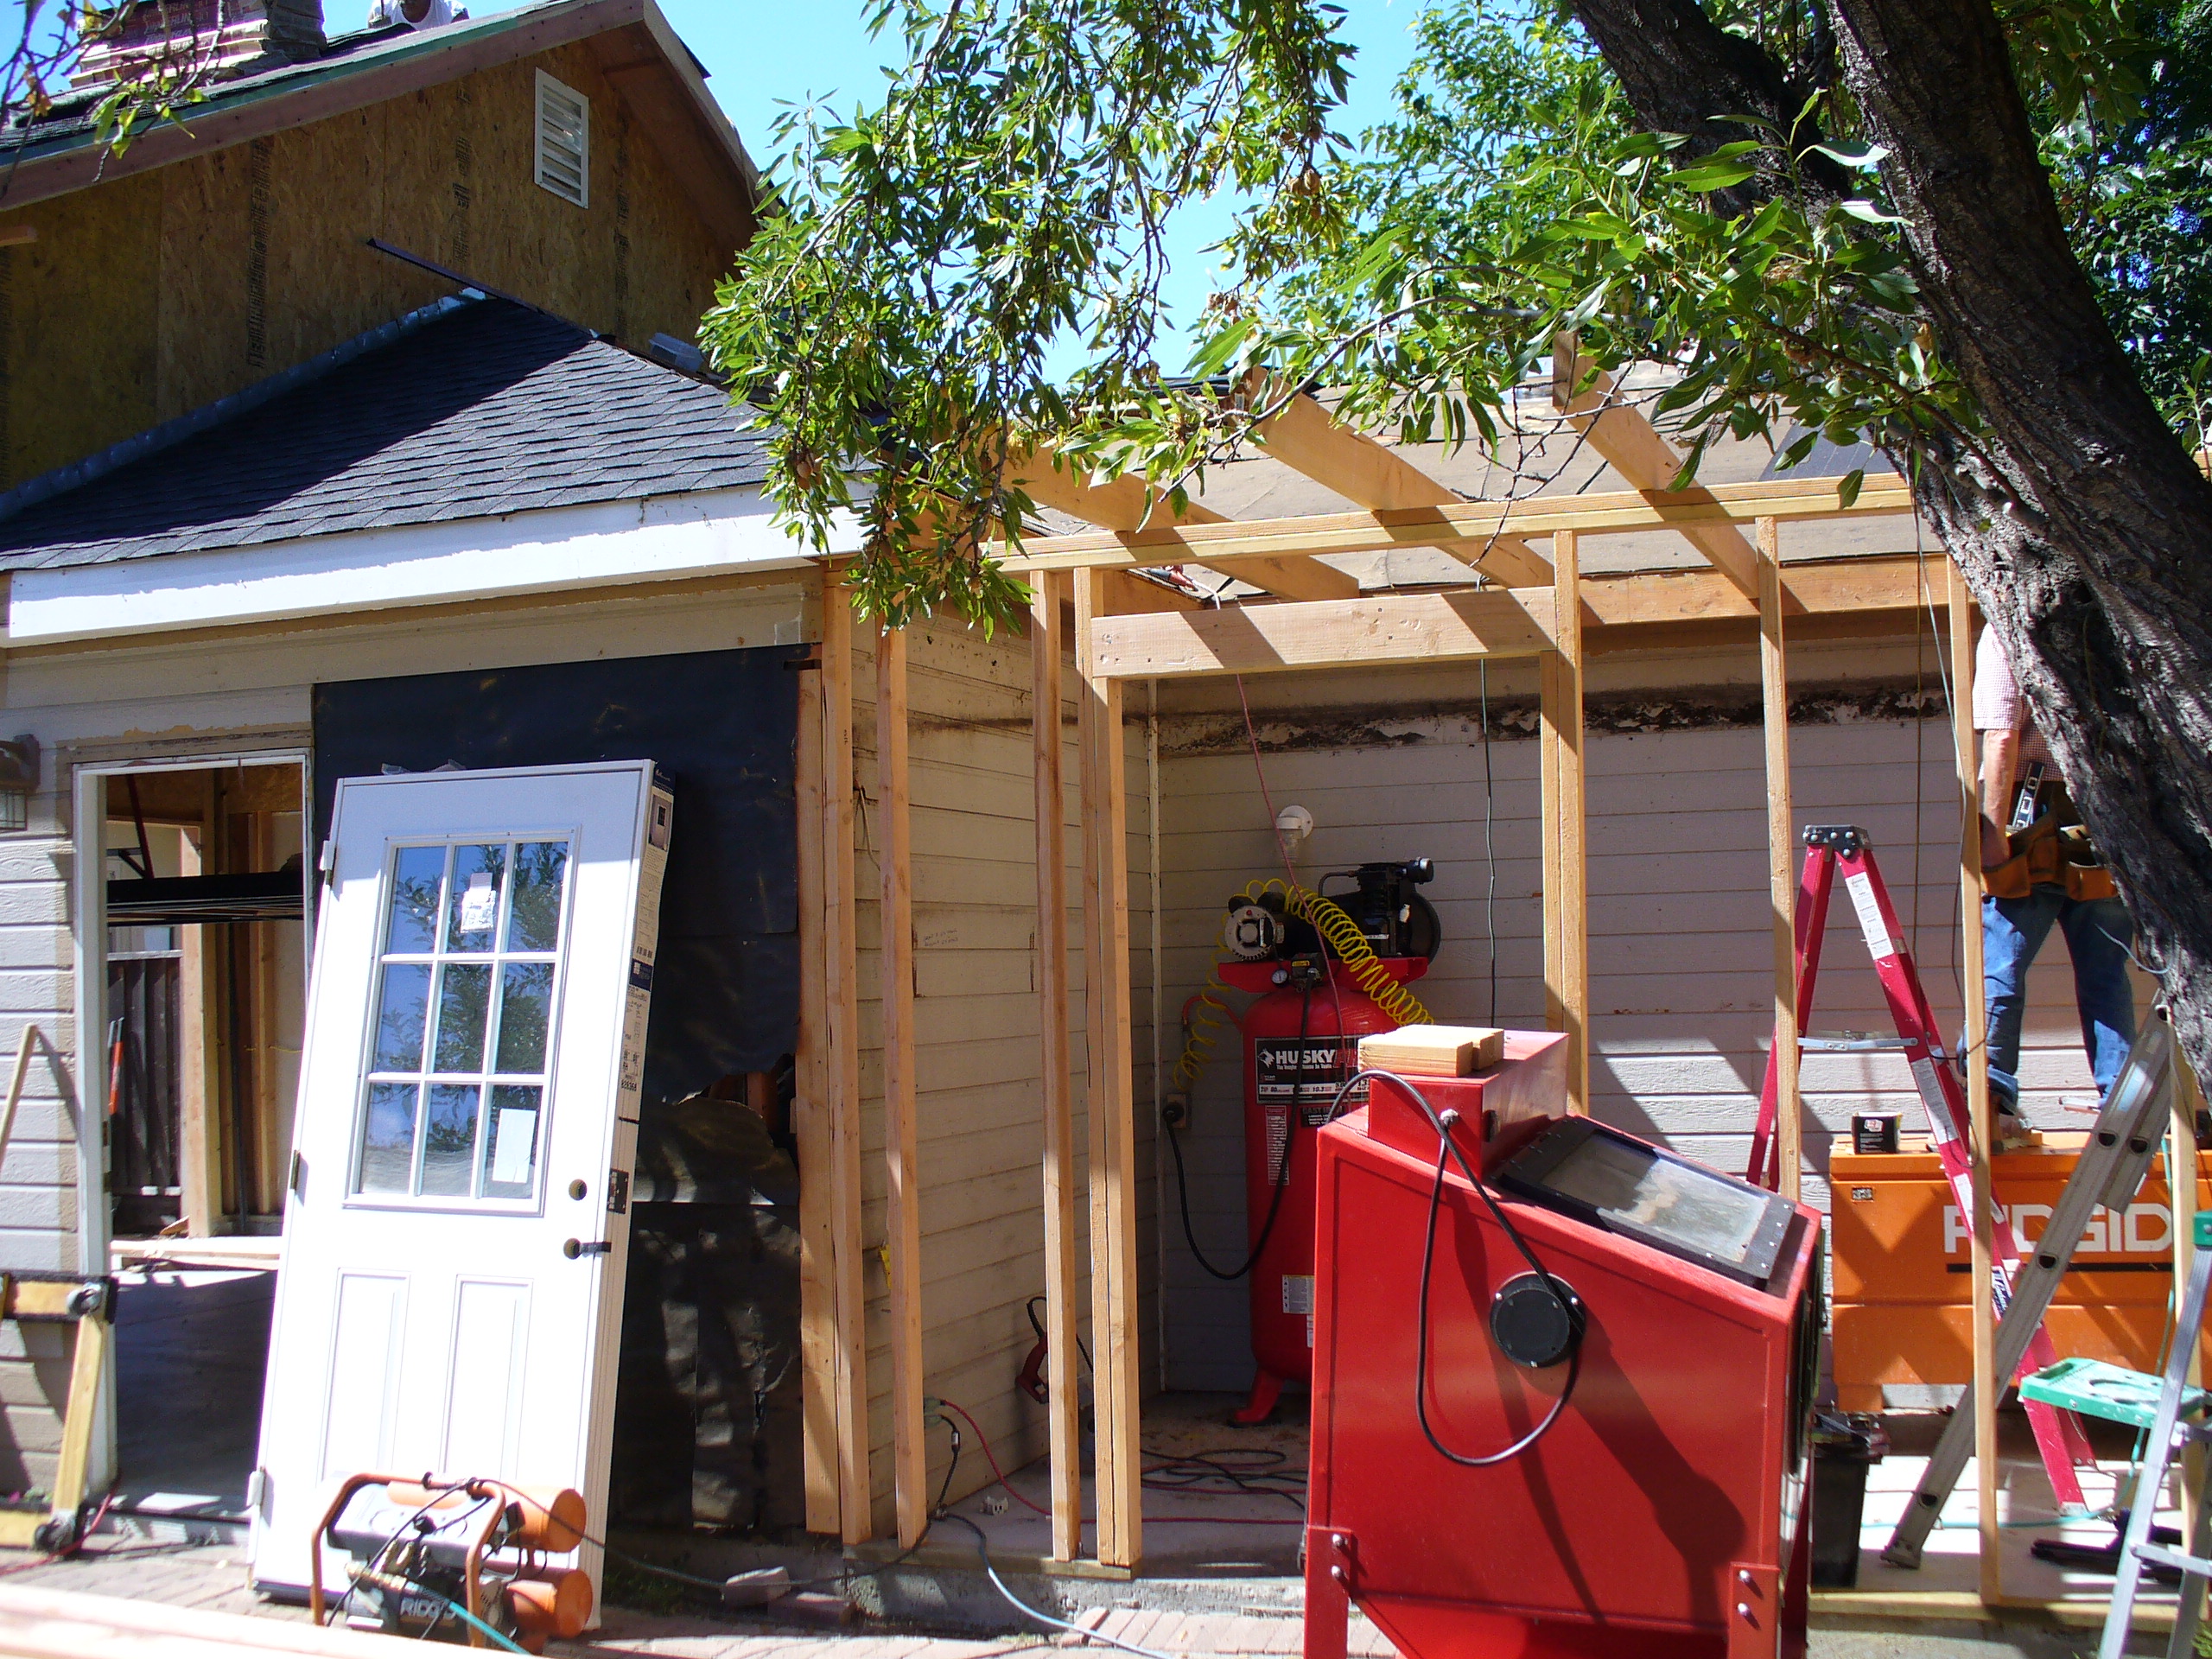
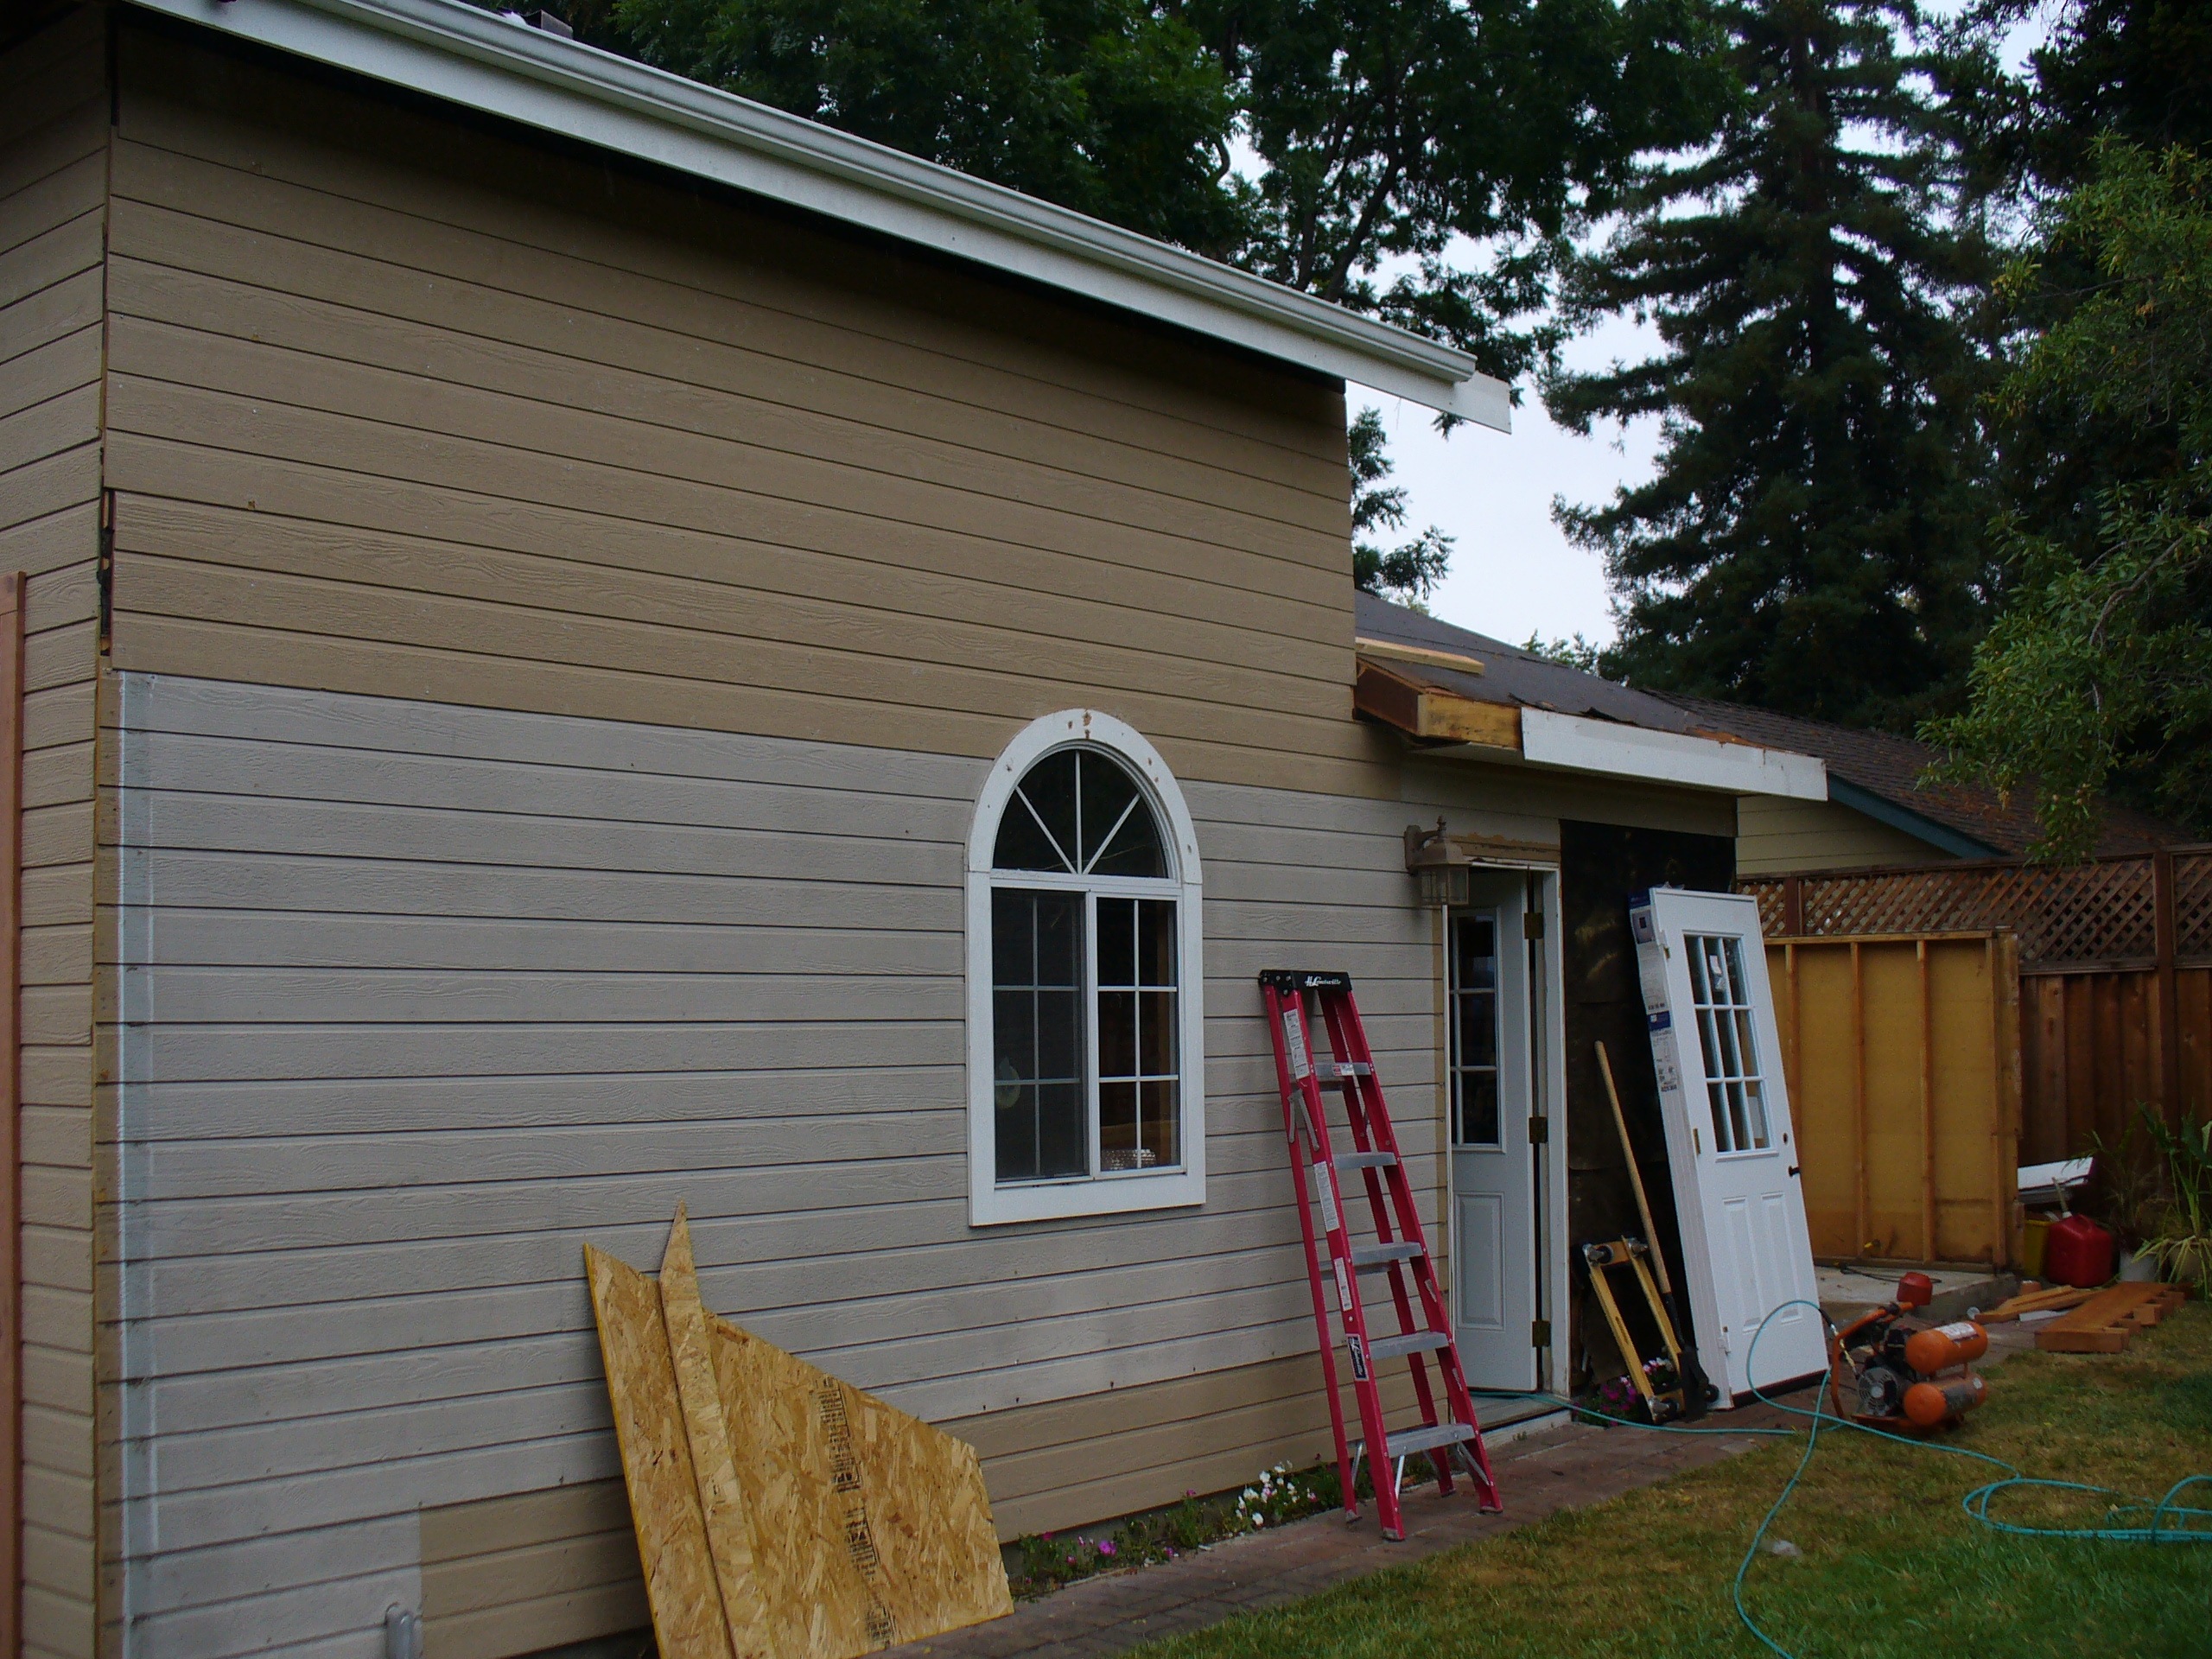
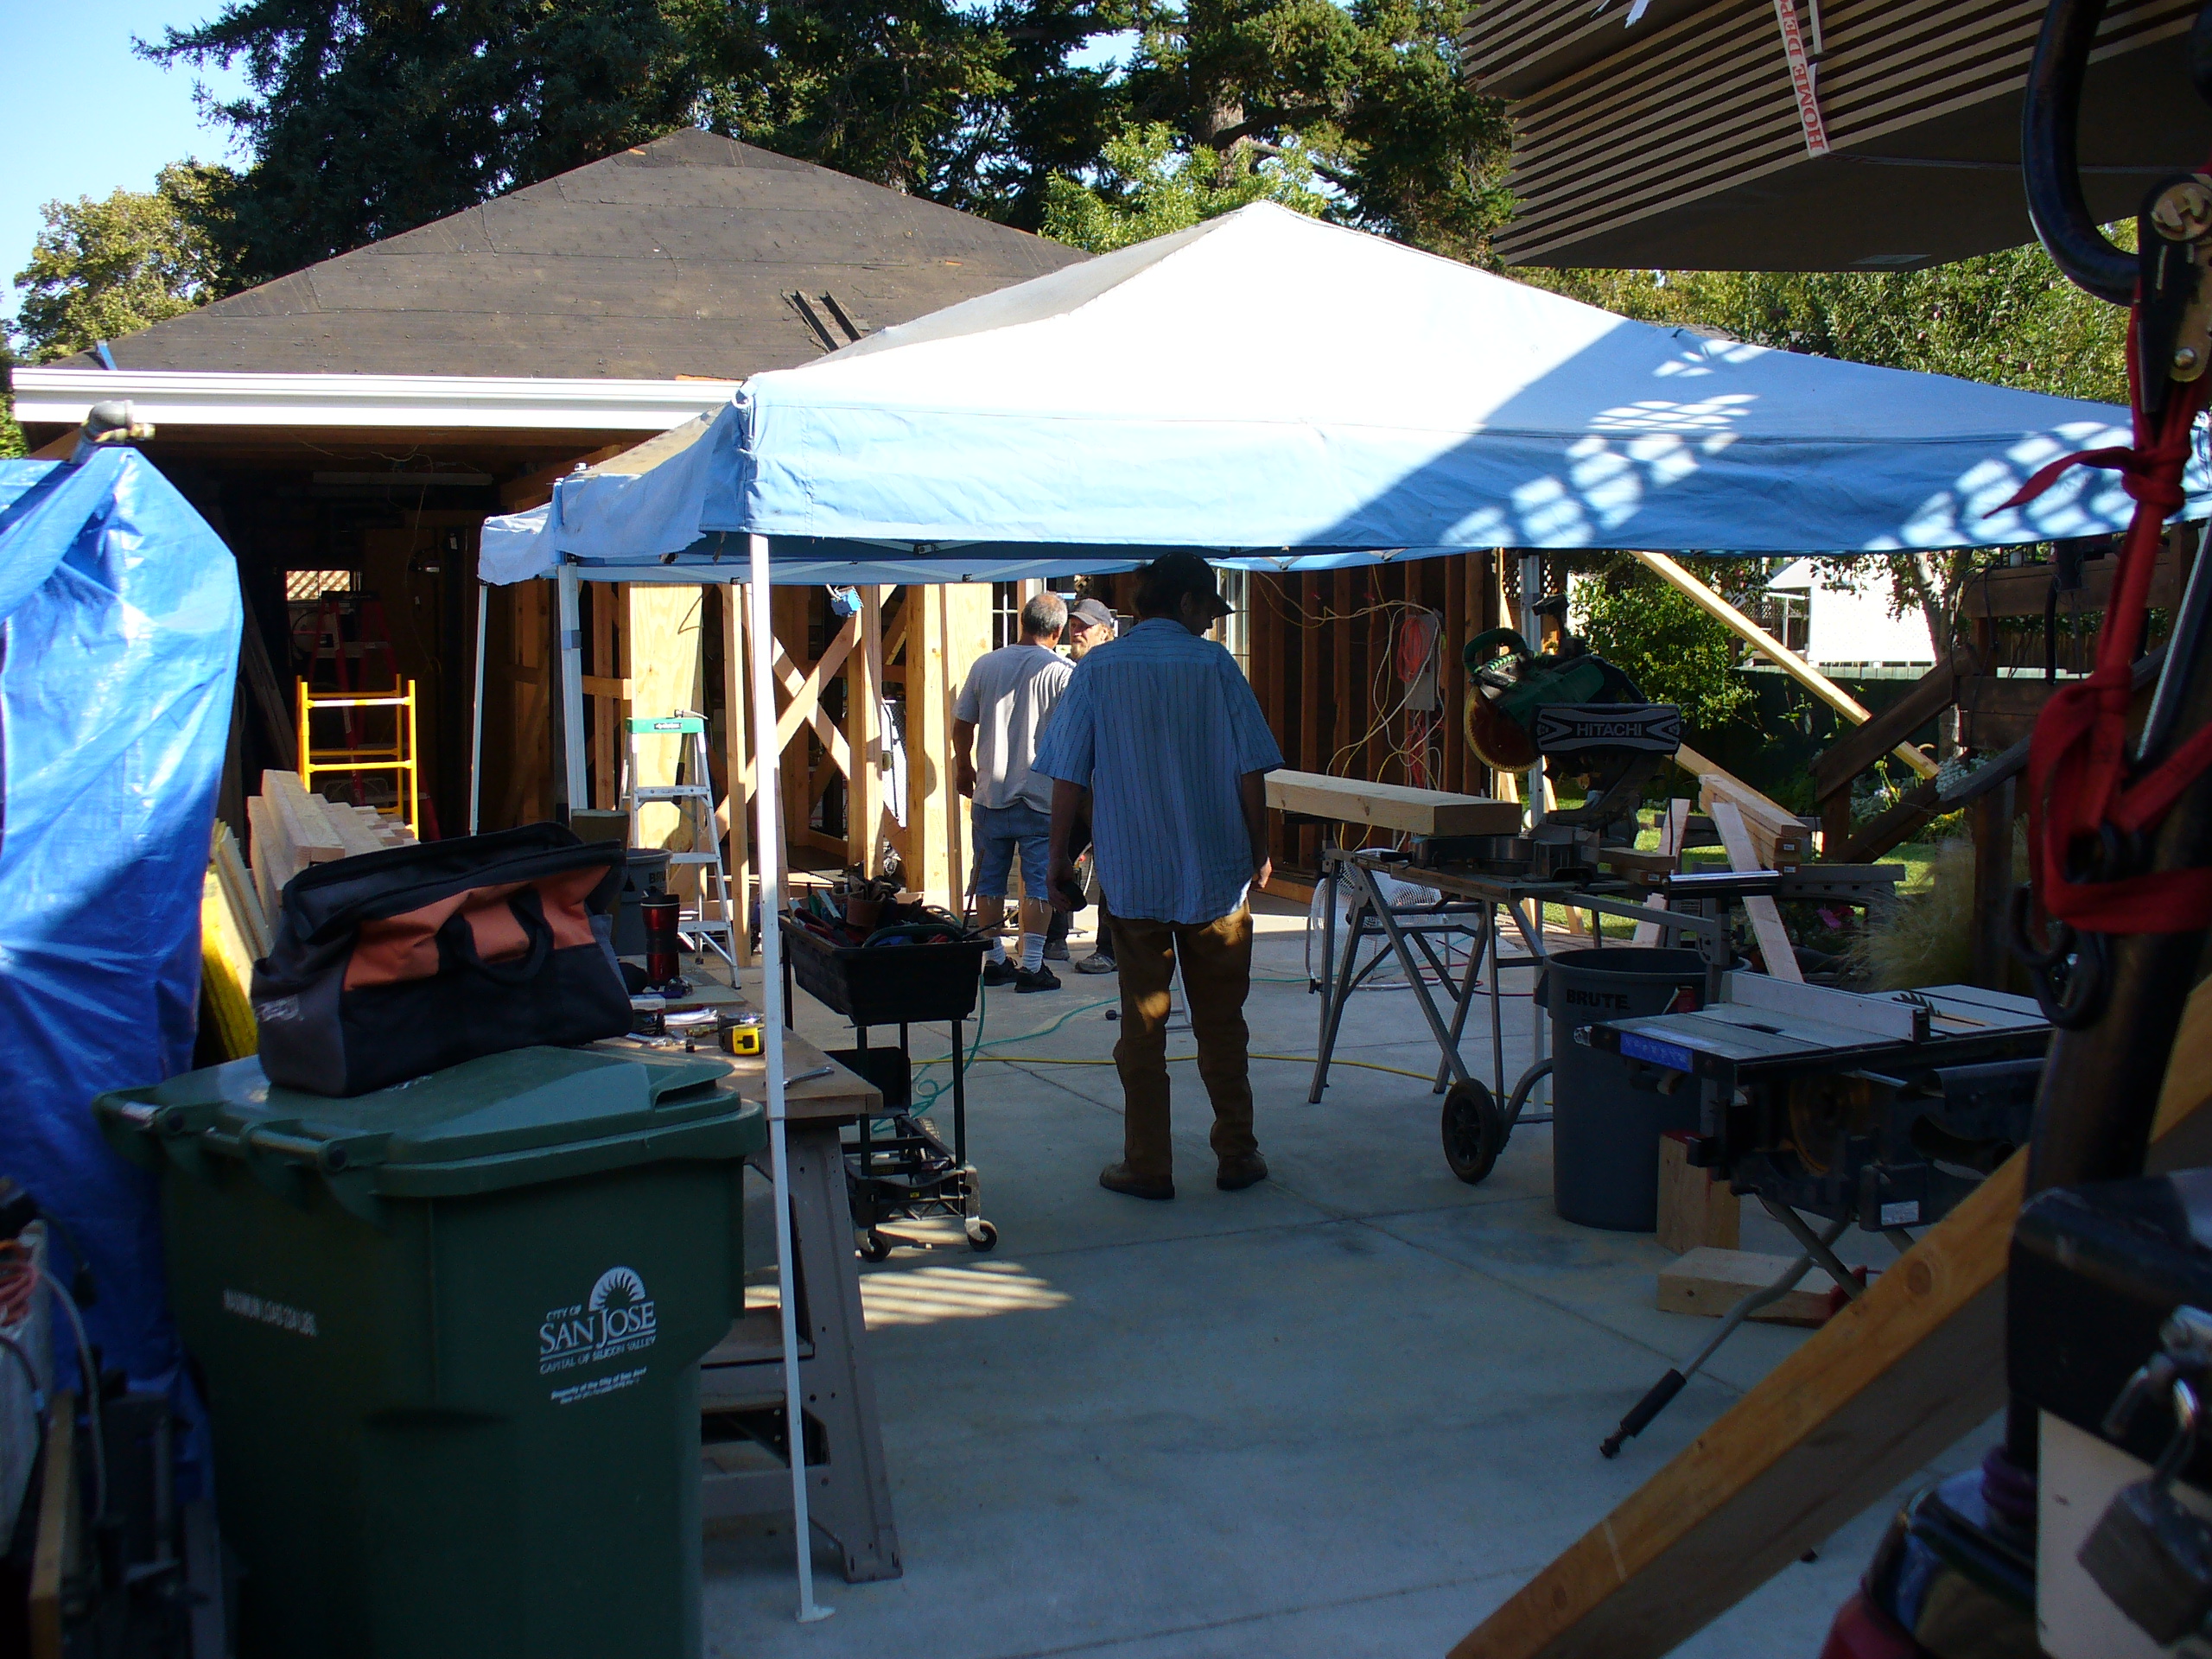
We were called in to in effect do a total structure demolition, leaving in the slab and footings, and as much of the attached shop area intact as possible. This would have been a simple job in demolition and rebuild/remodel of basically a 20’x20’ space, with a few engineering problems in tie-ins to the shop area that we were to leave intact.
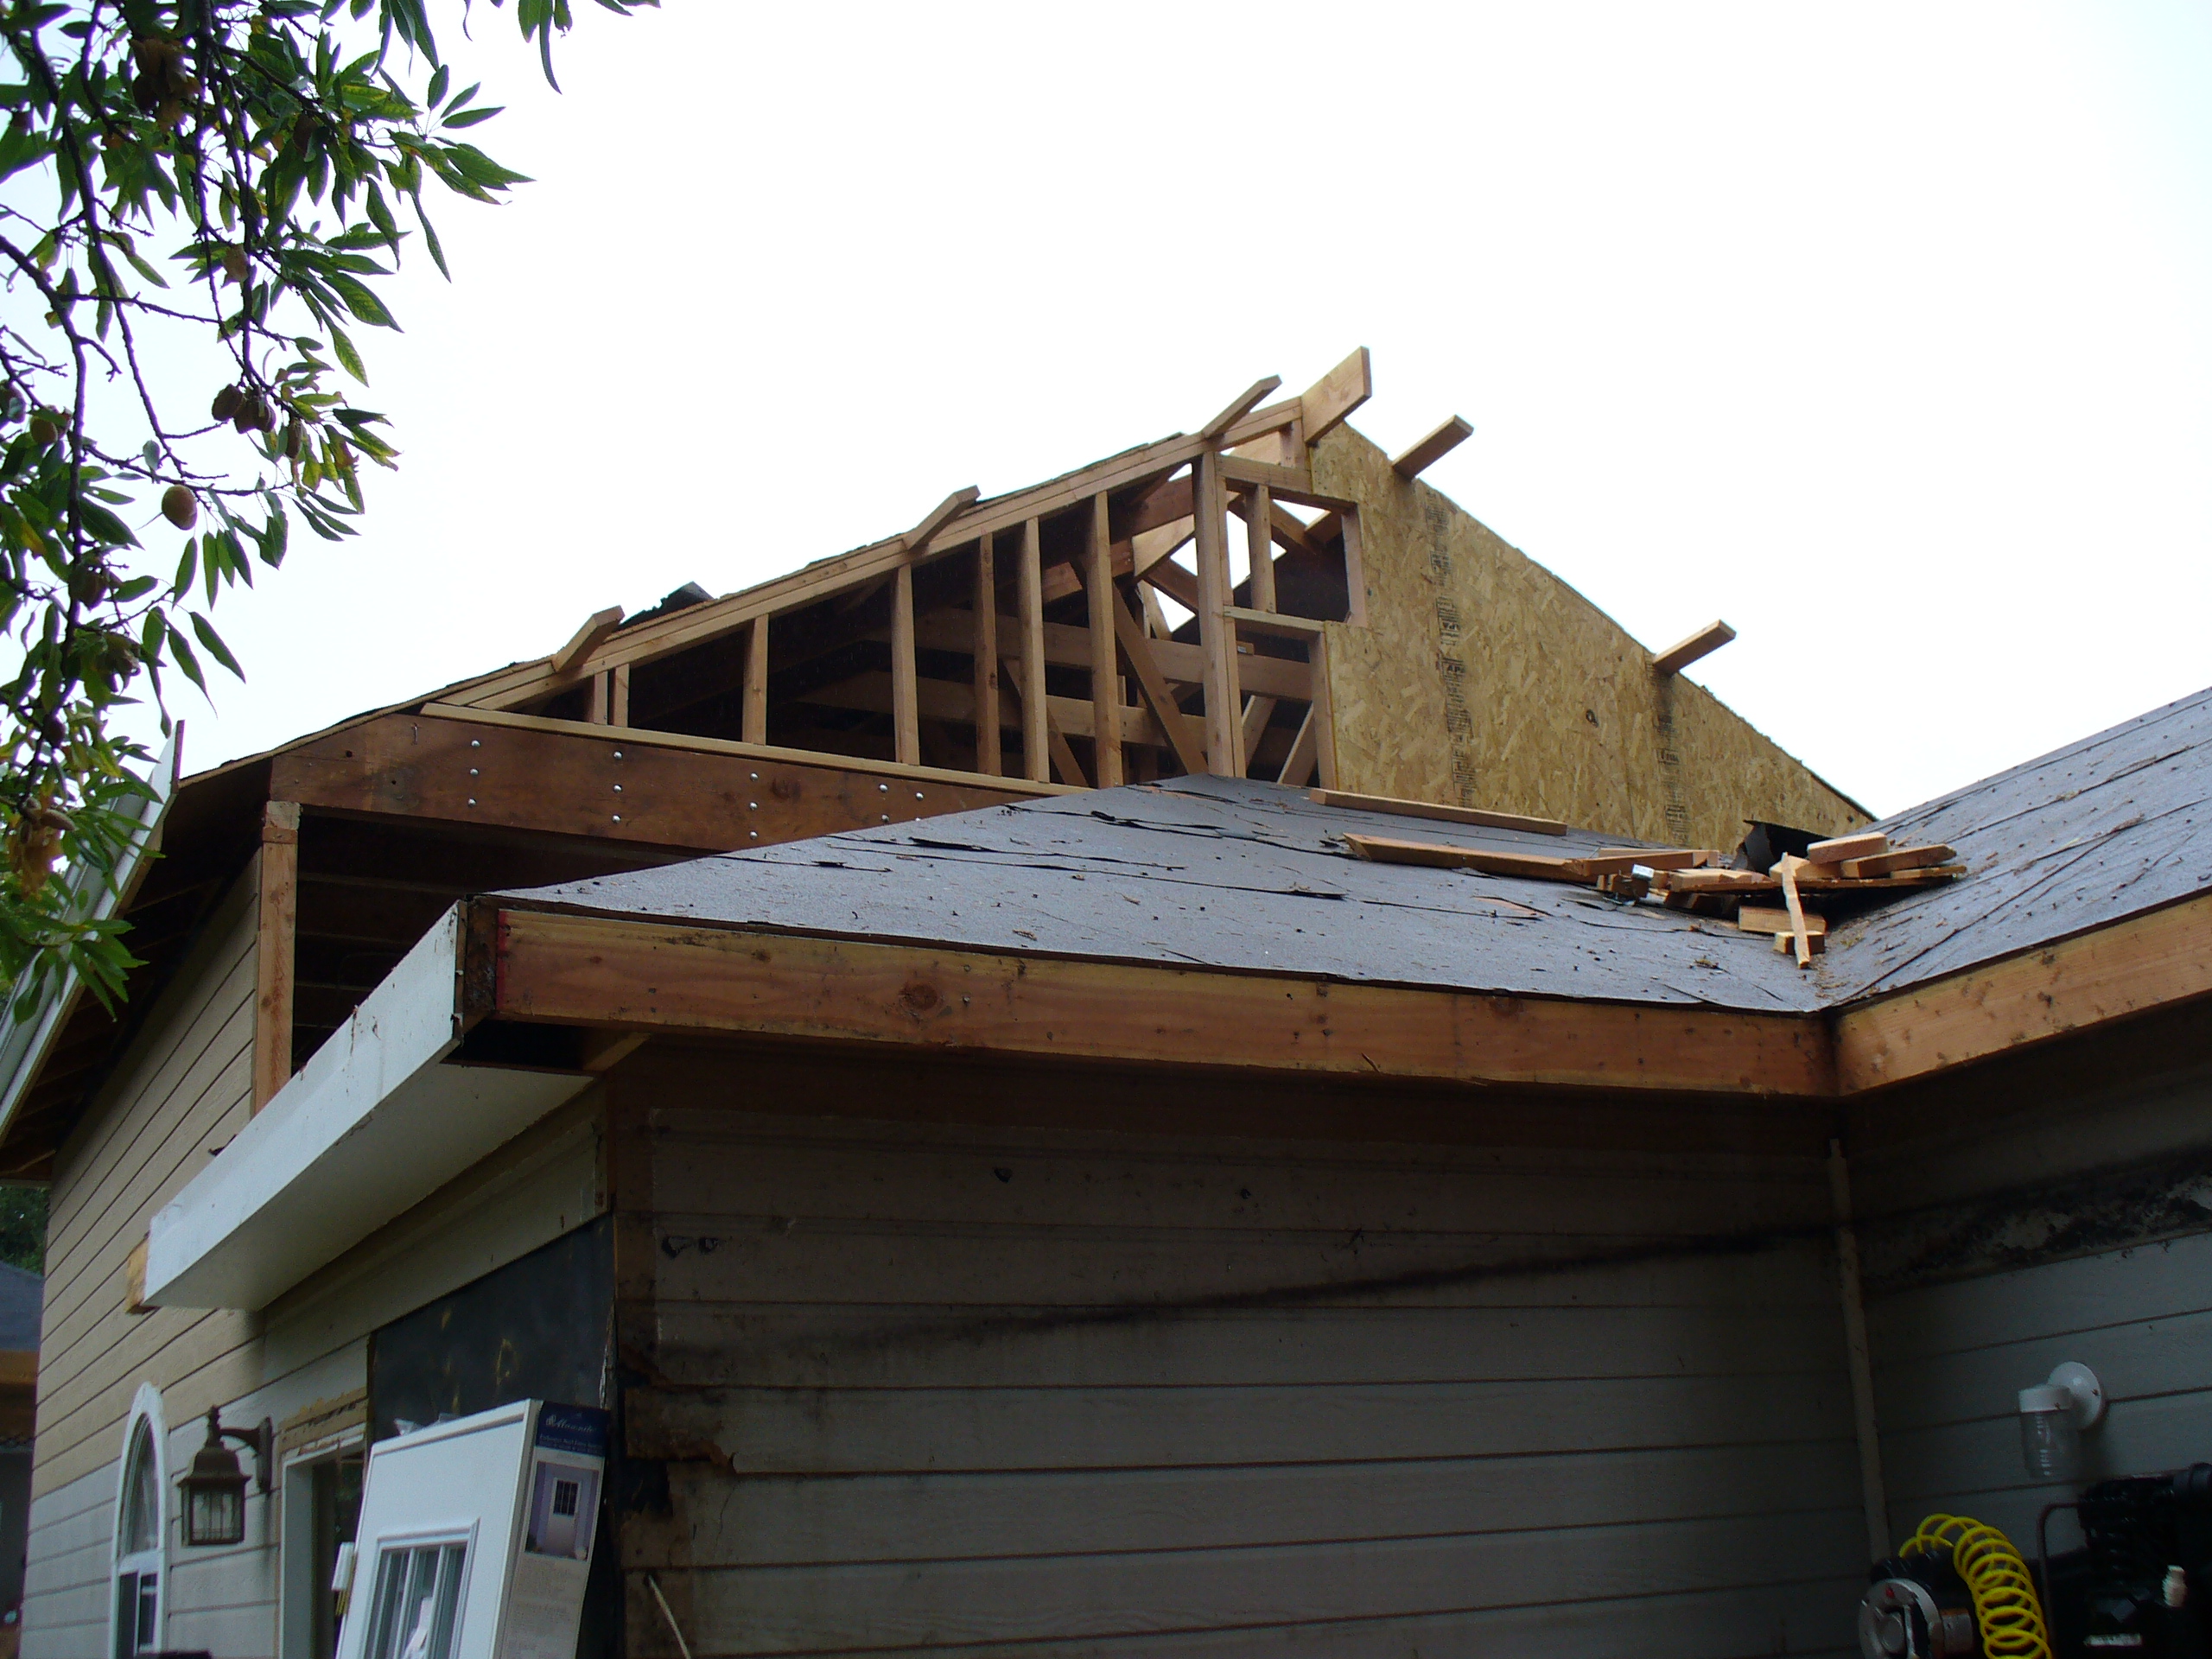
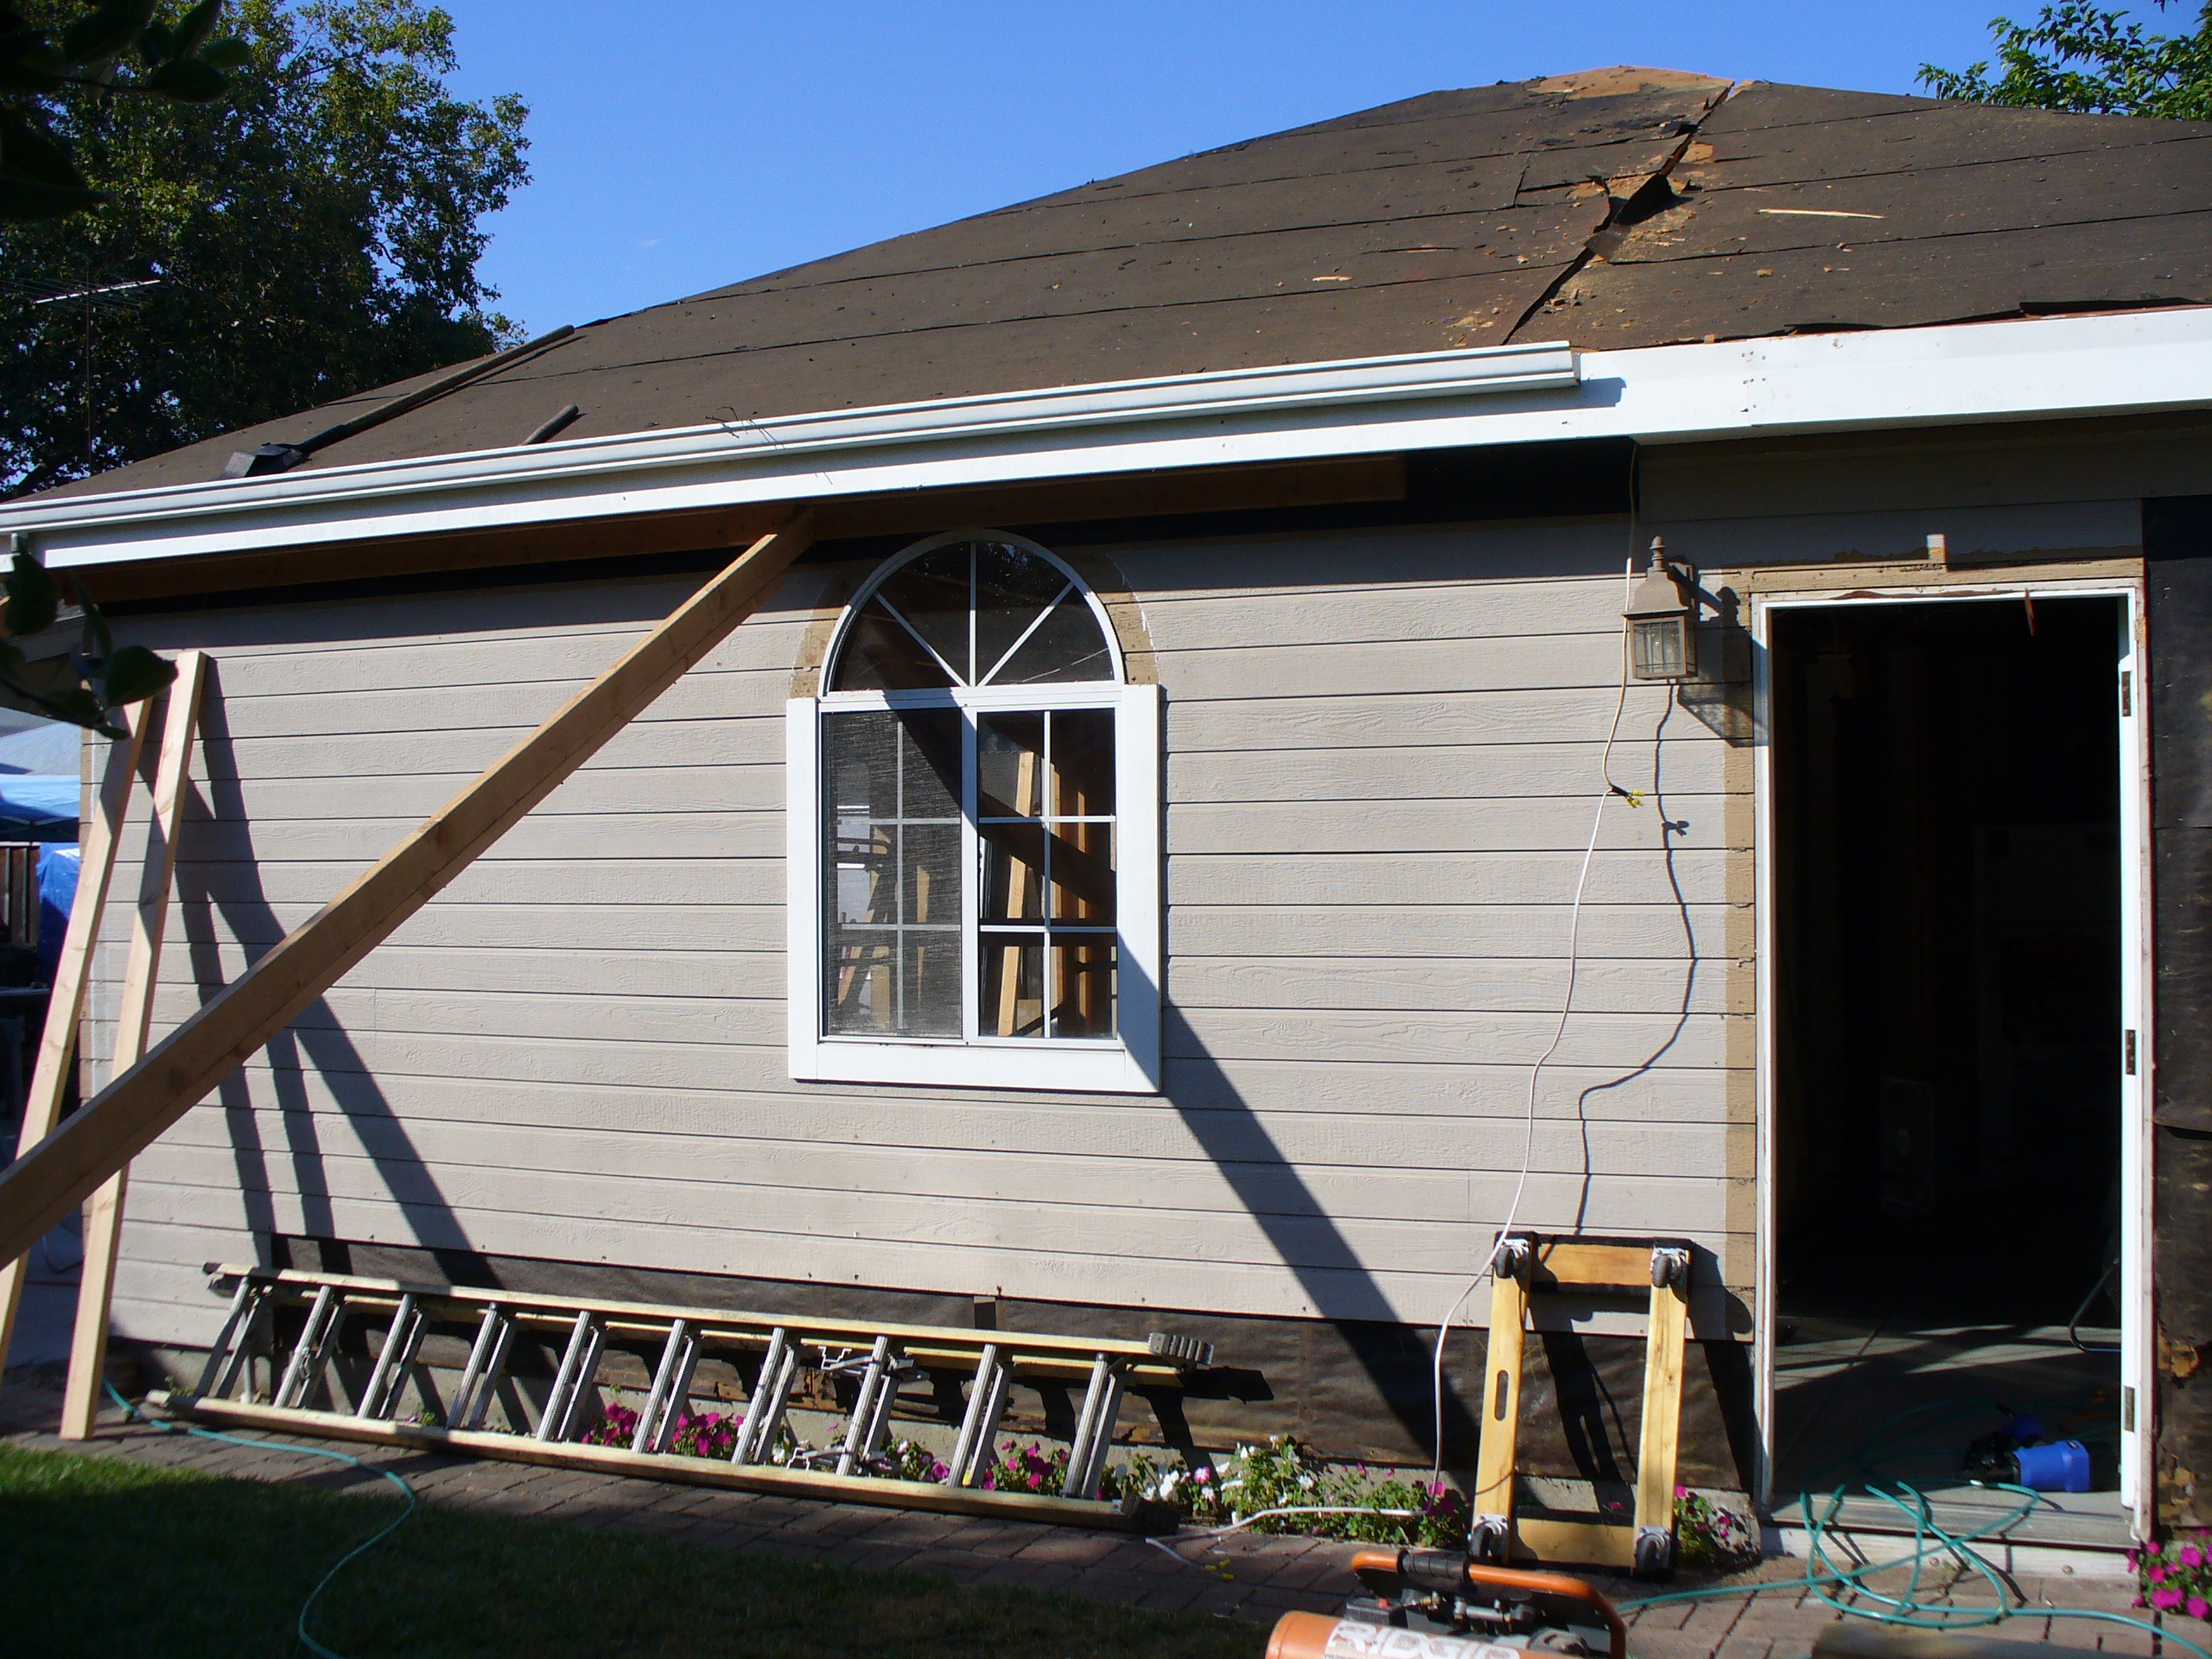
As the owner had previously had us re-roof the main house, and wanted us to also bid the new roofing on the proposed new garage and over the existing attached shop space, the idea of lifting the roof up to the Owner’s asked for elevation, instead of demolishing it and rebuilding it, began to take root, considering the lift possible without the weight of the ton or so of asphalt shingle layers.
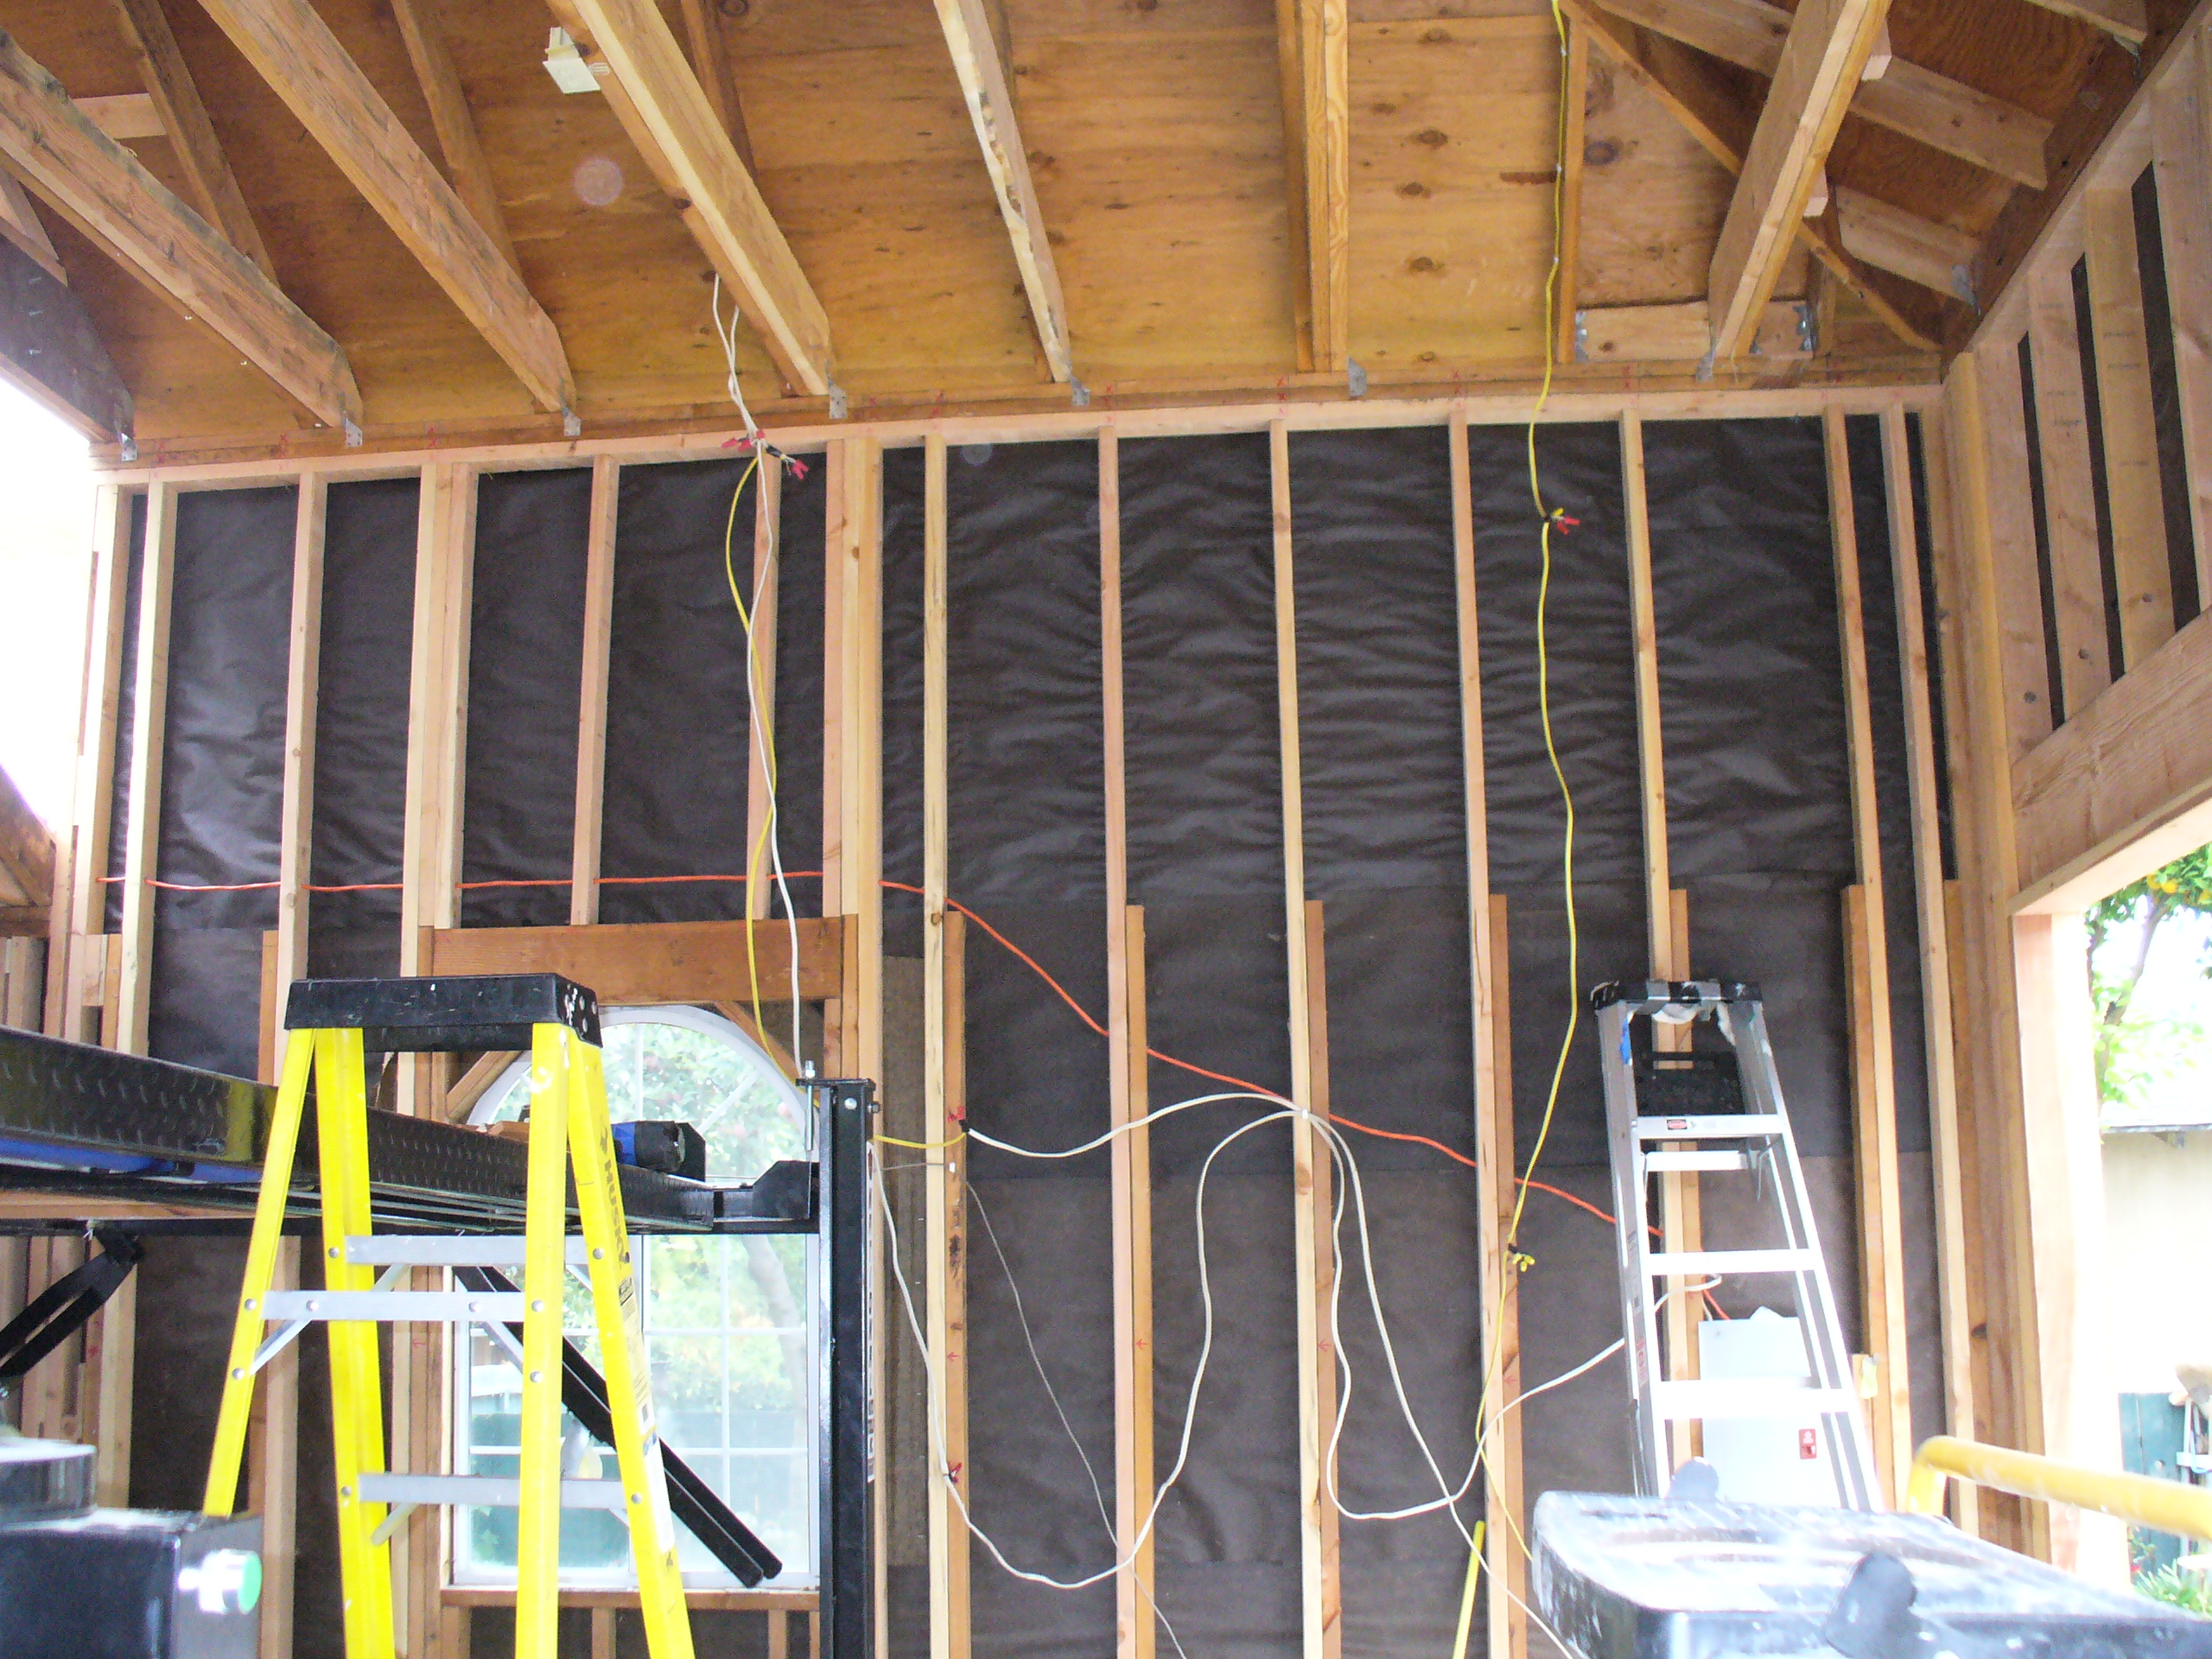
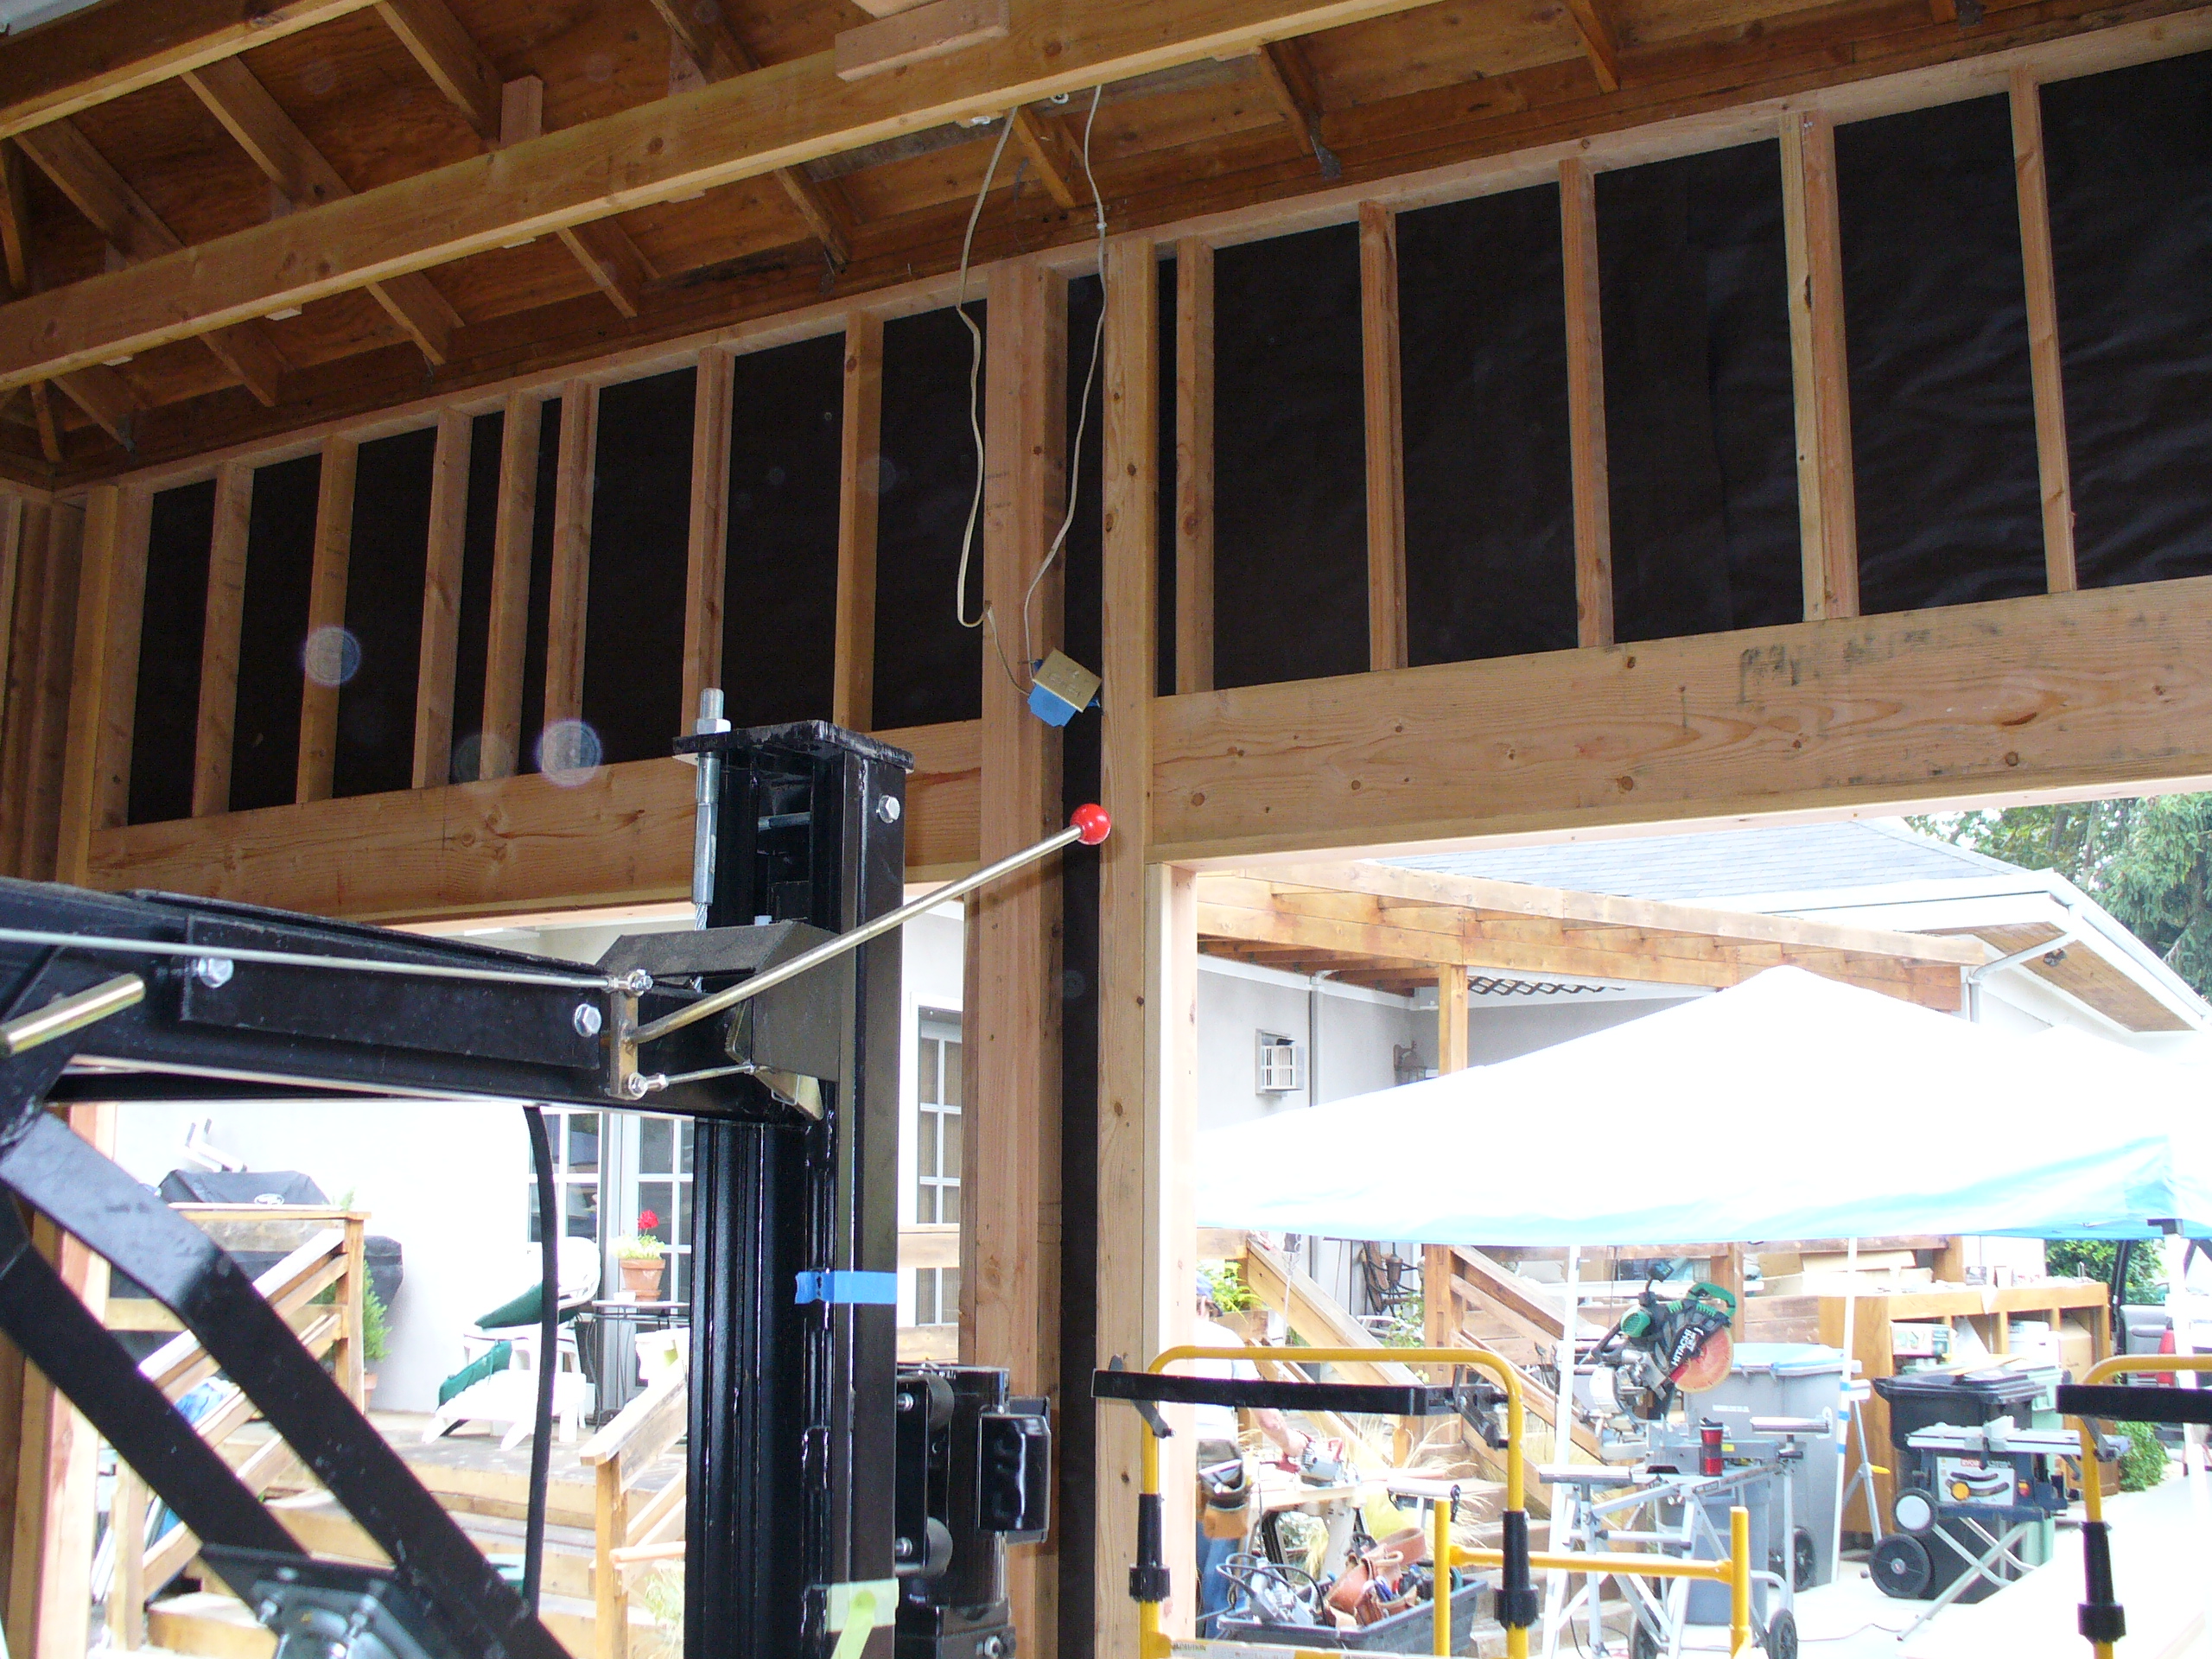
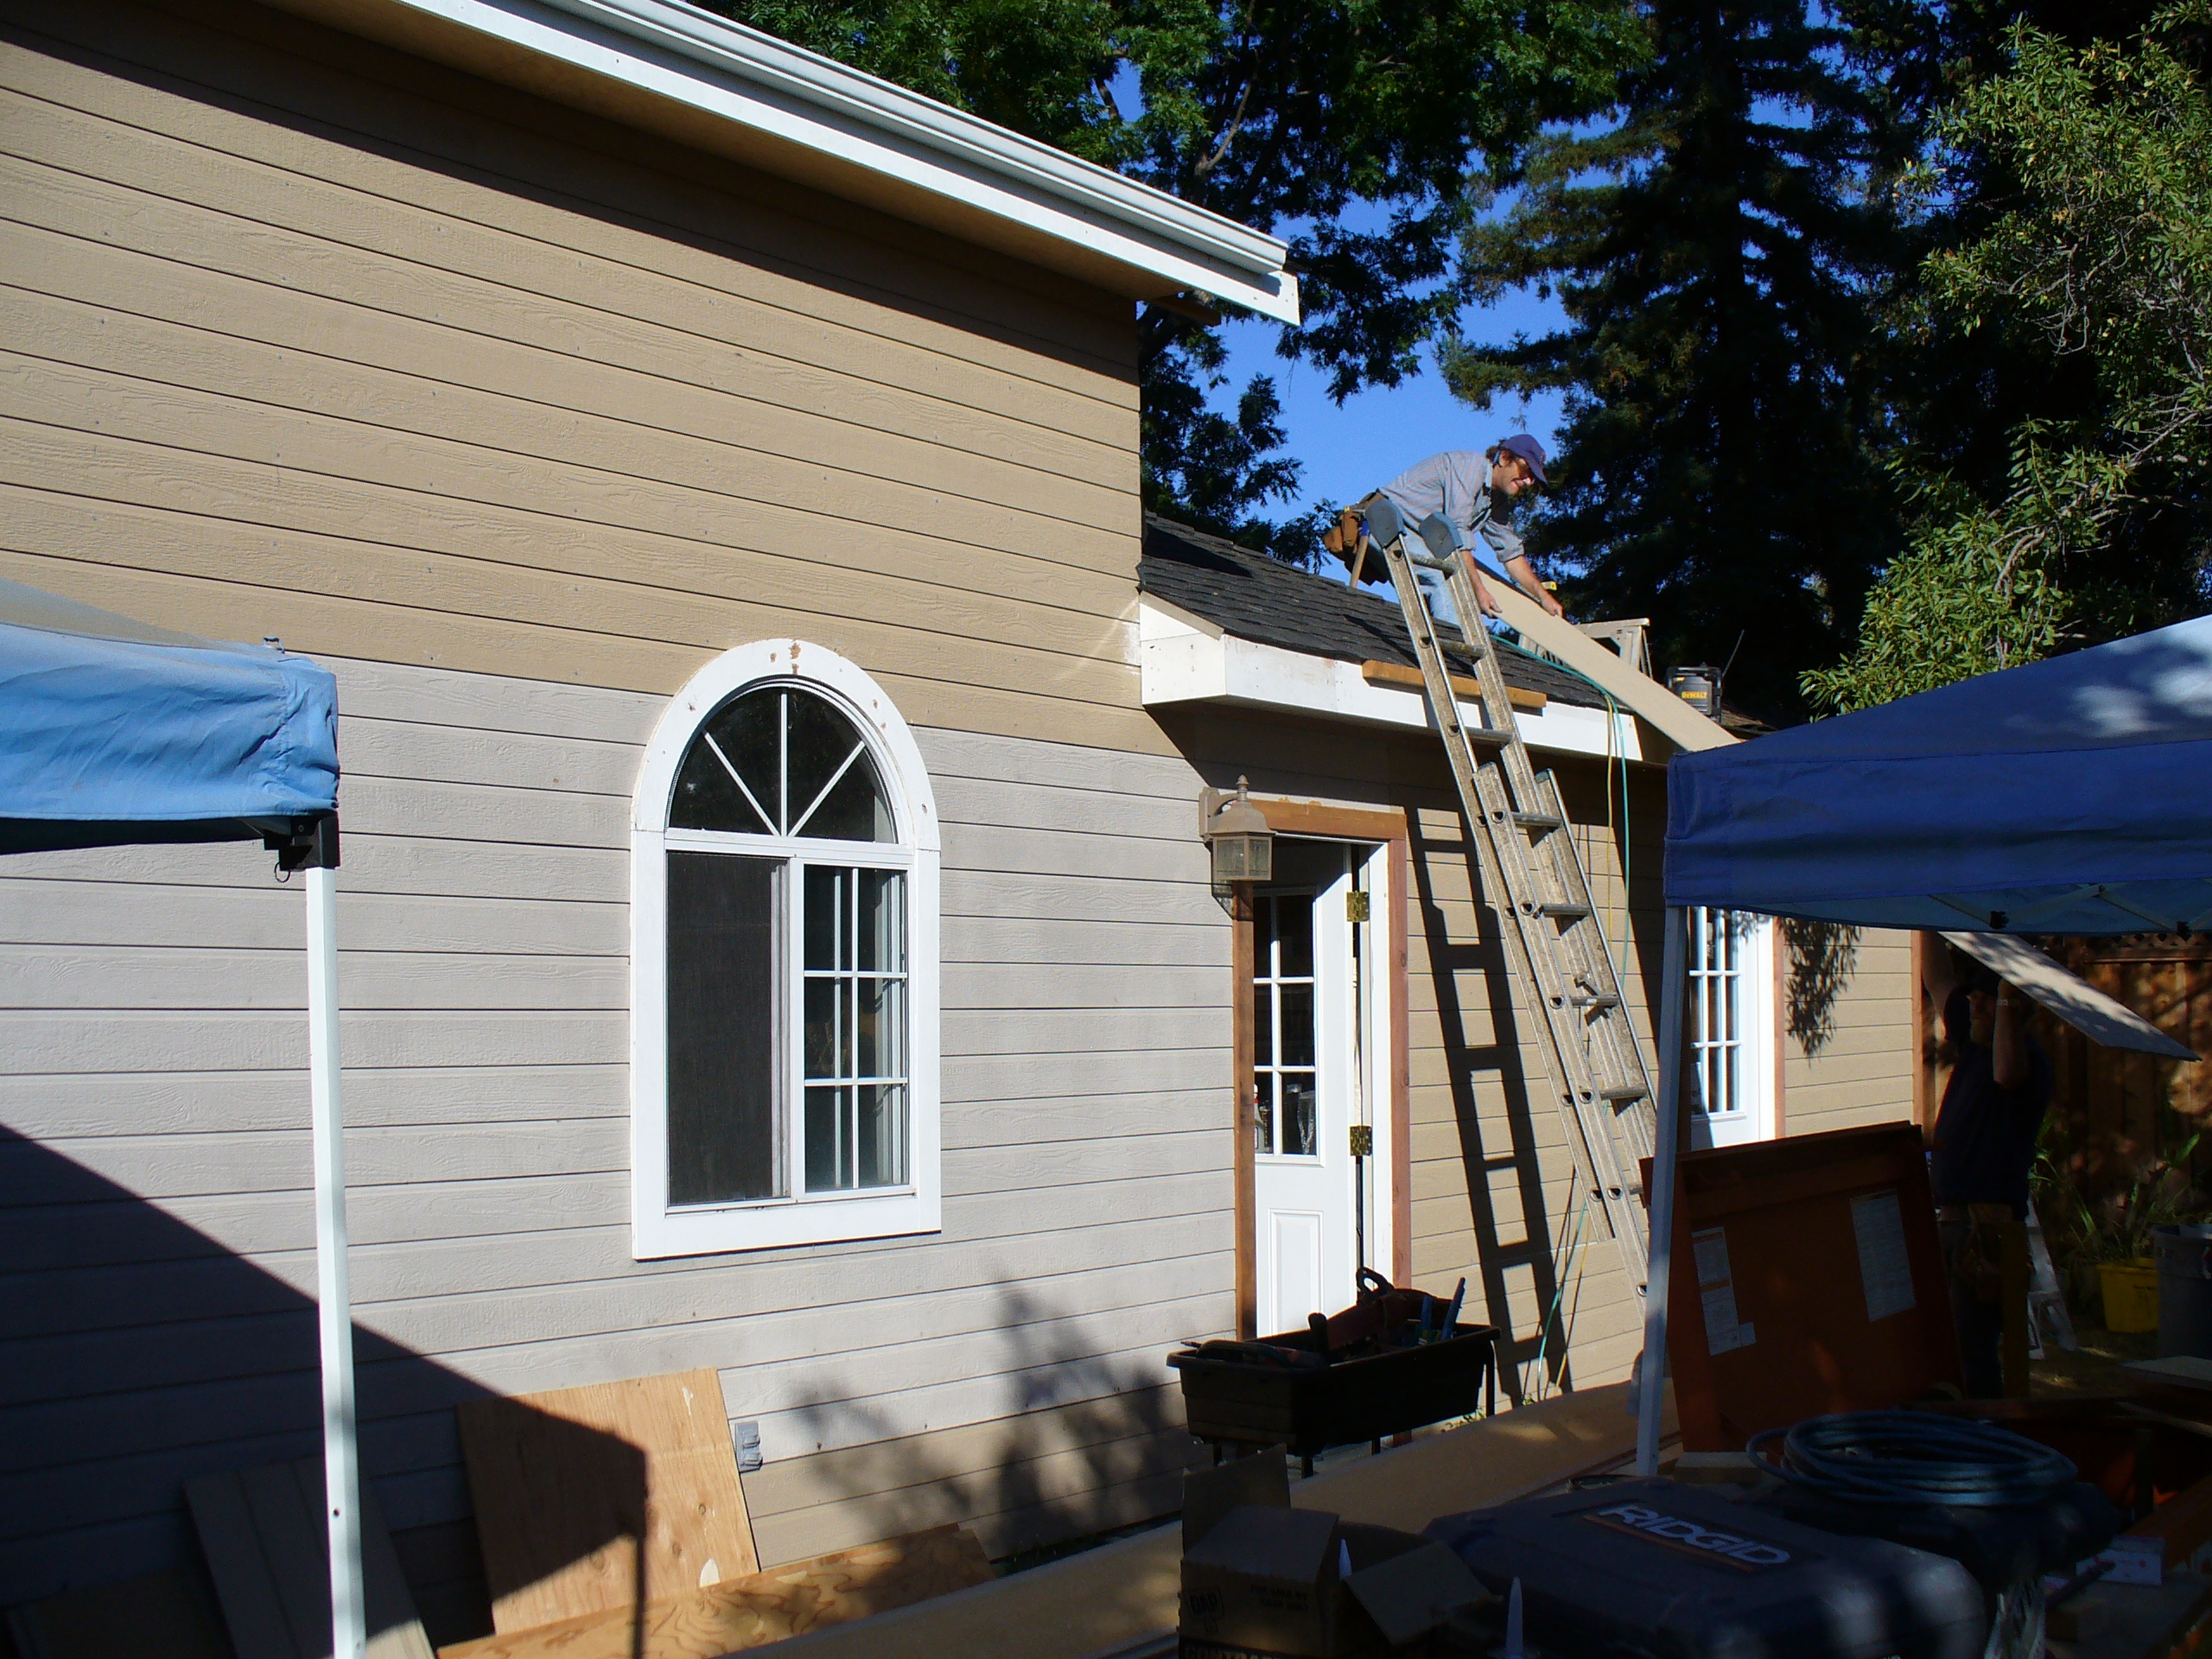
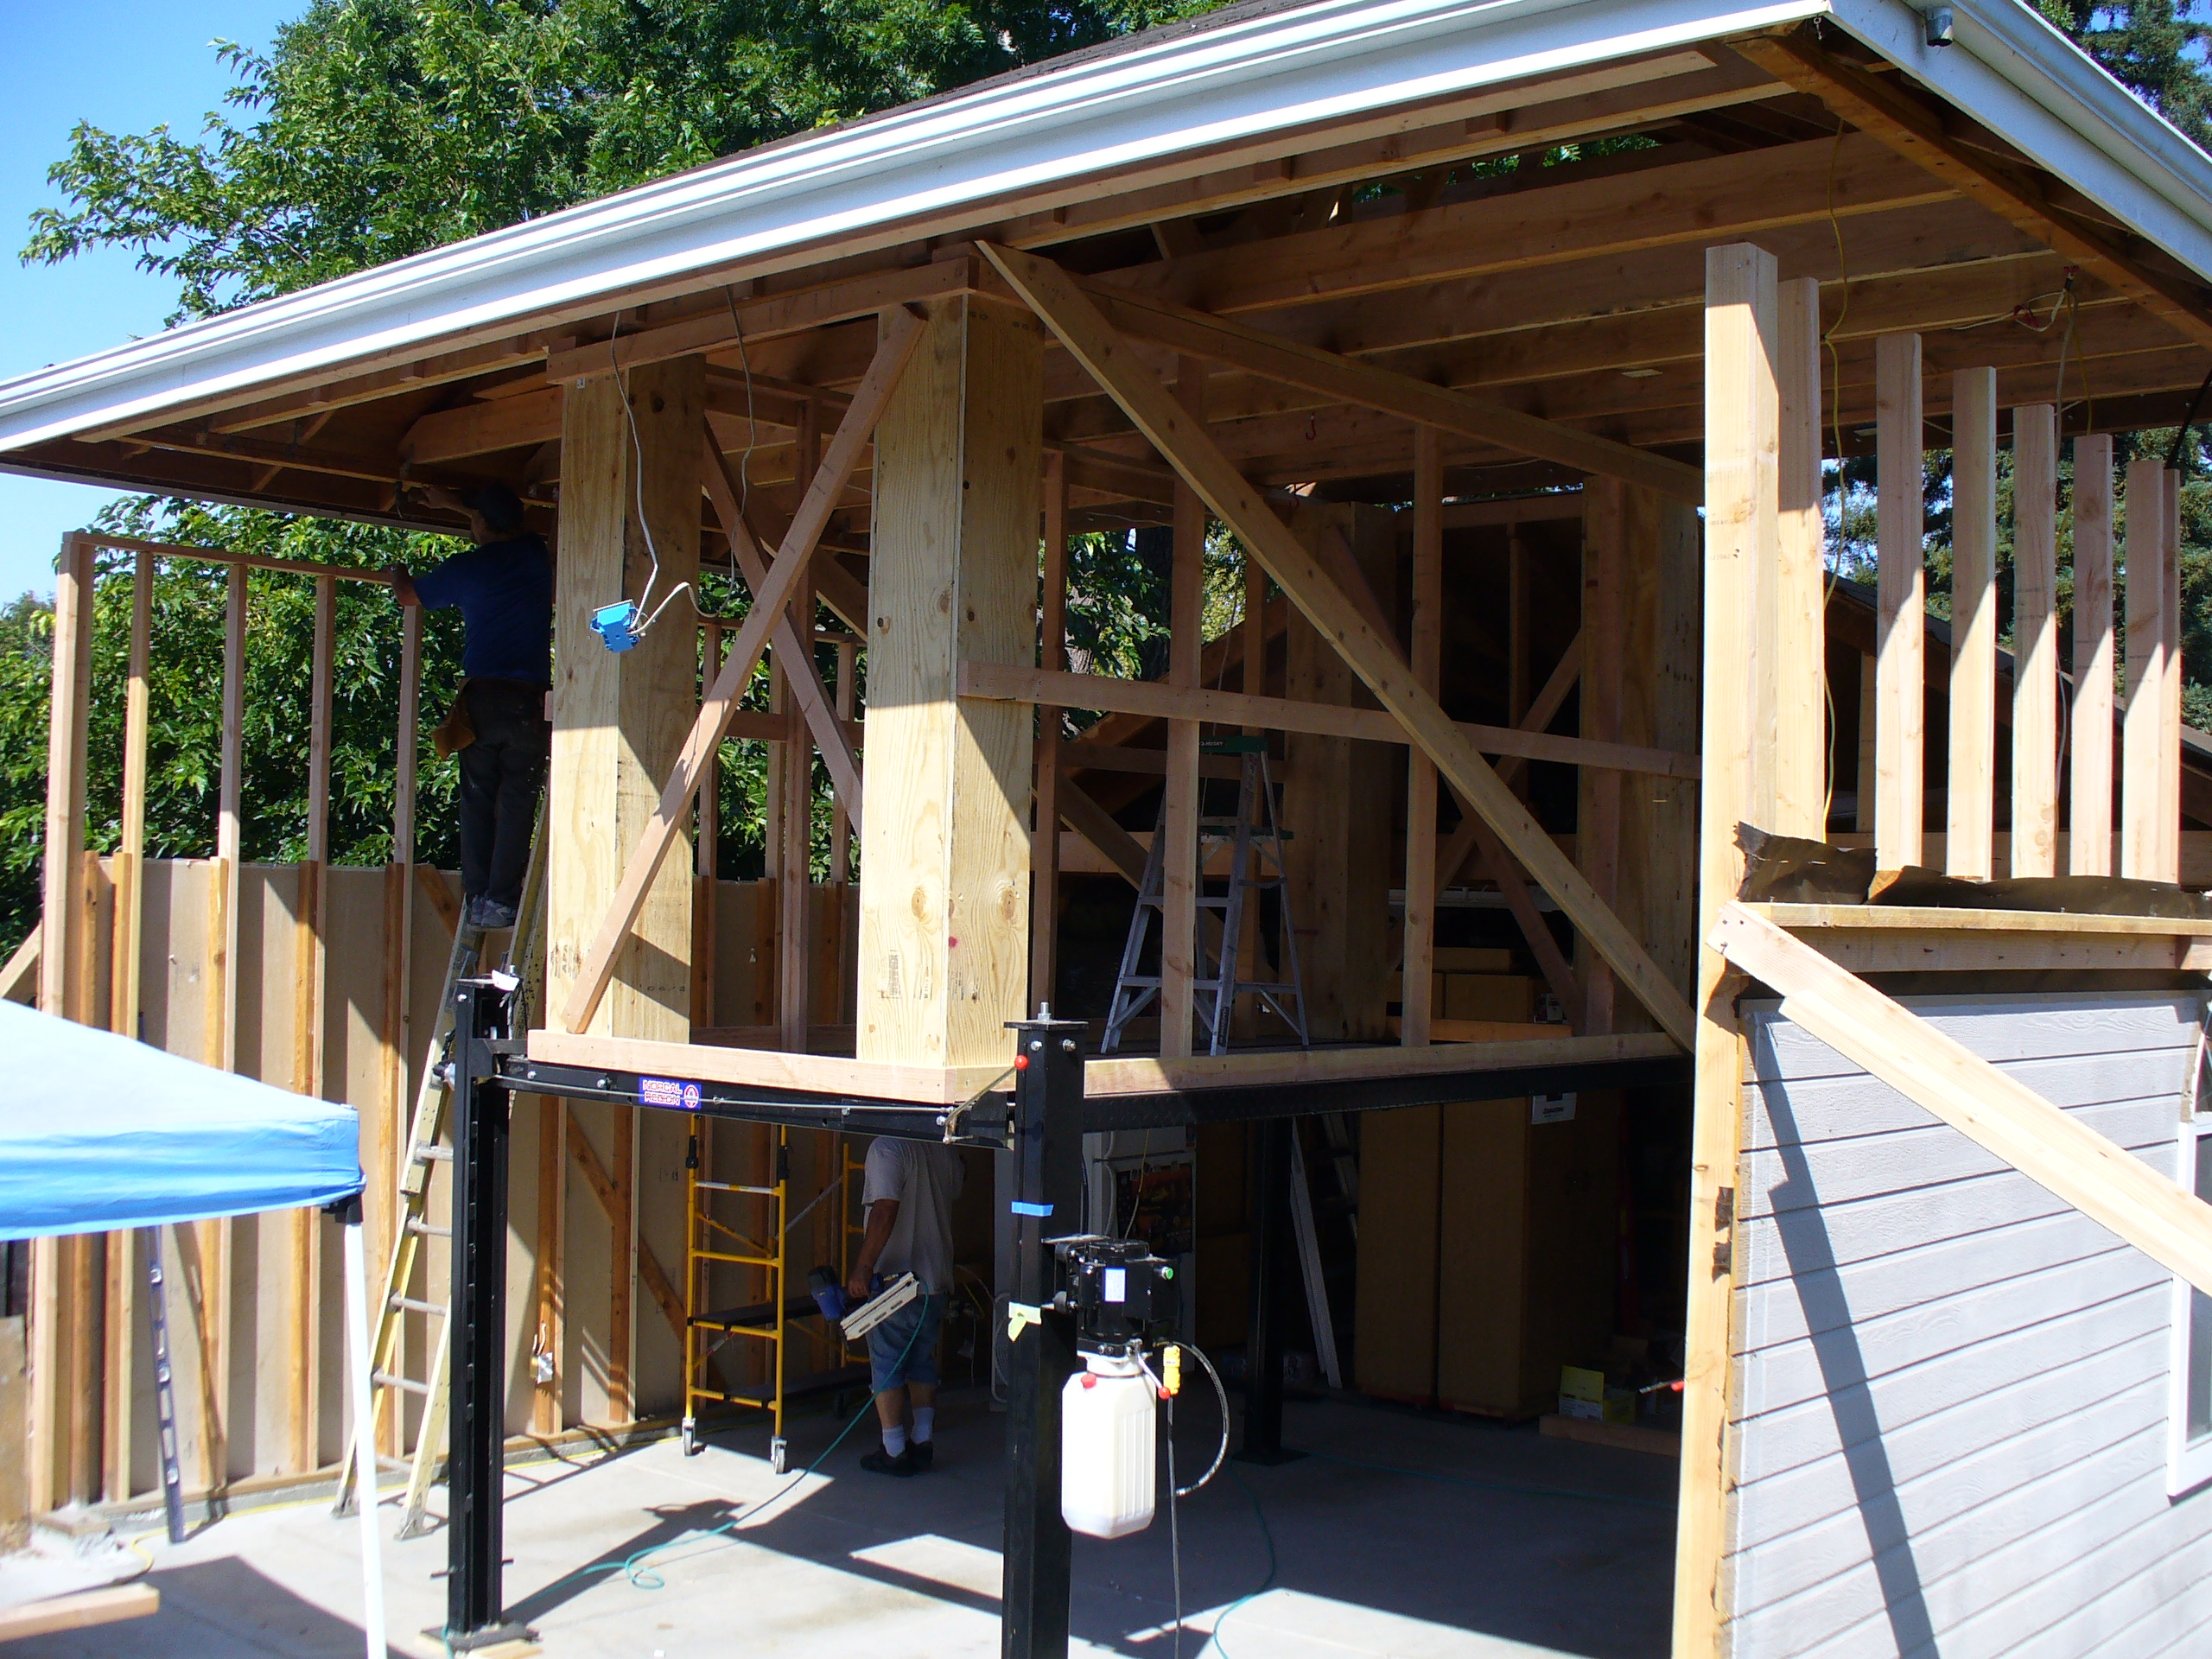
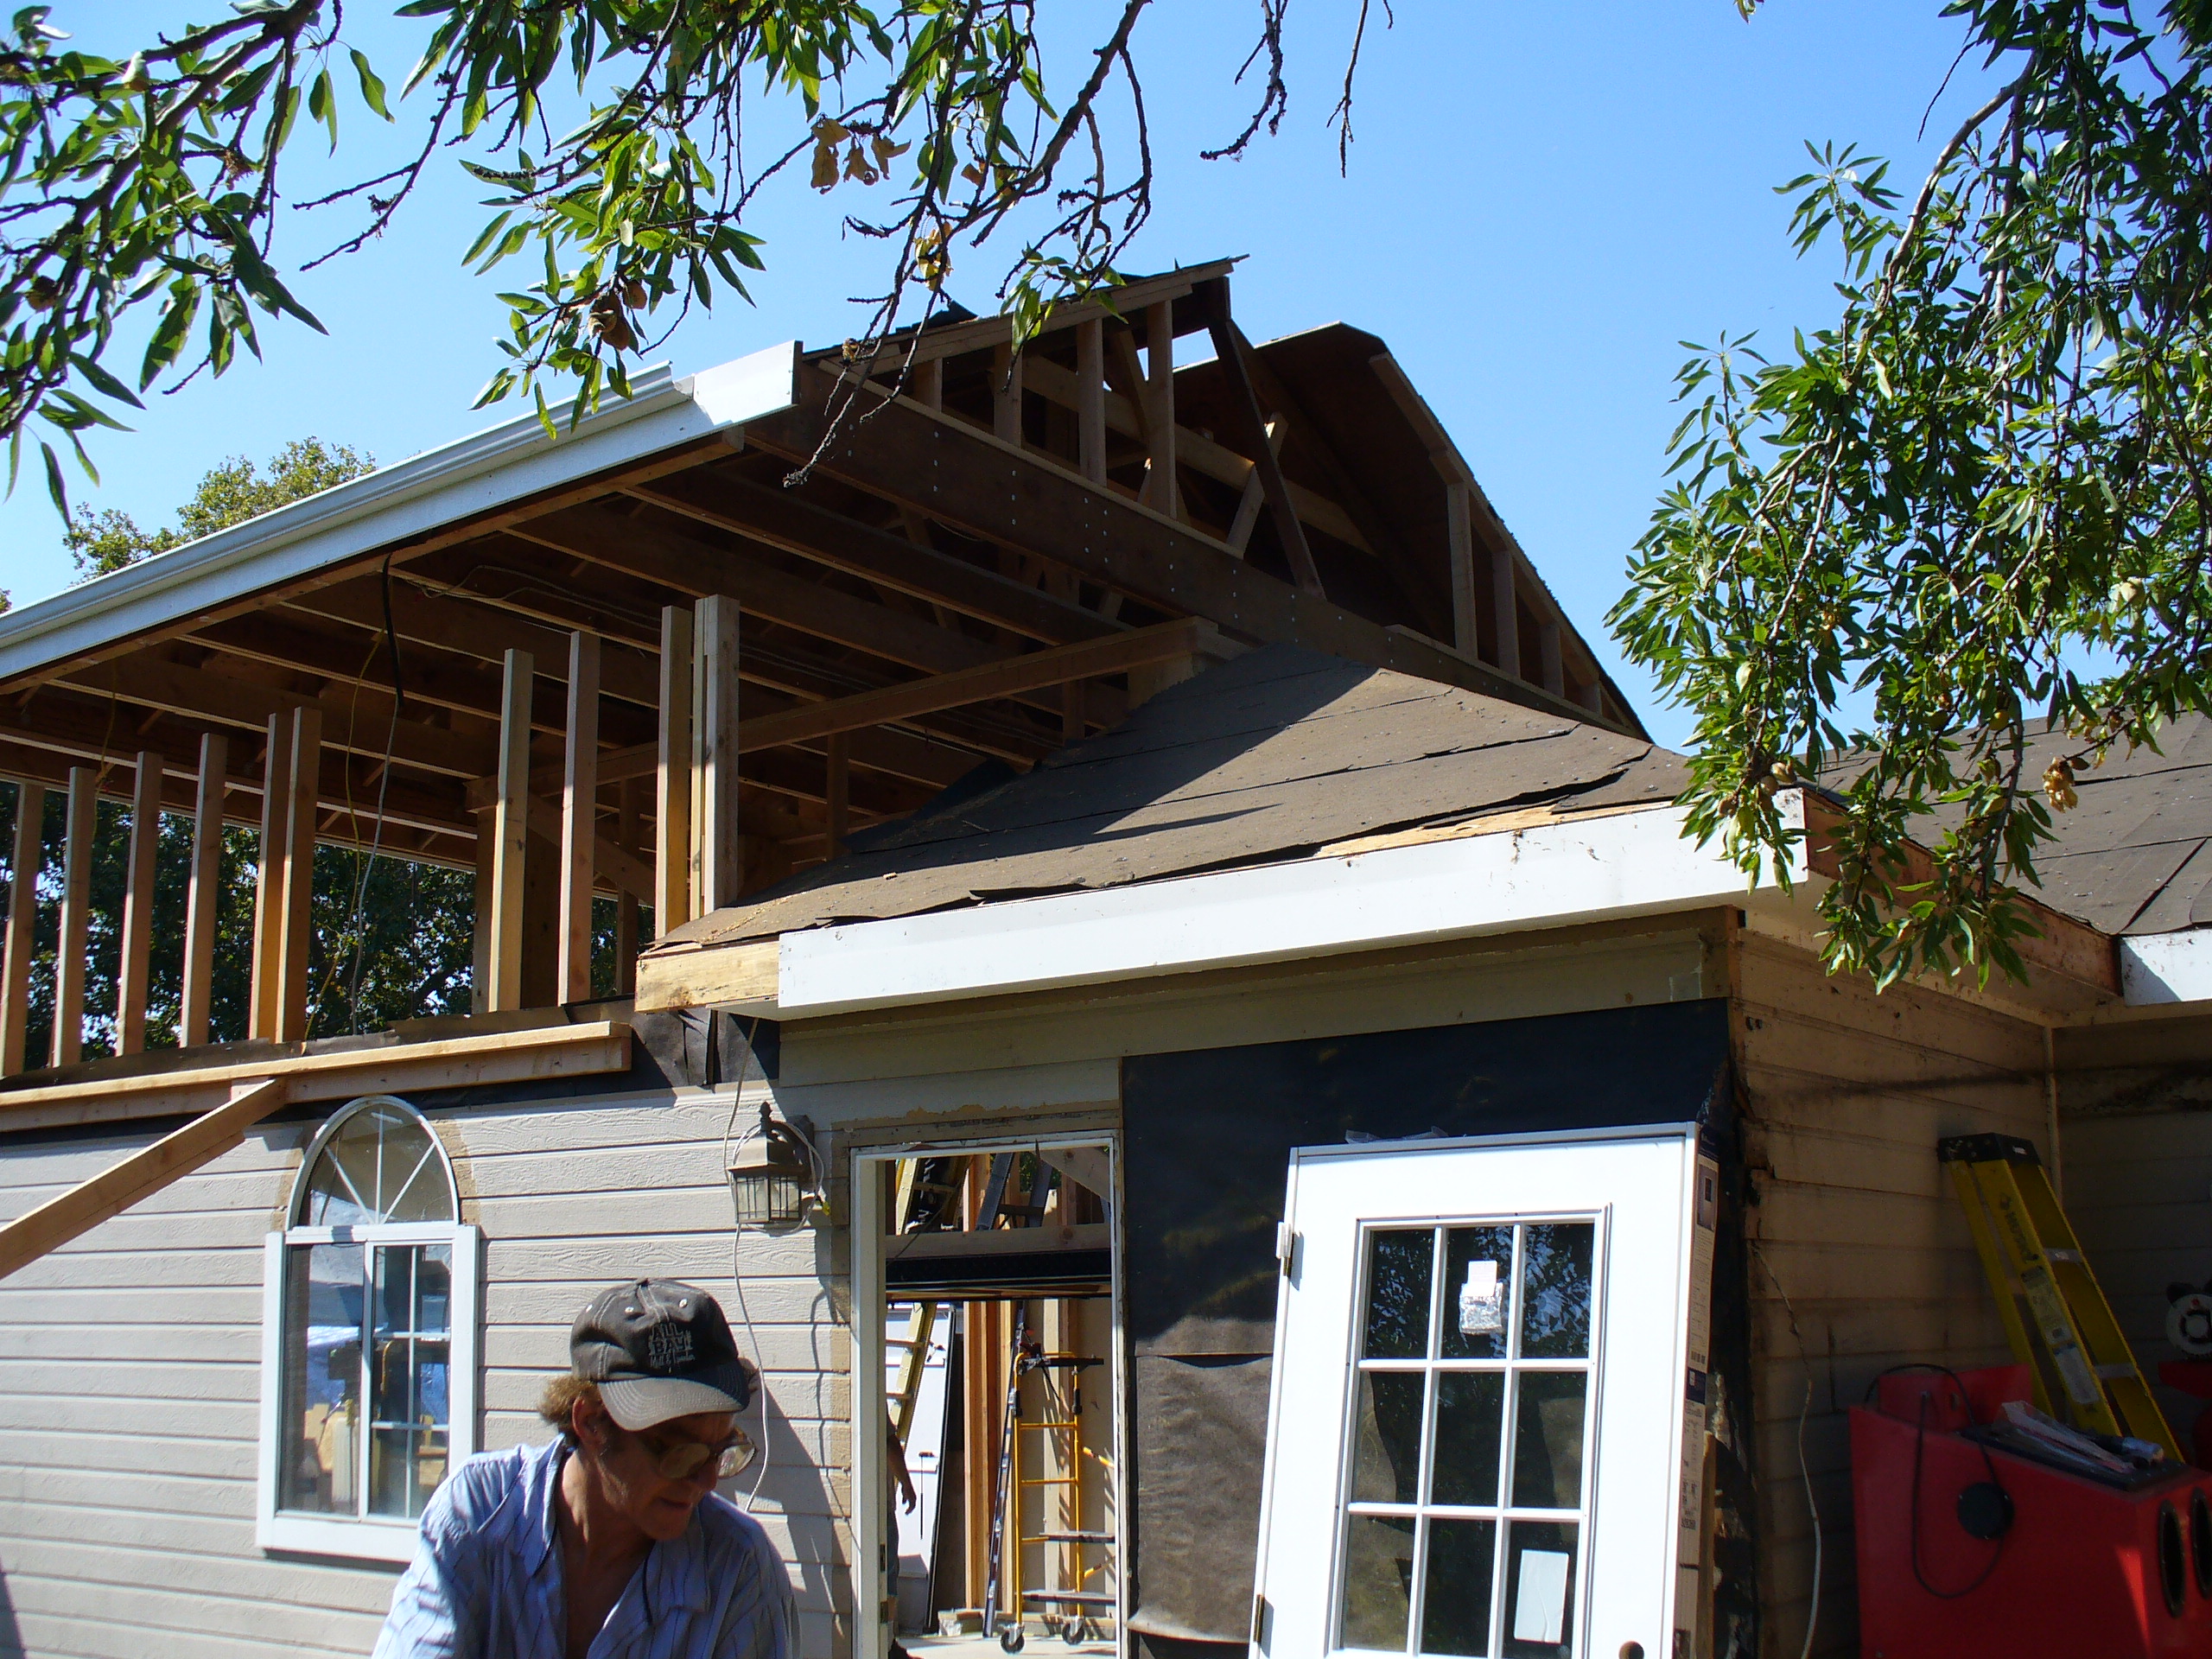
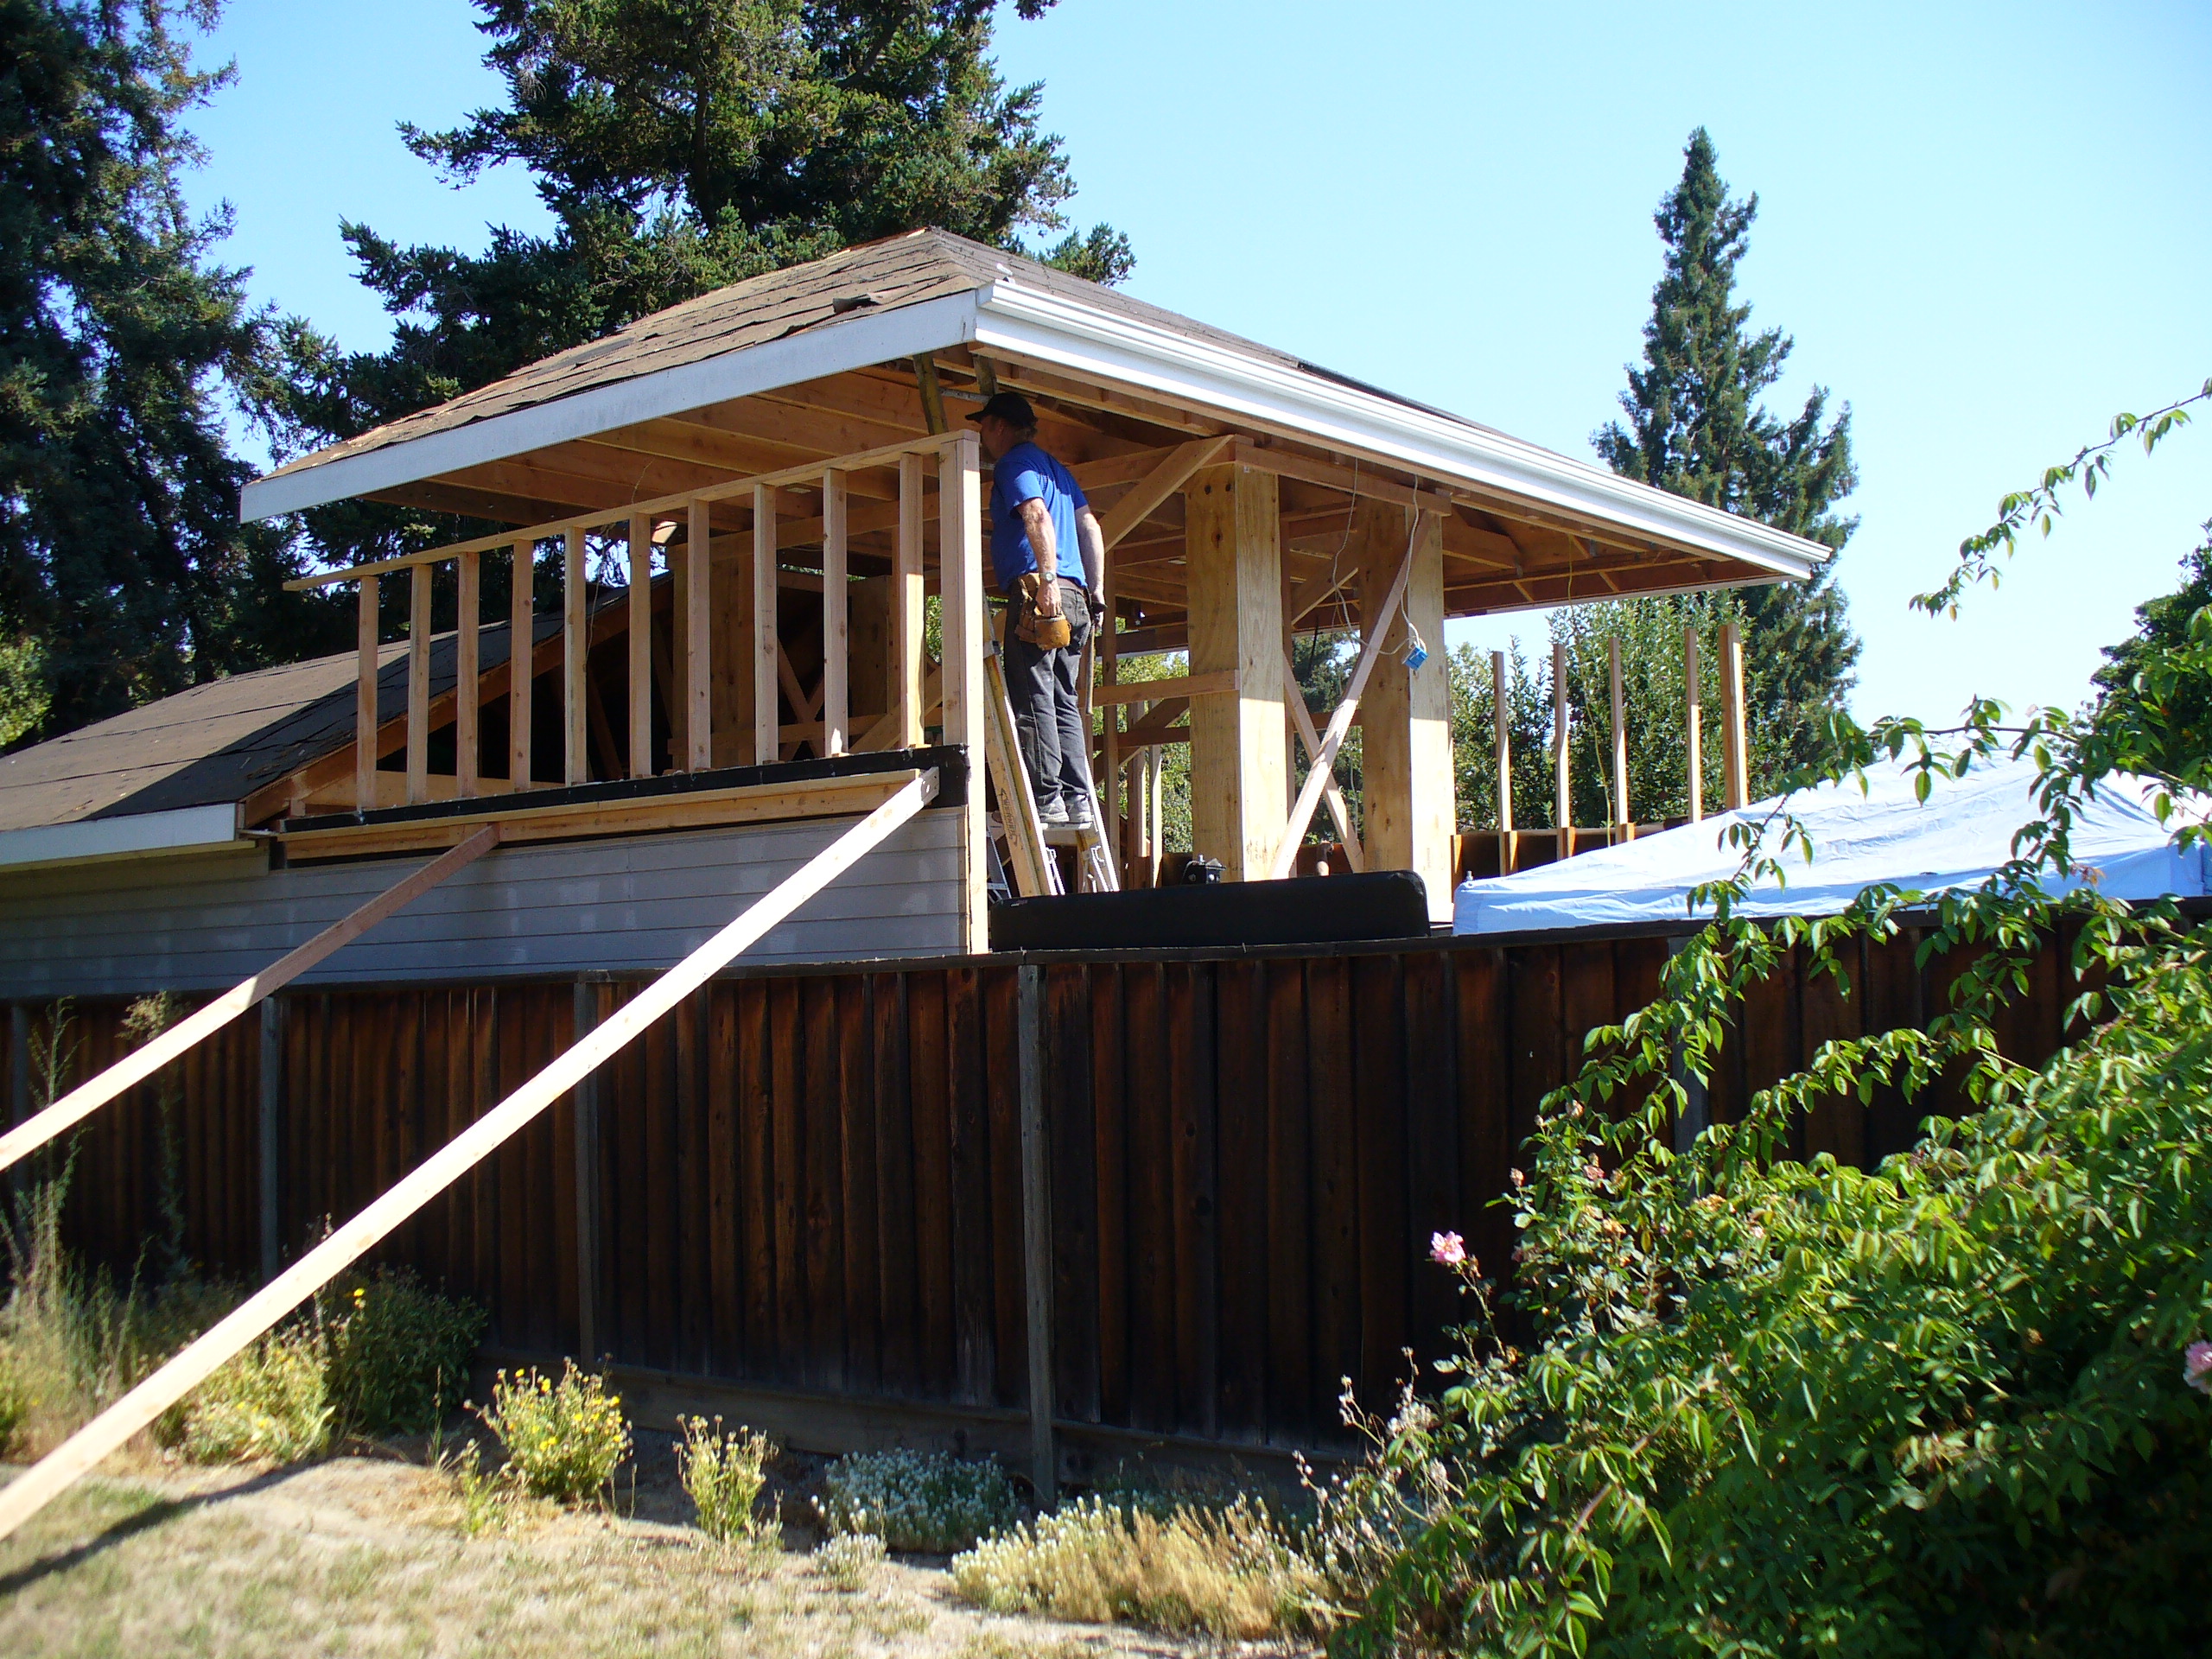
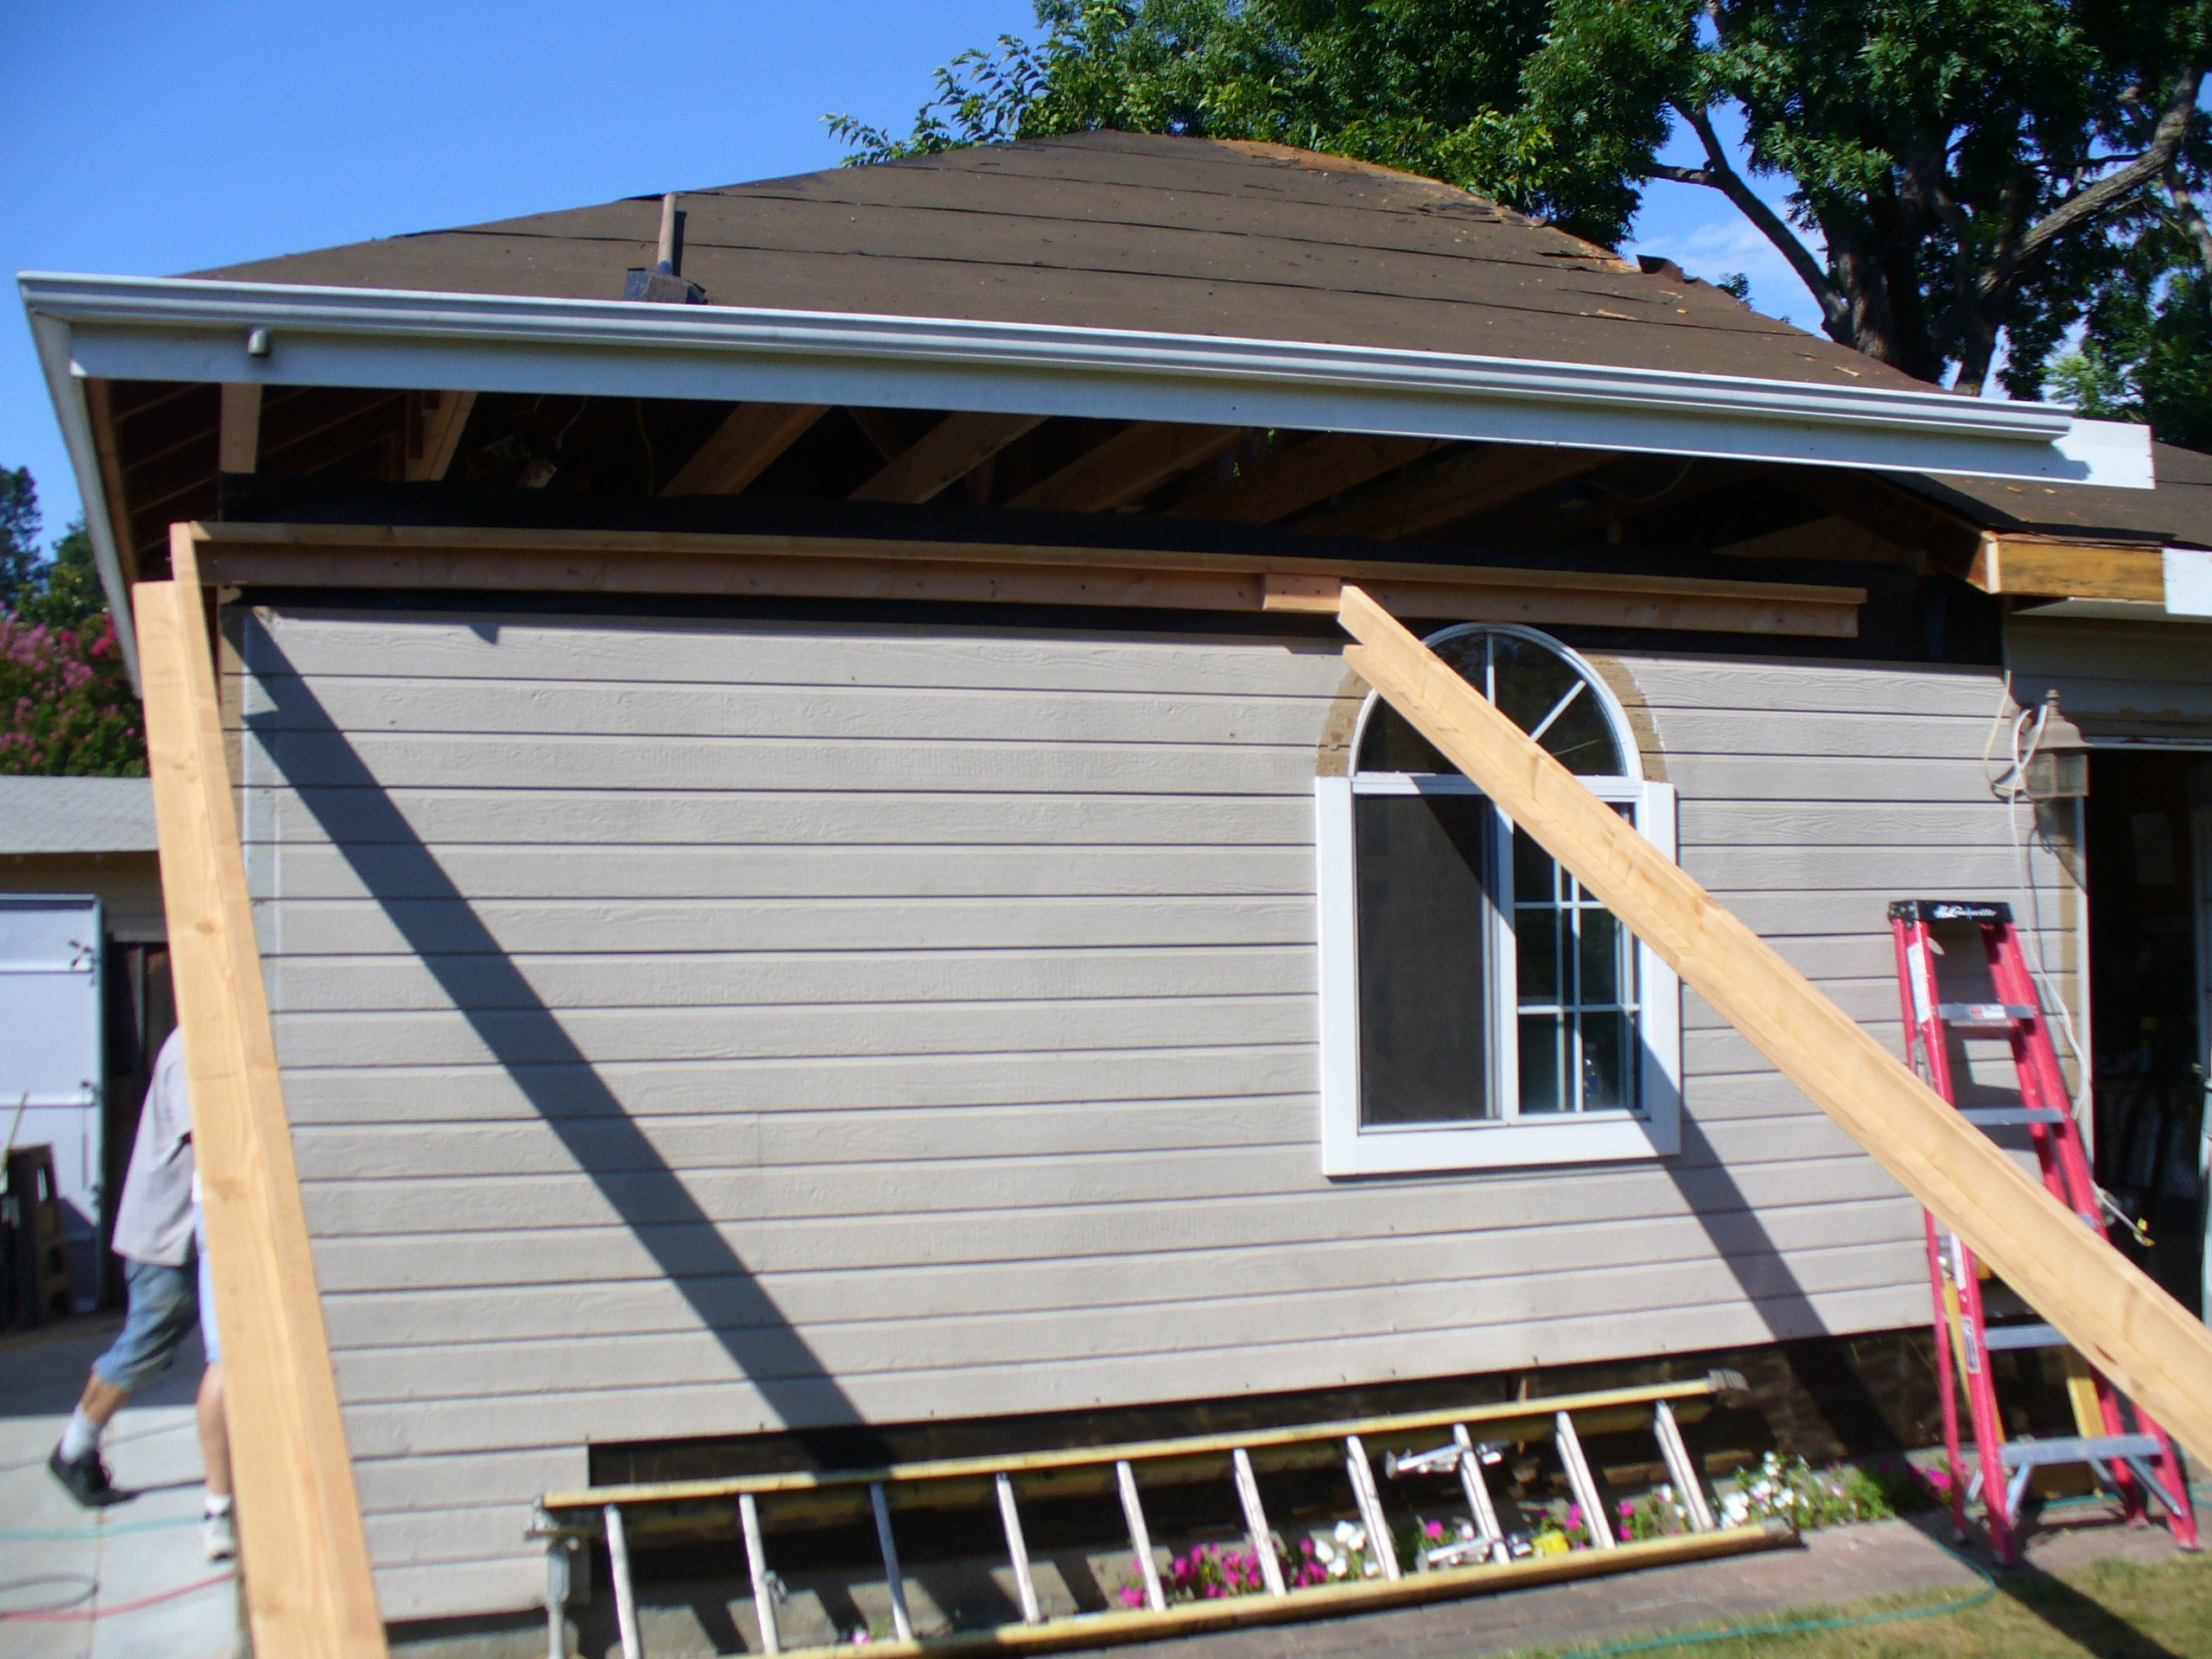
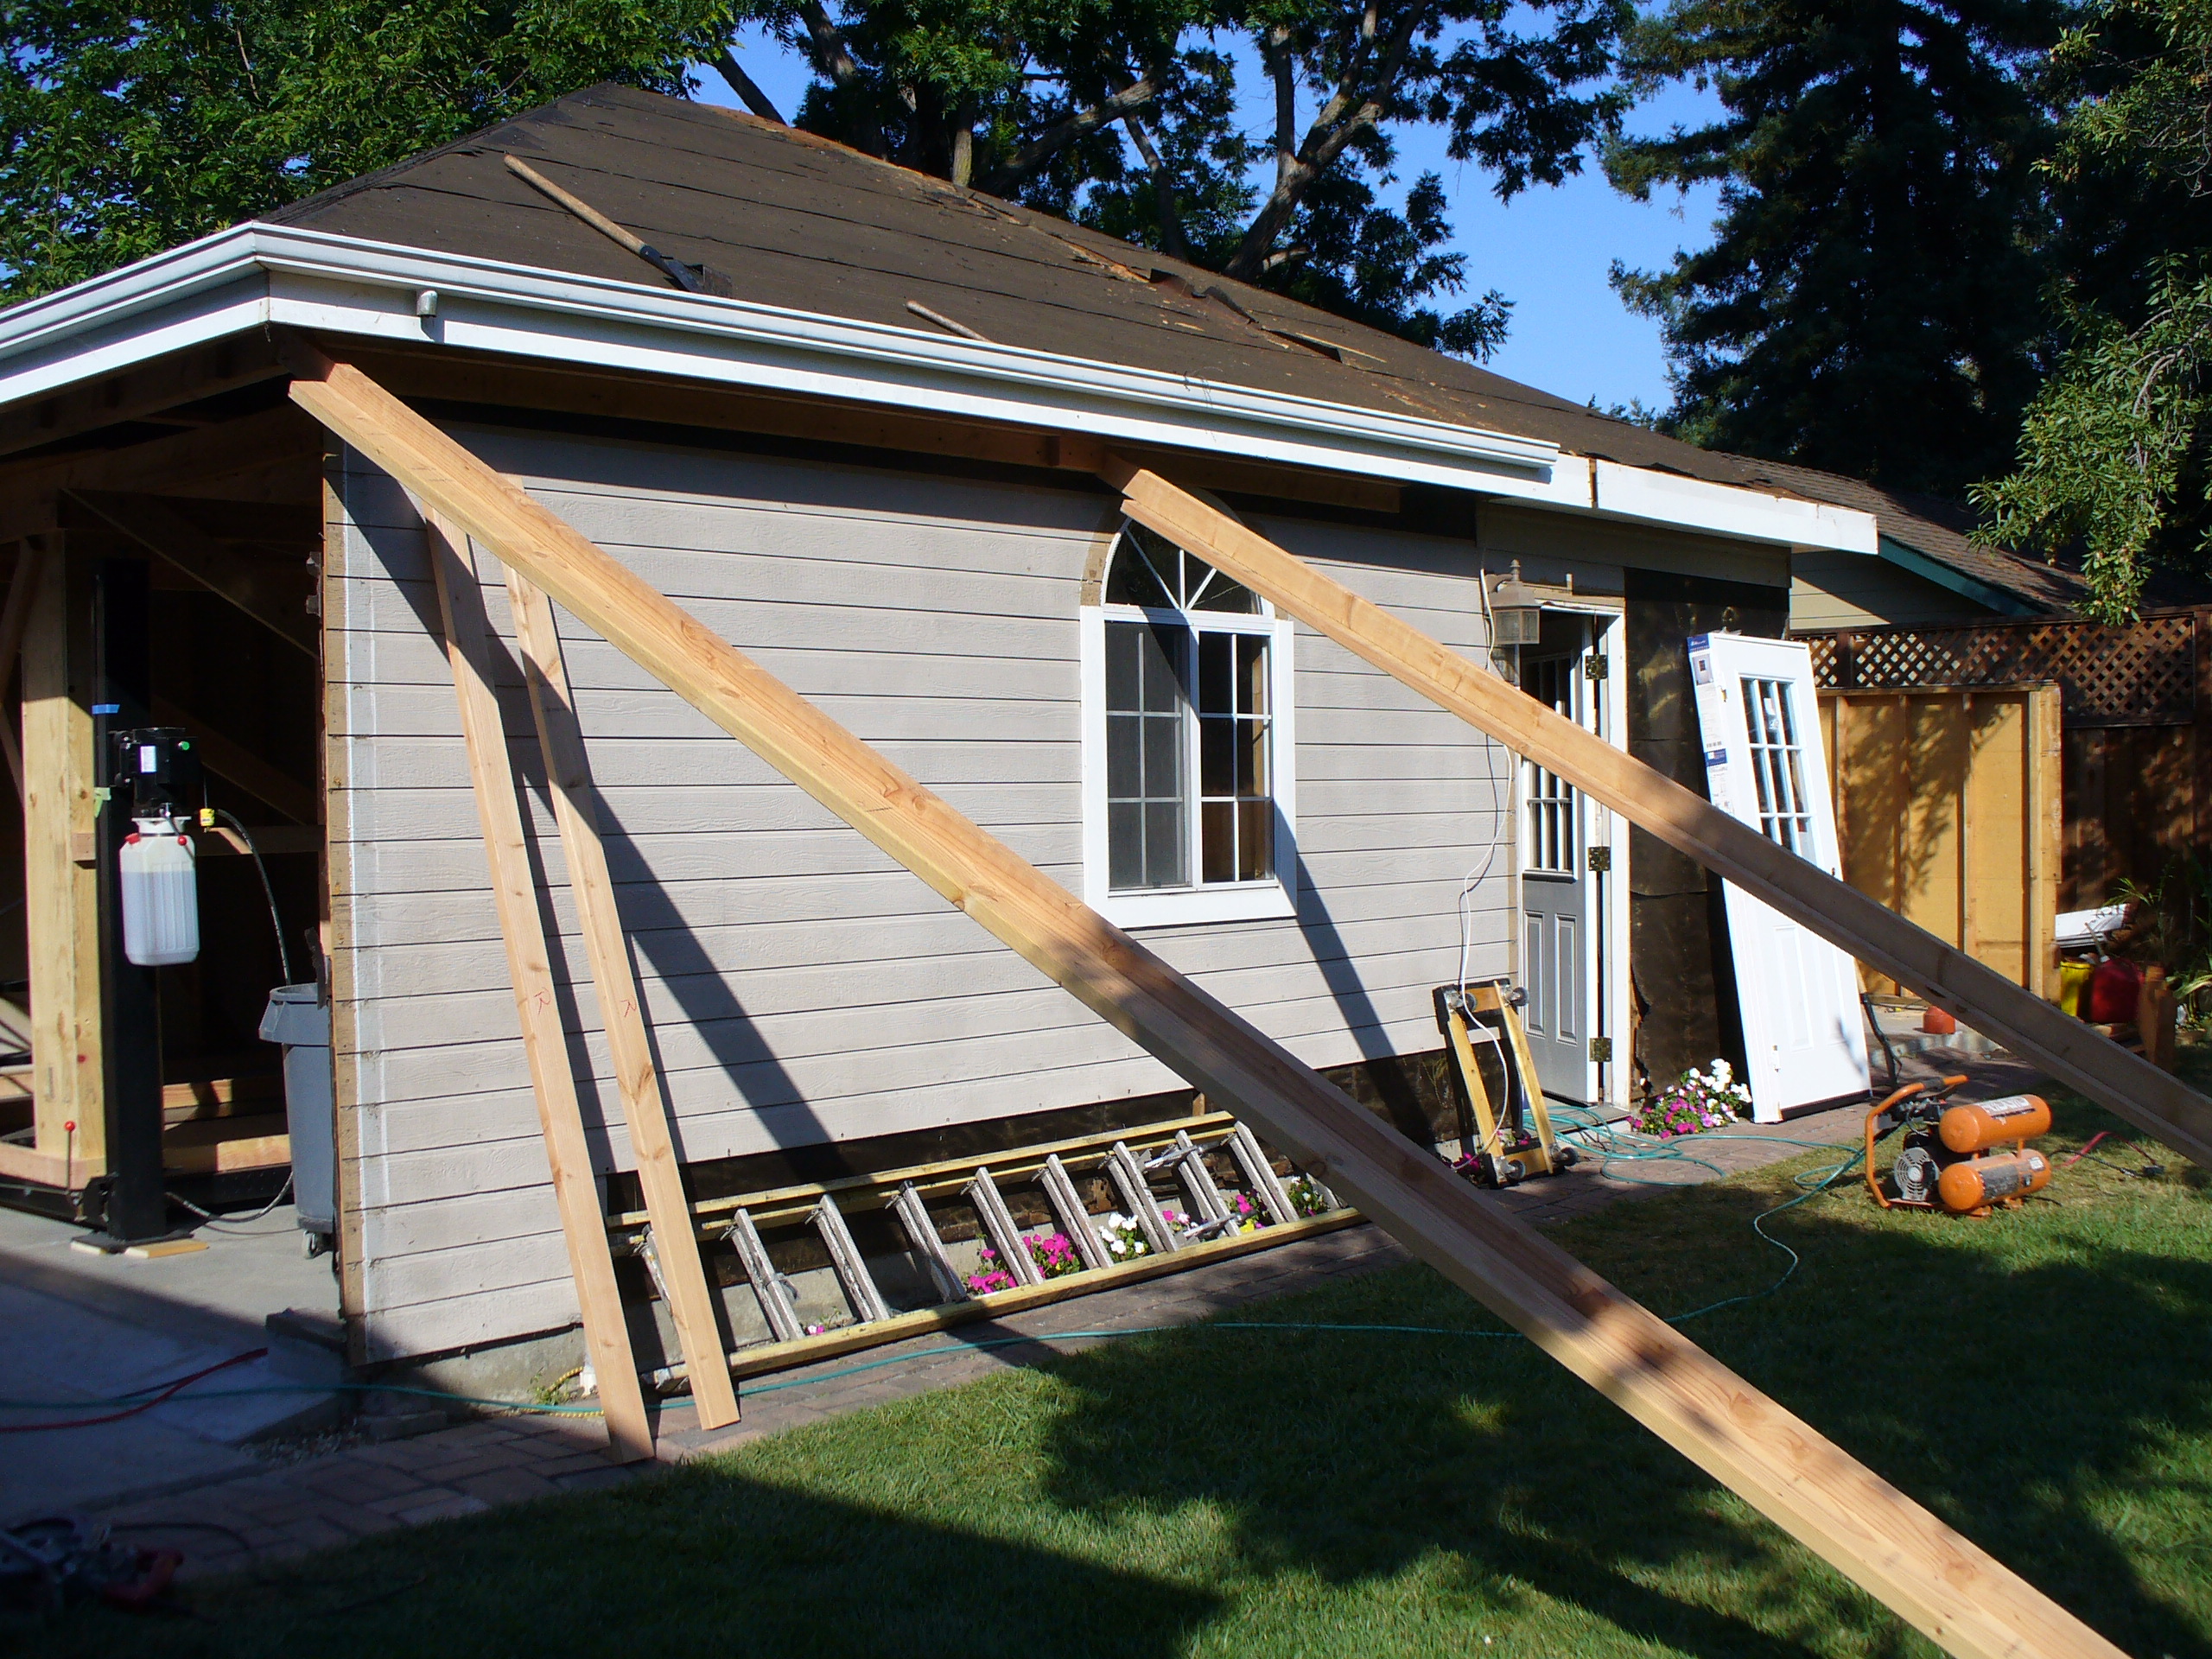
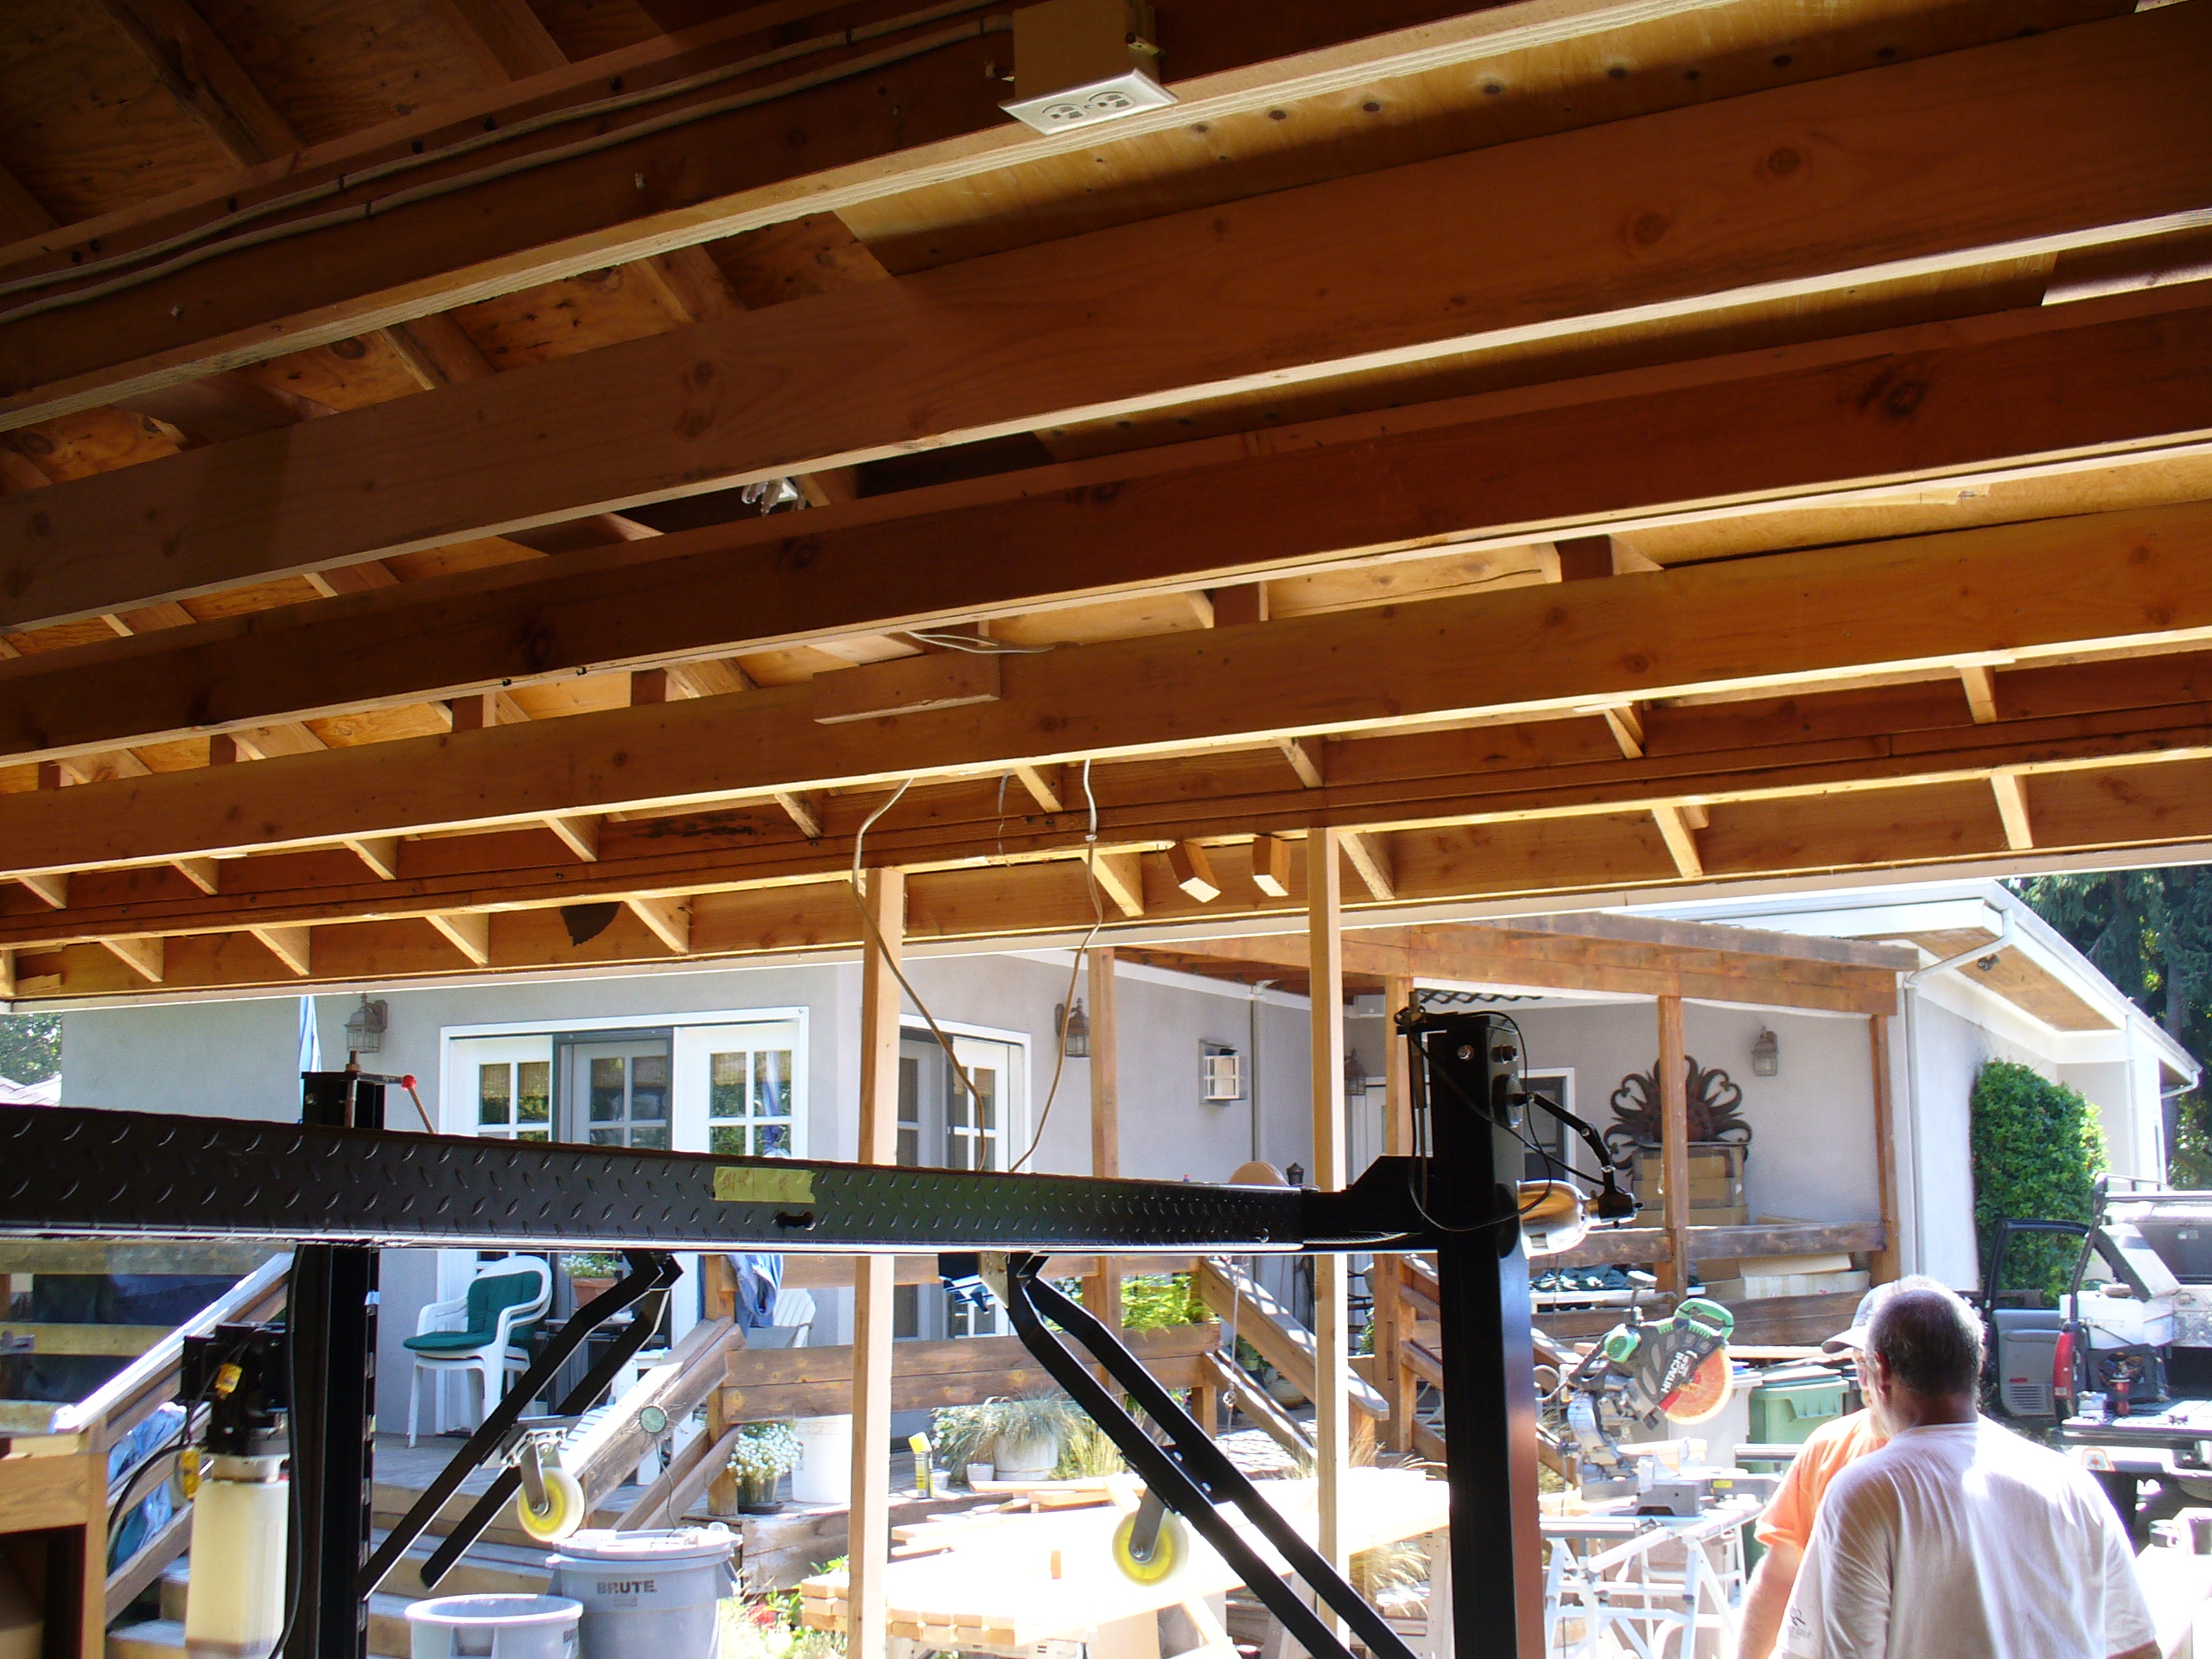
As can be seen in the photos and video, ultimately, I determined that with the stripping of the existing asphalt shingle roofing, and by leaving the existing walls in place, the entire roof from the top of studs/bottom plate up, could be lifted using Reno's car lift already on site. Reno was happy to offer it's use and his services as controller, especially so when the savings on demolition and a debris 'roll-off', and a total rebuild in cost and labor would about add a third to the bid/cost.
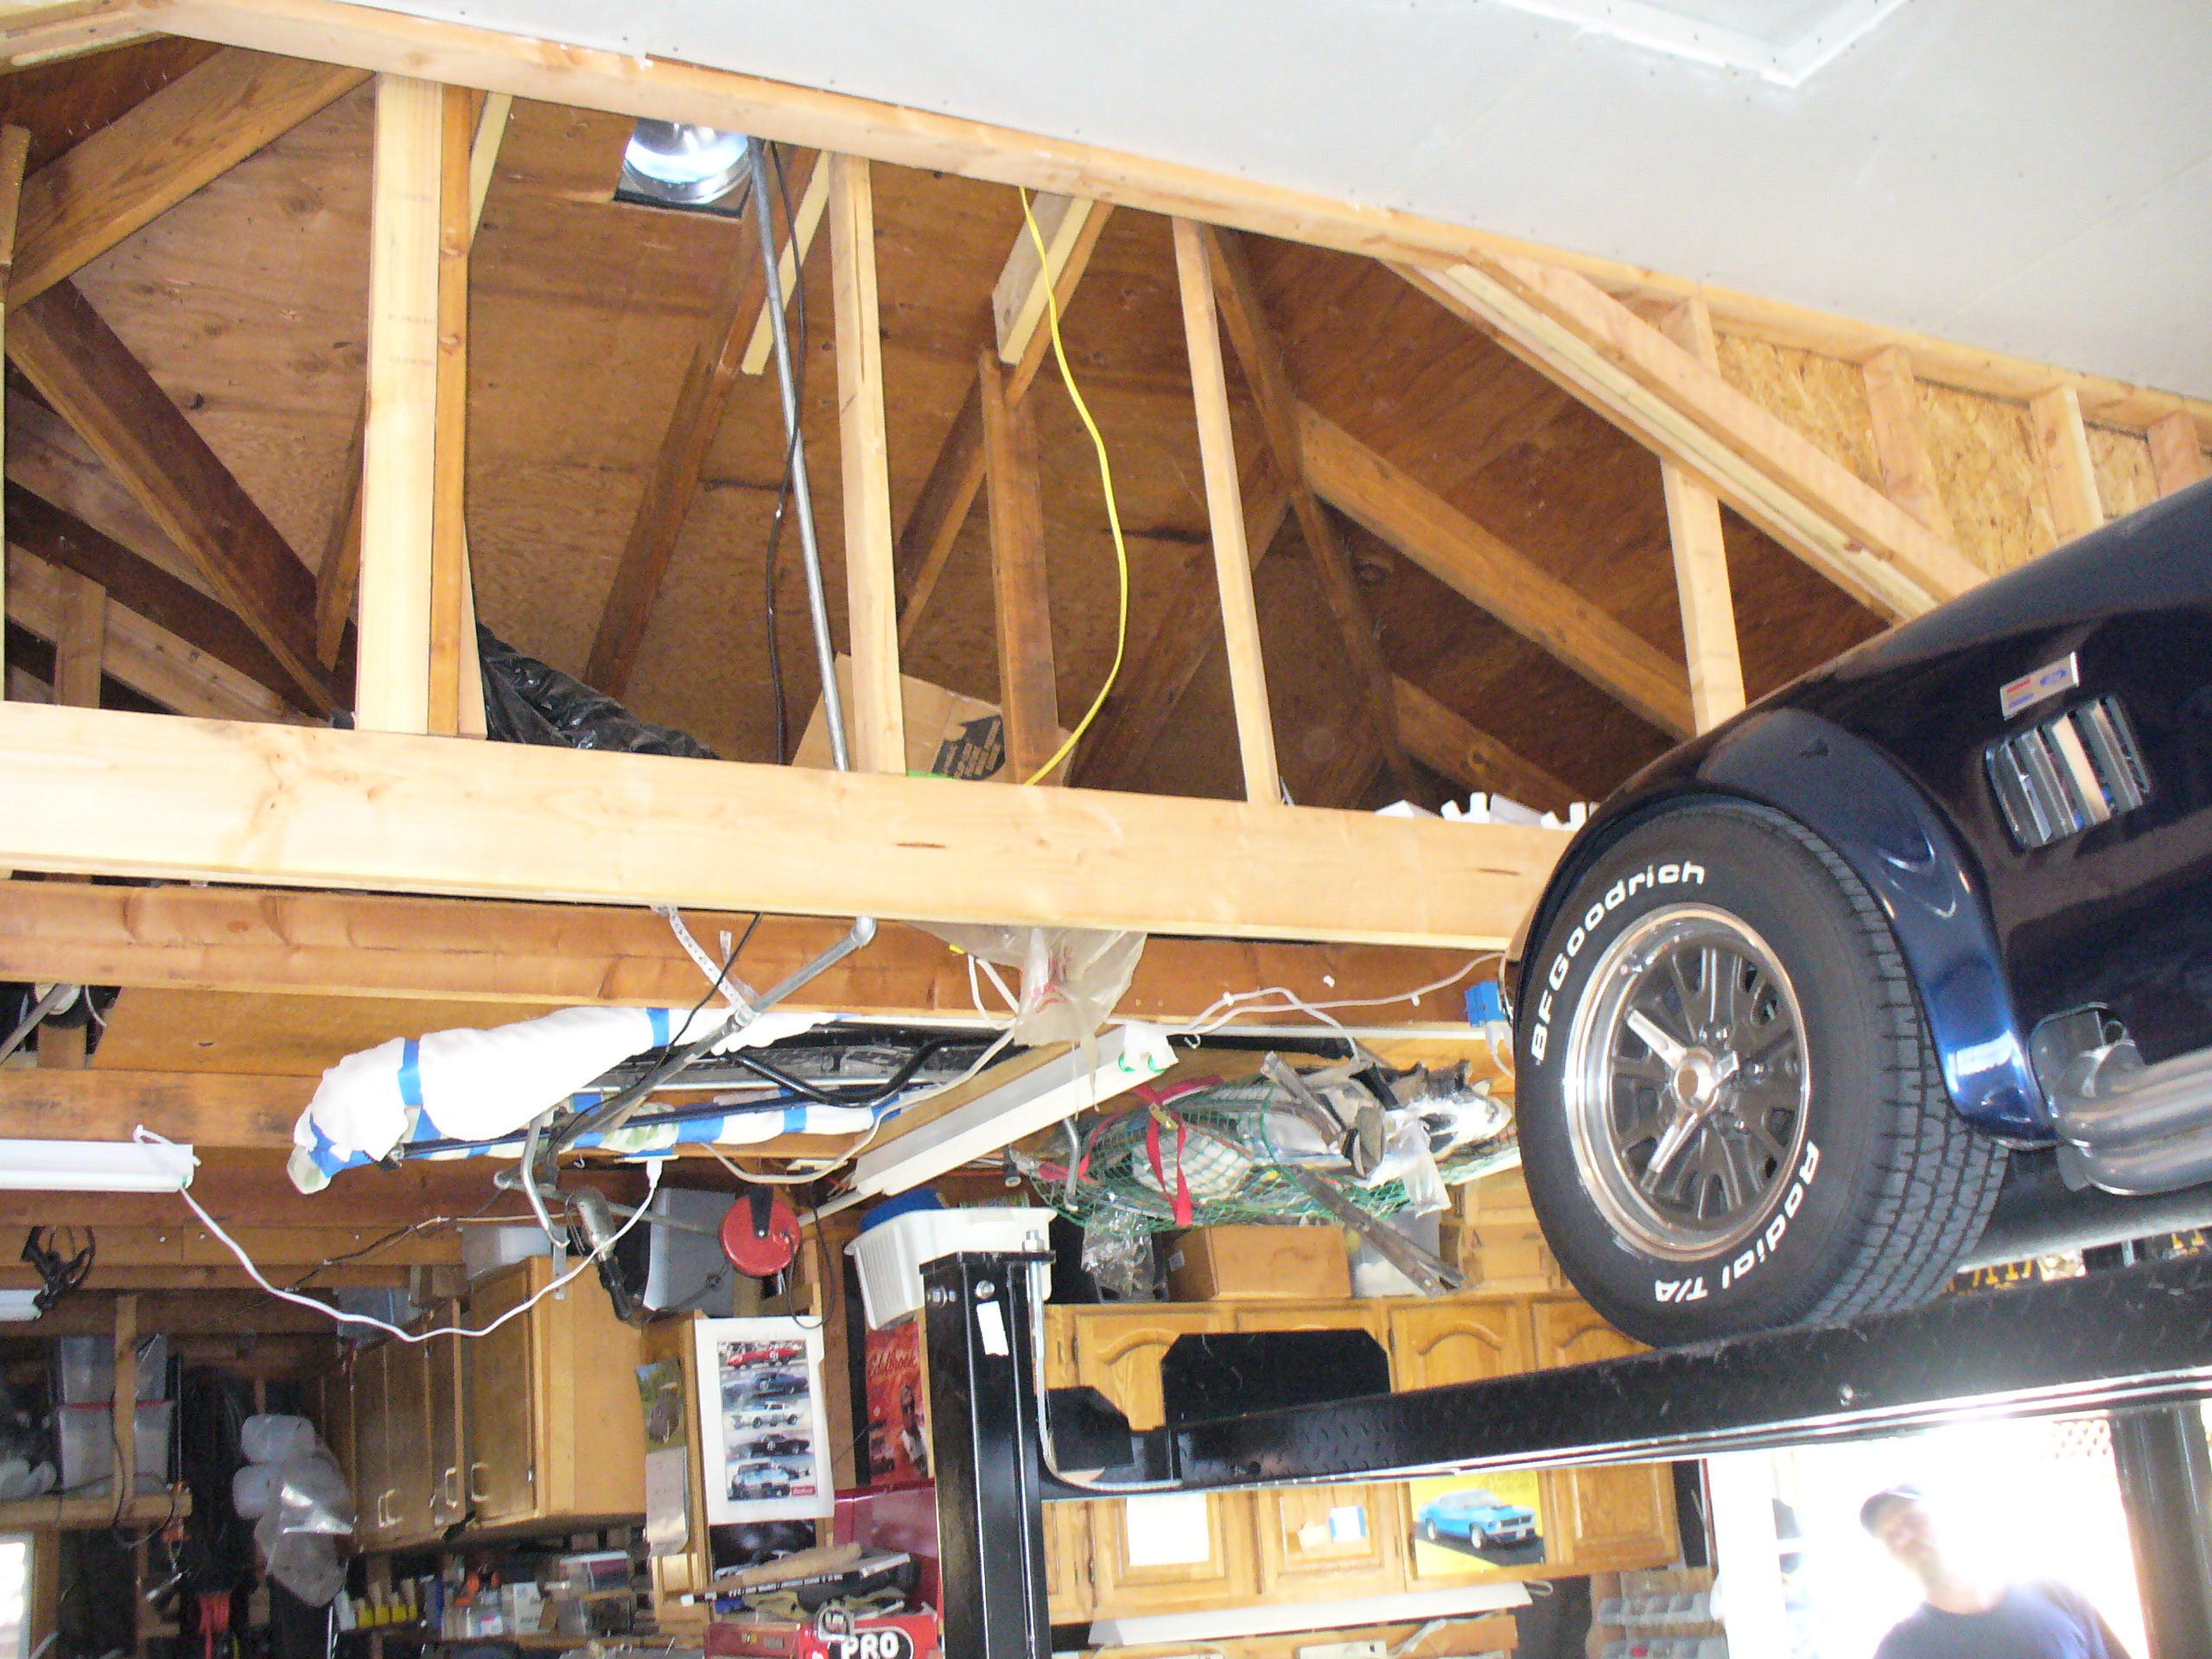
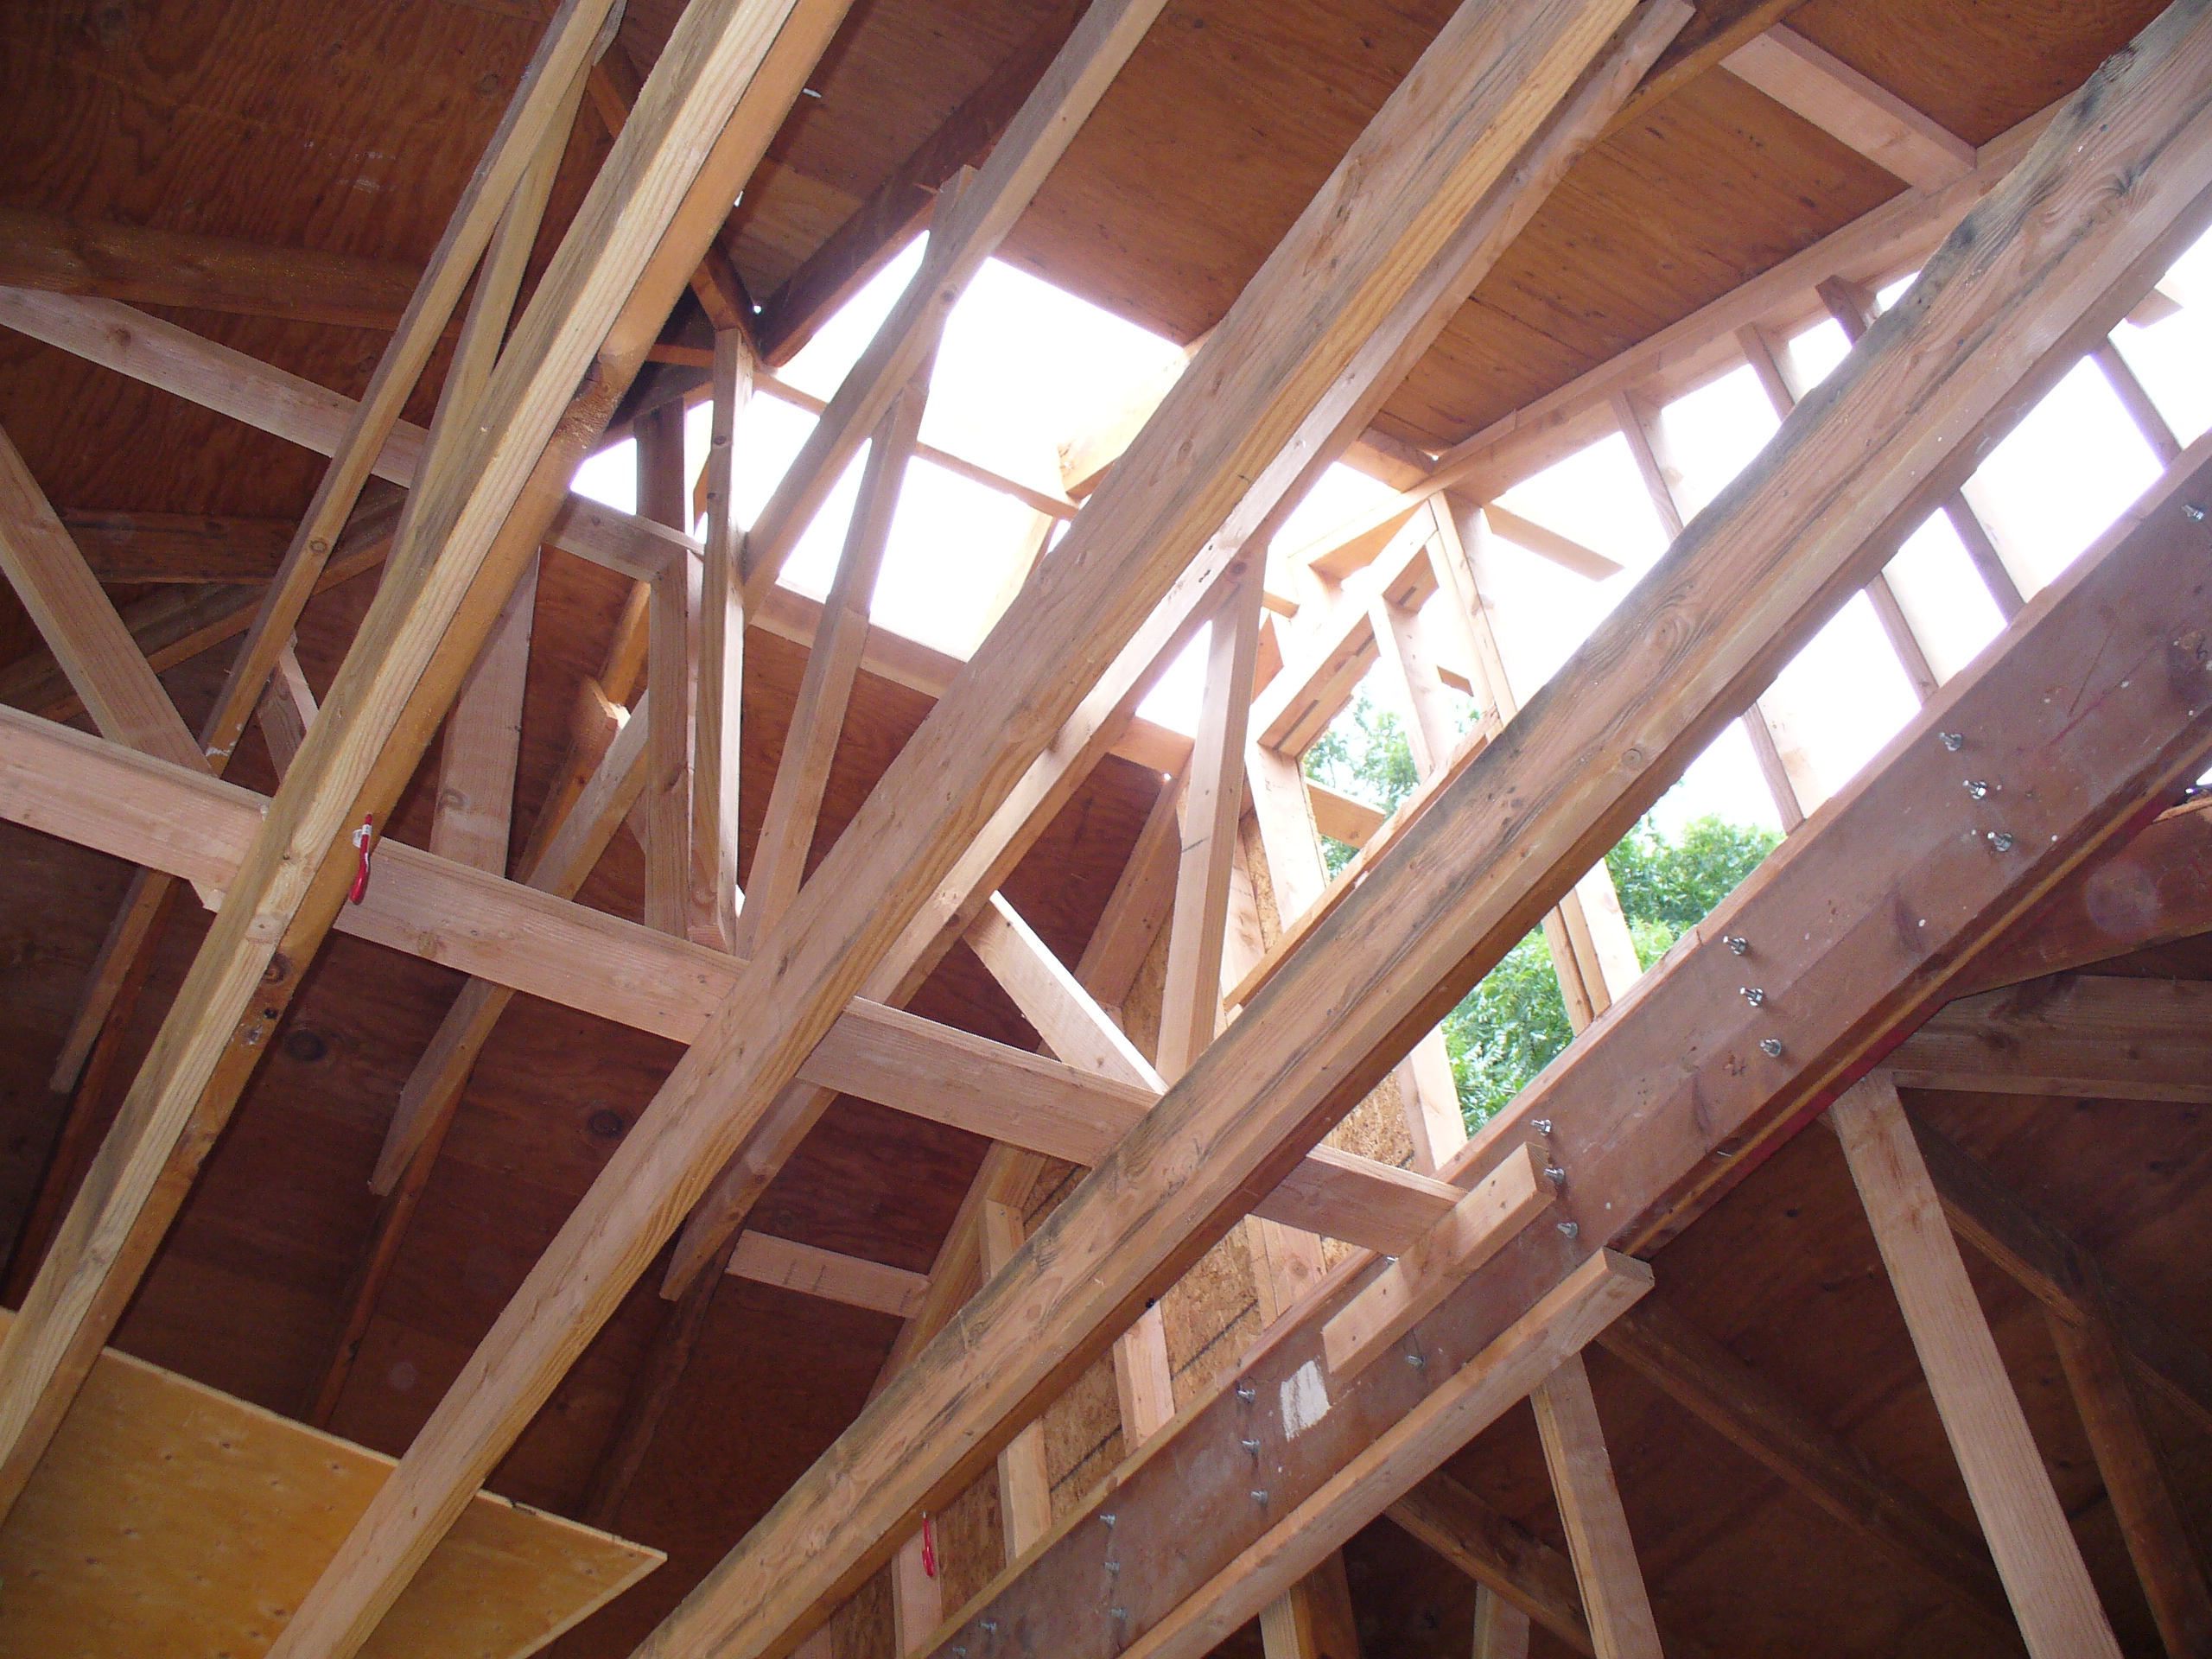
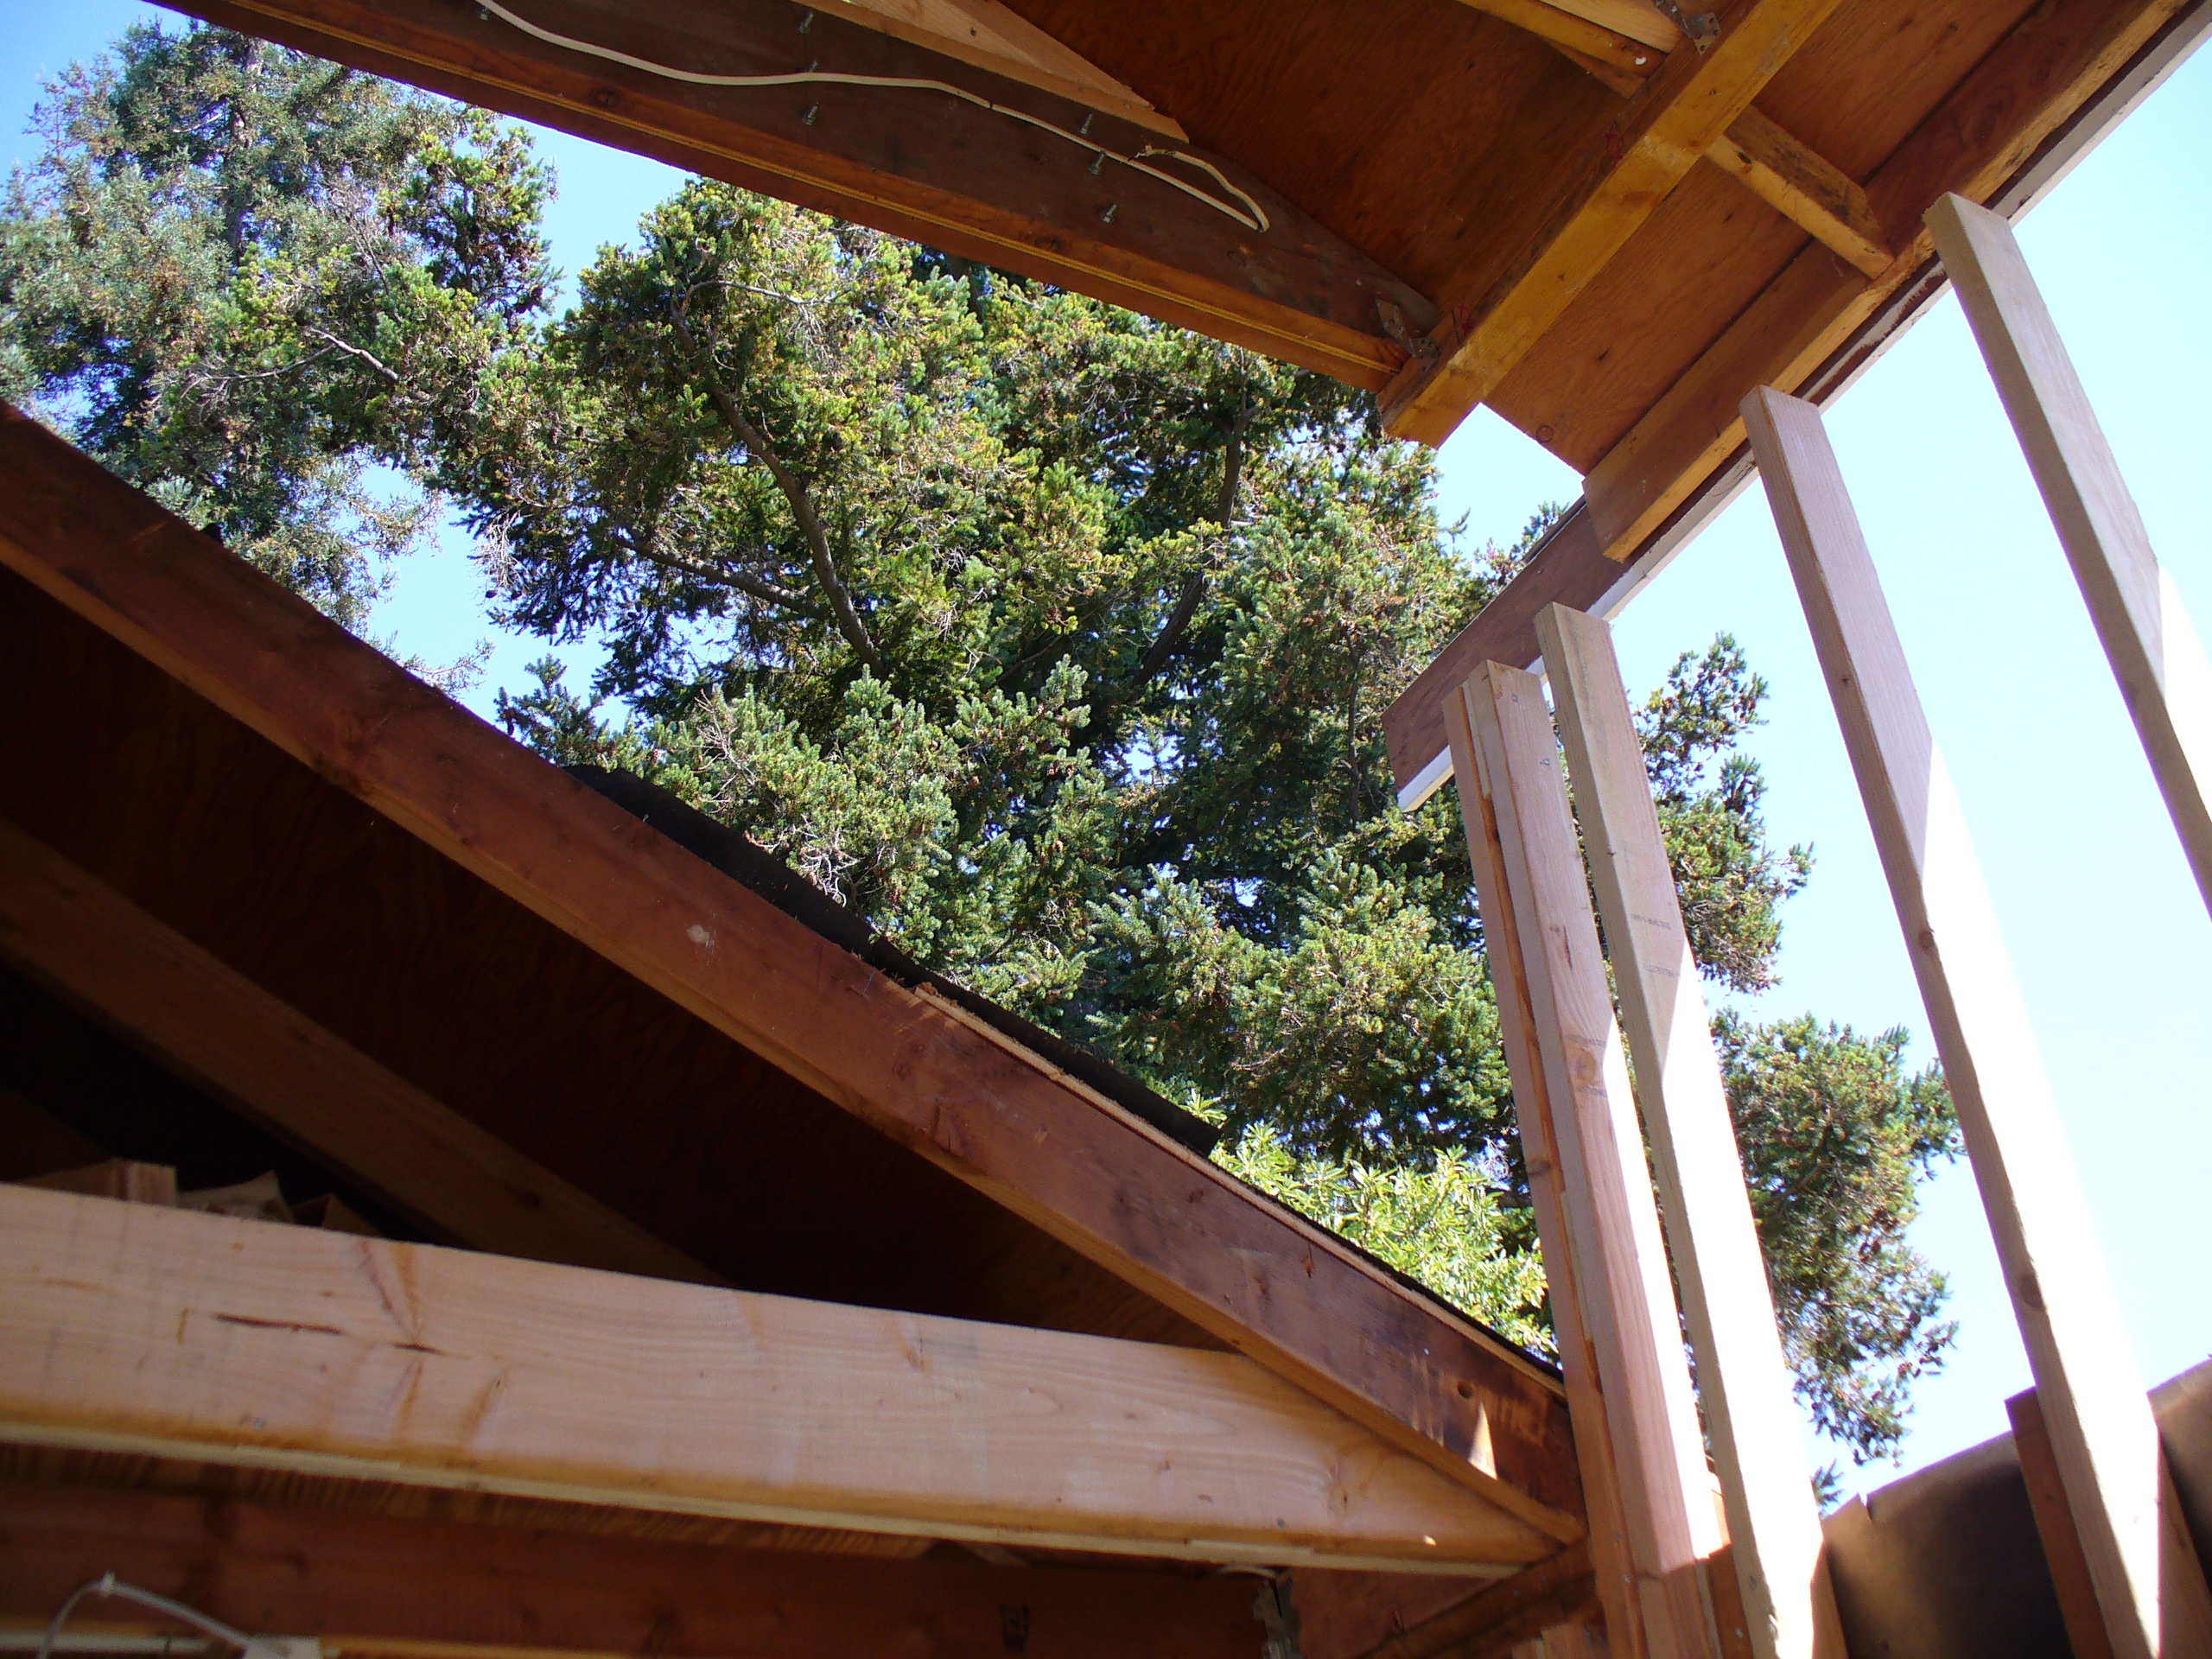
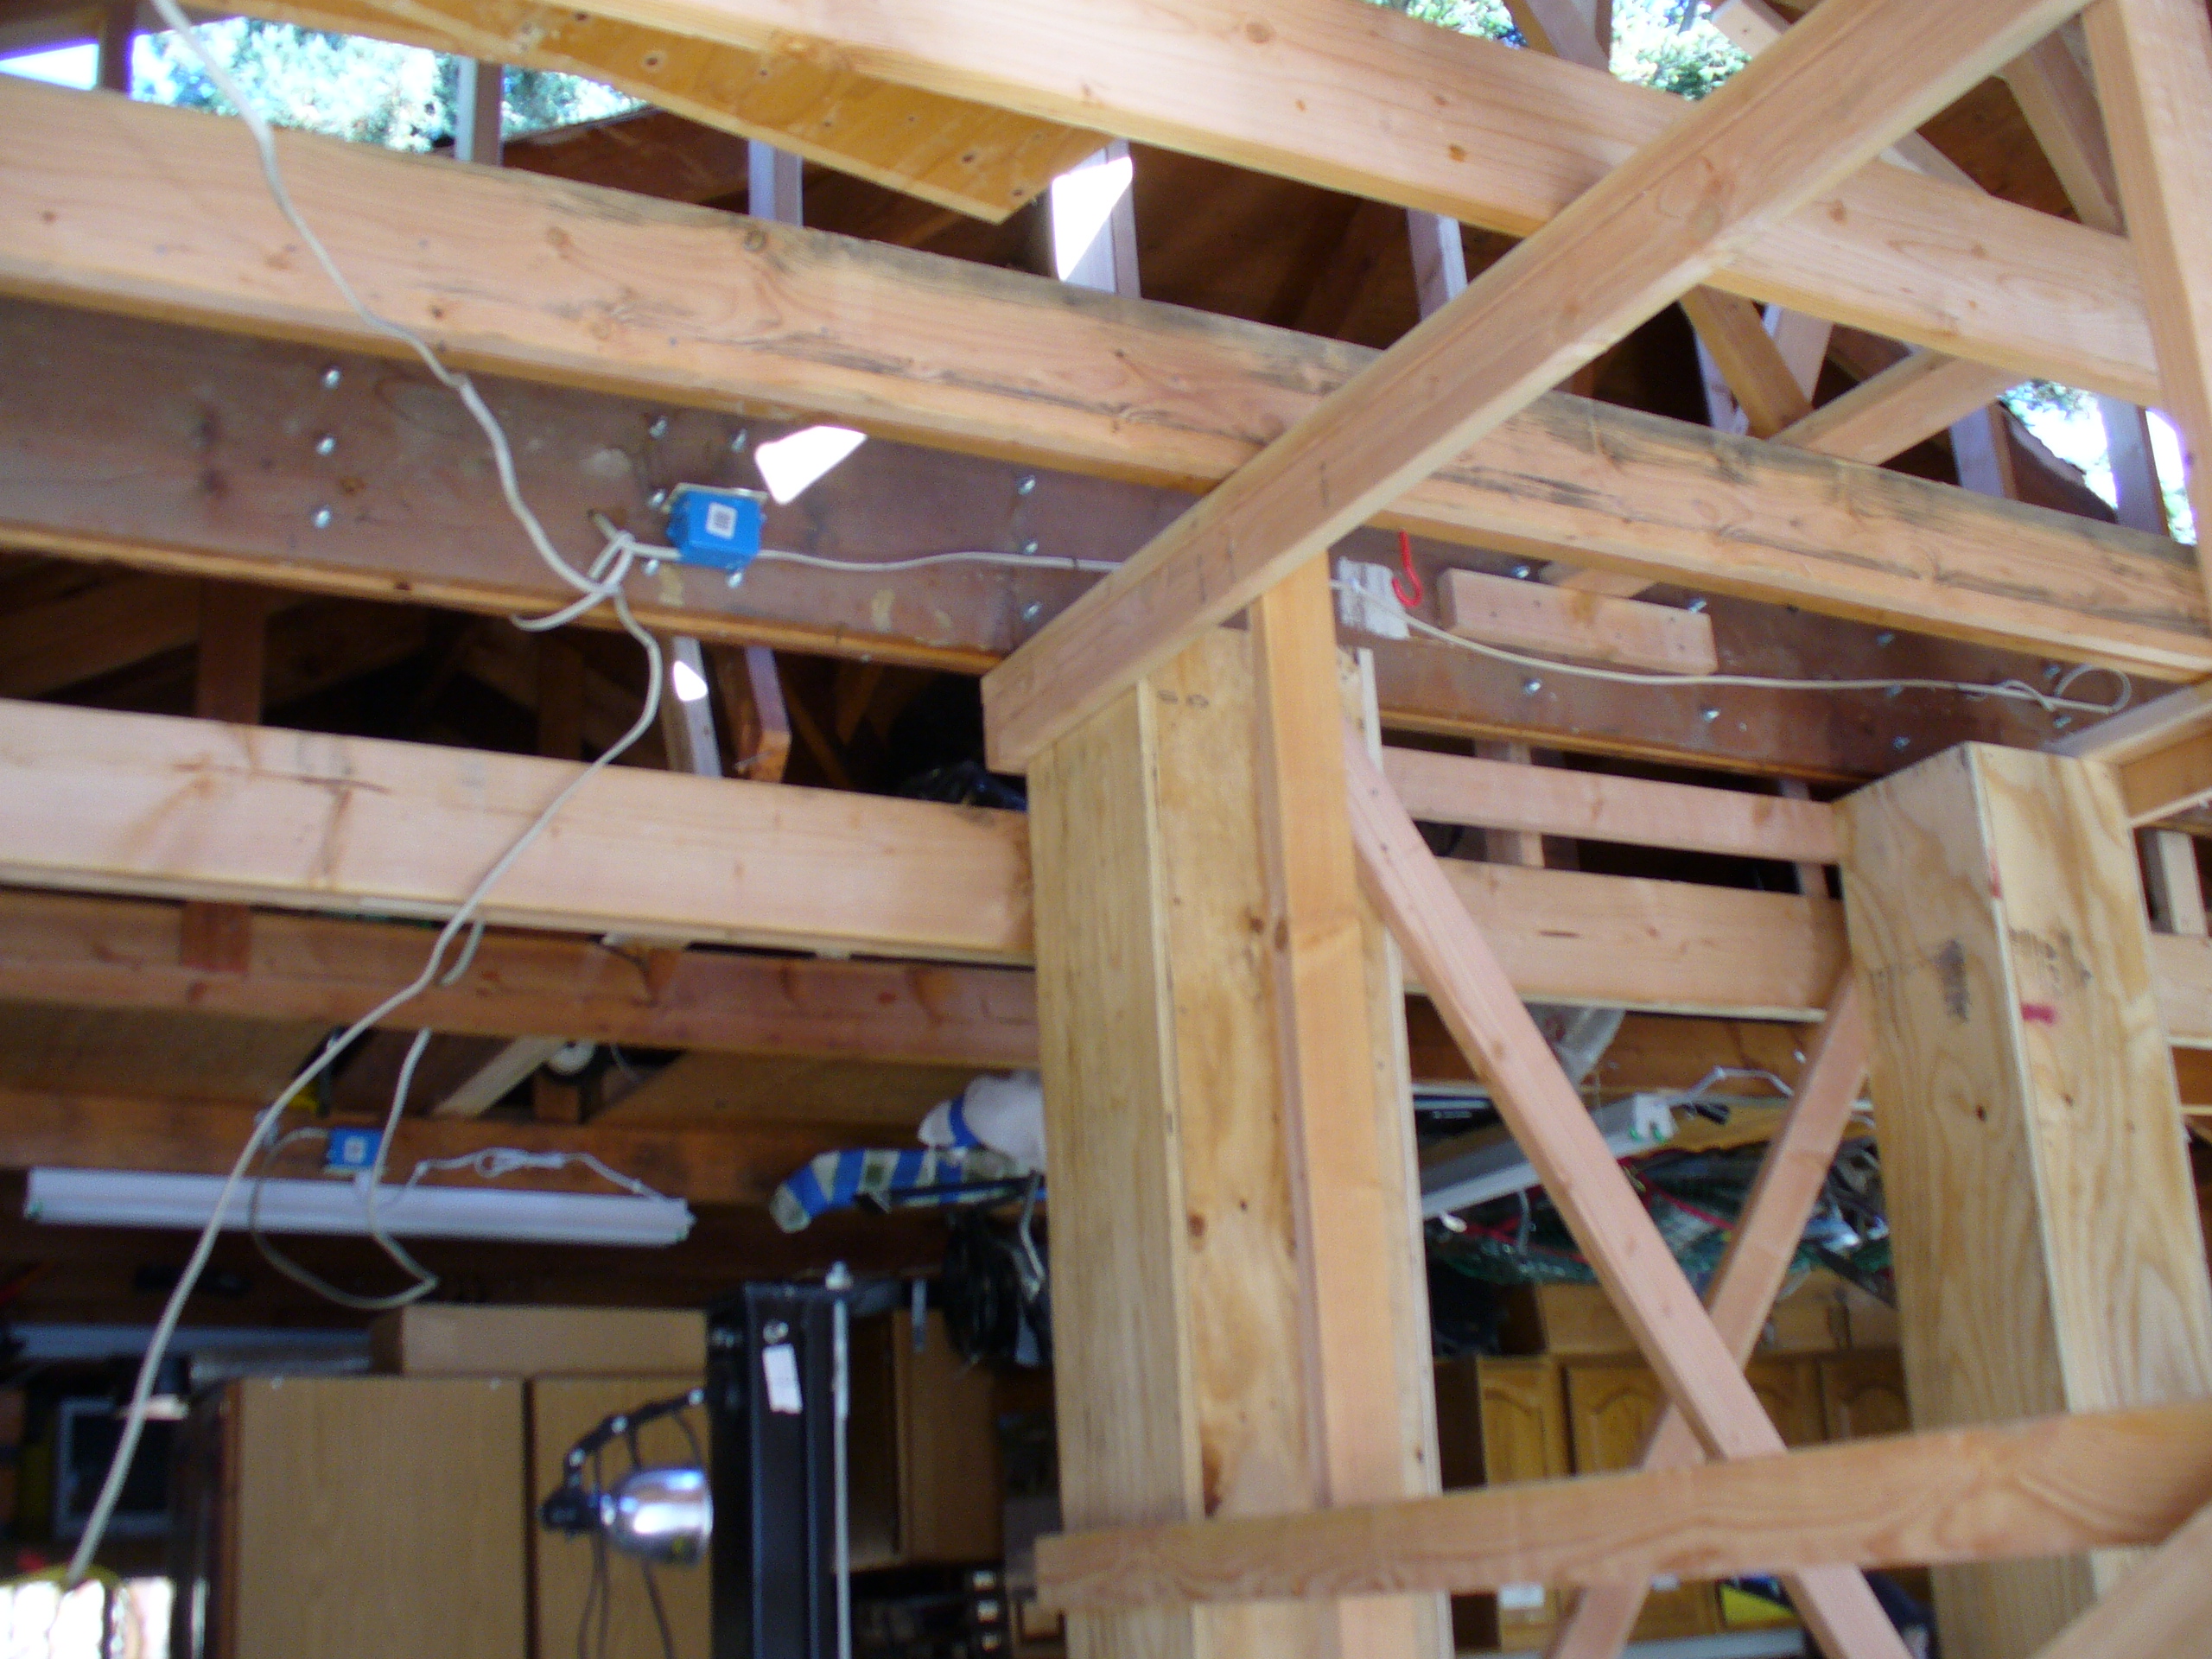
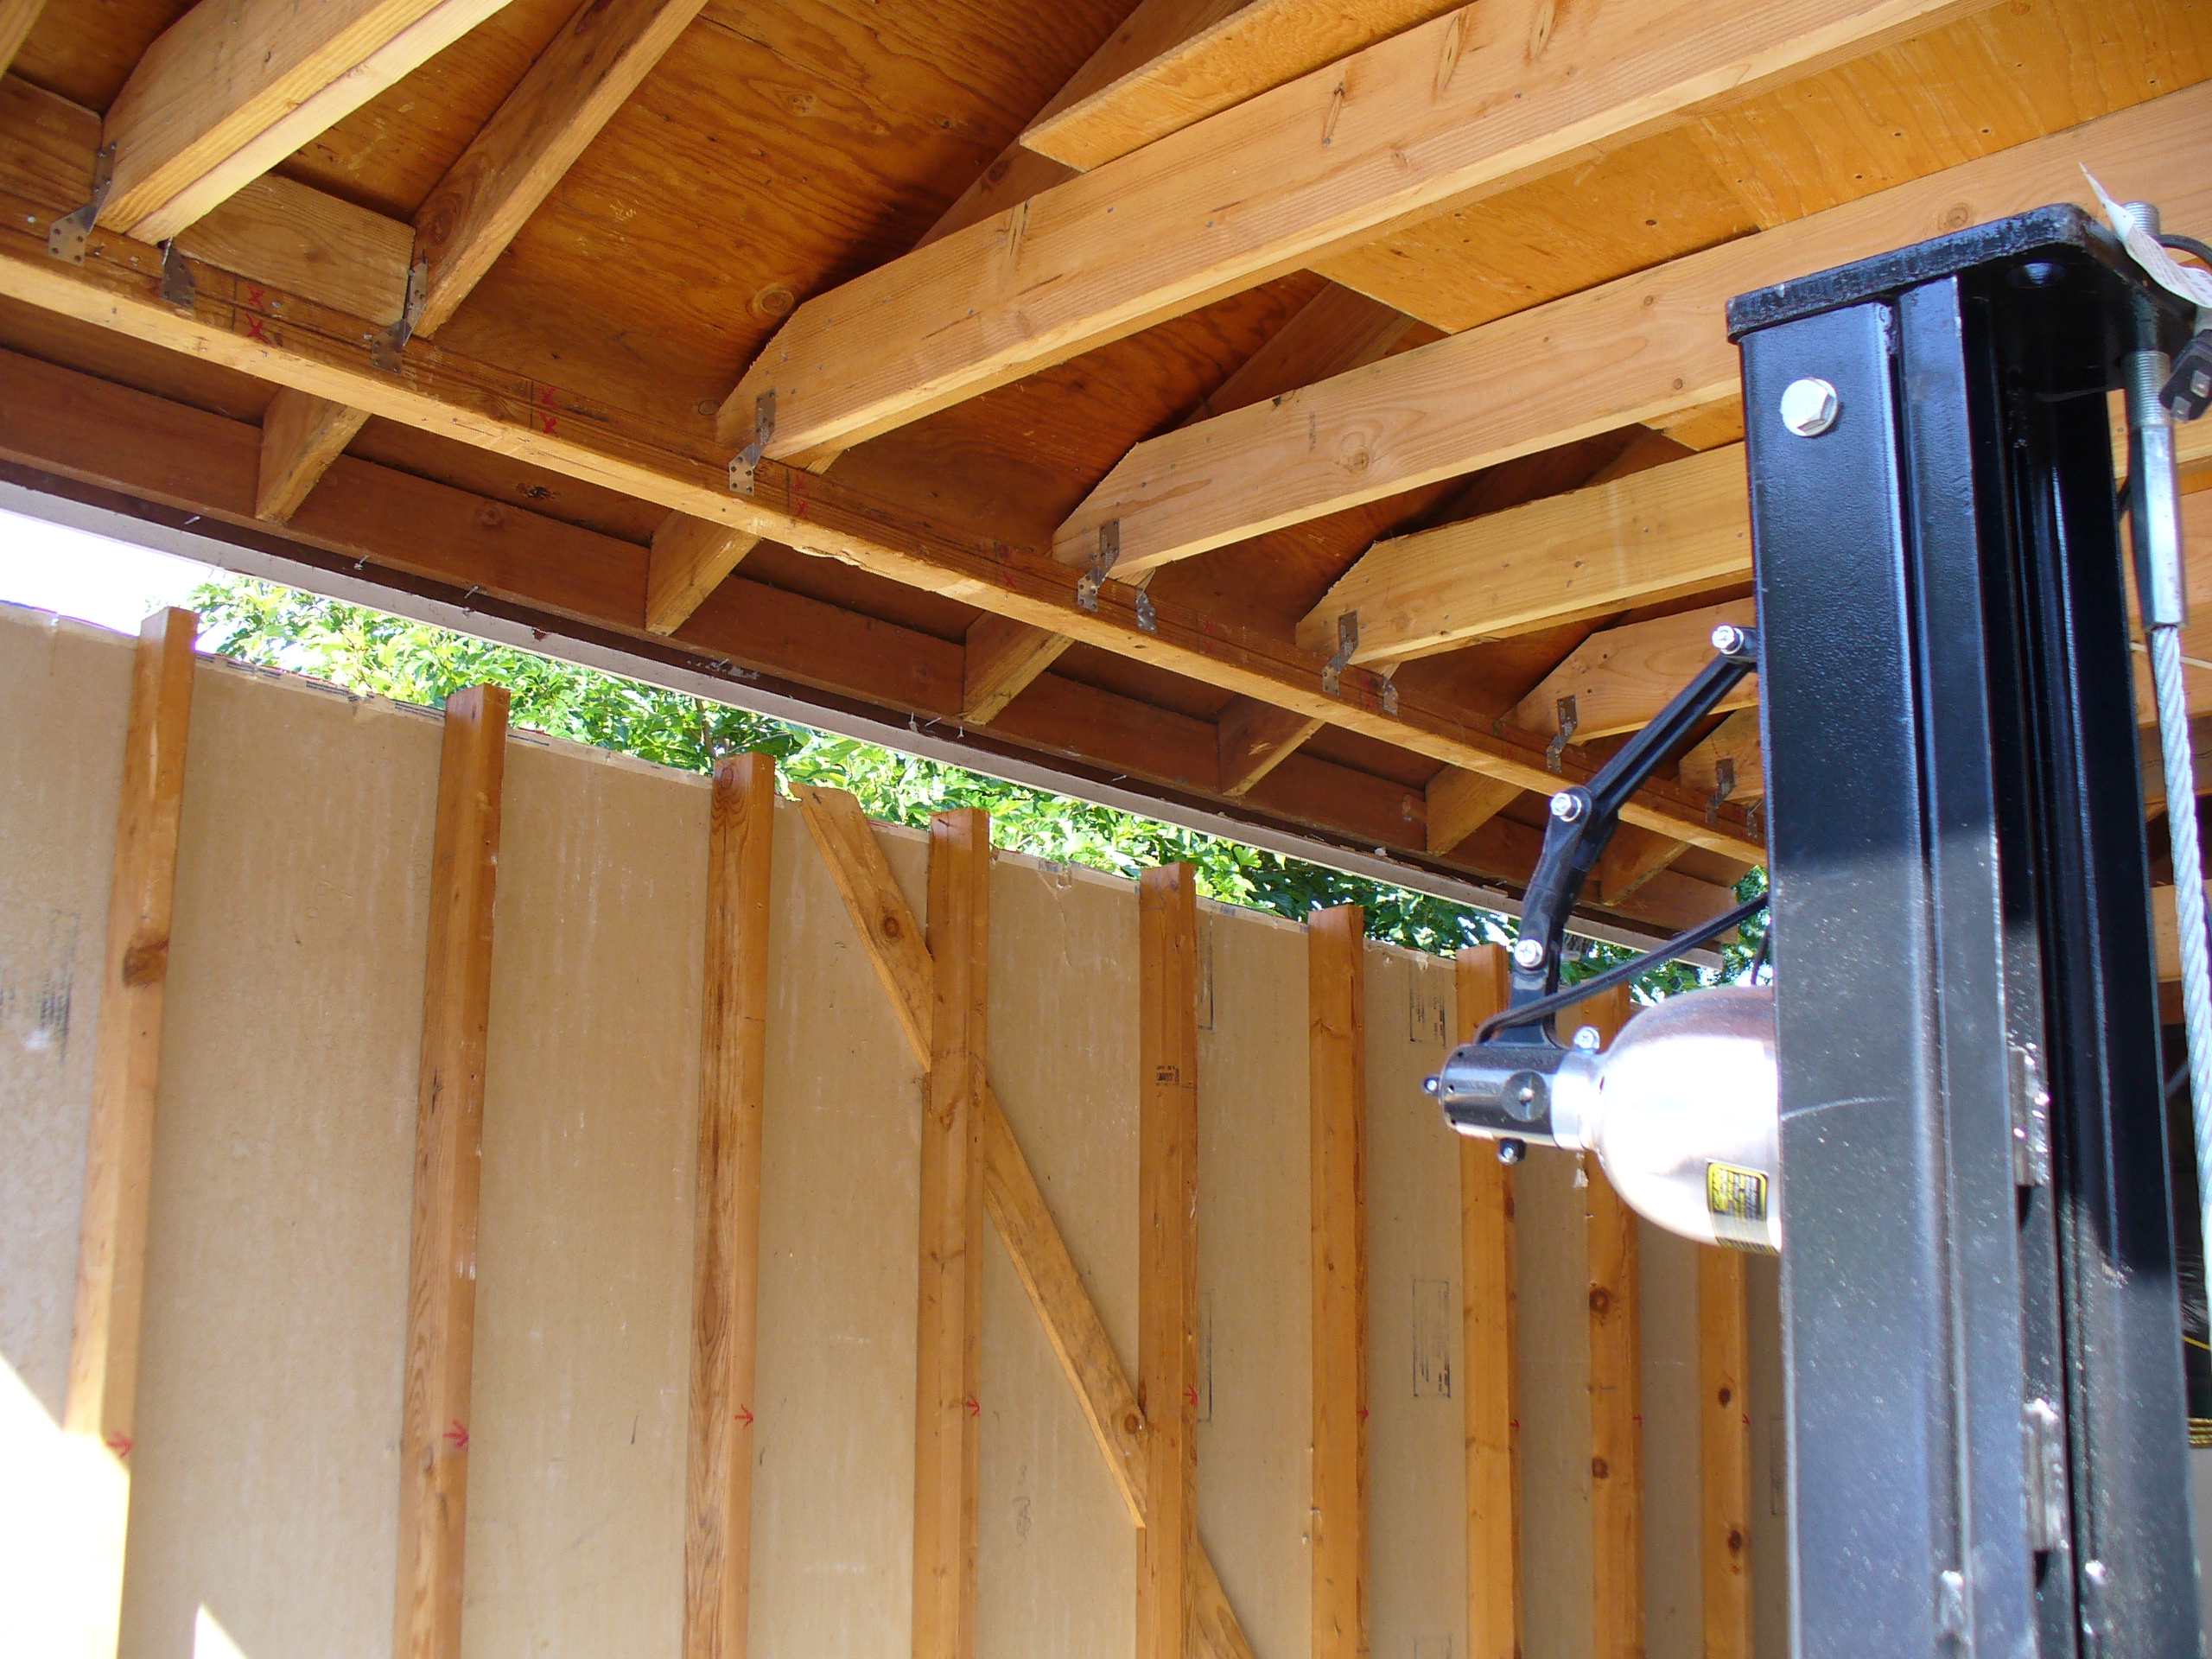
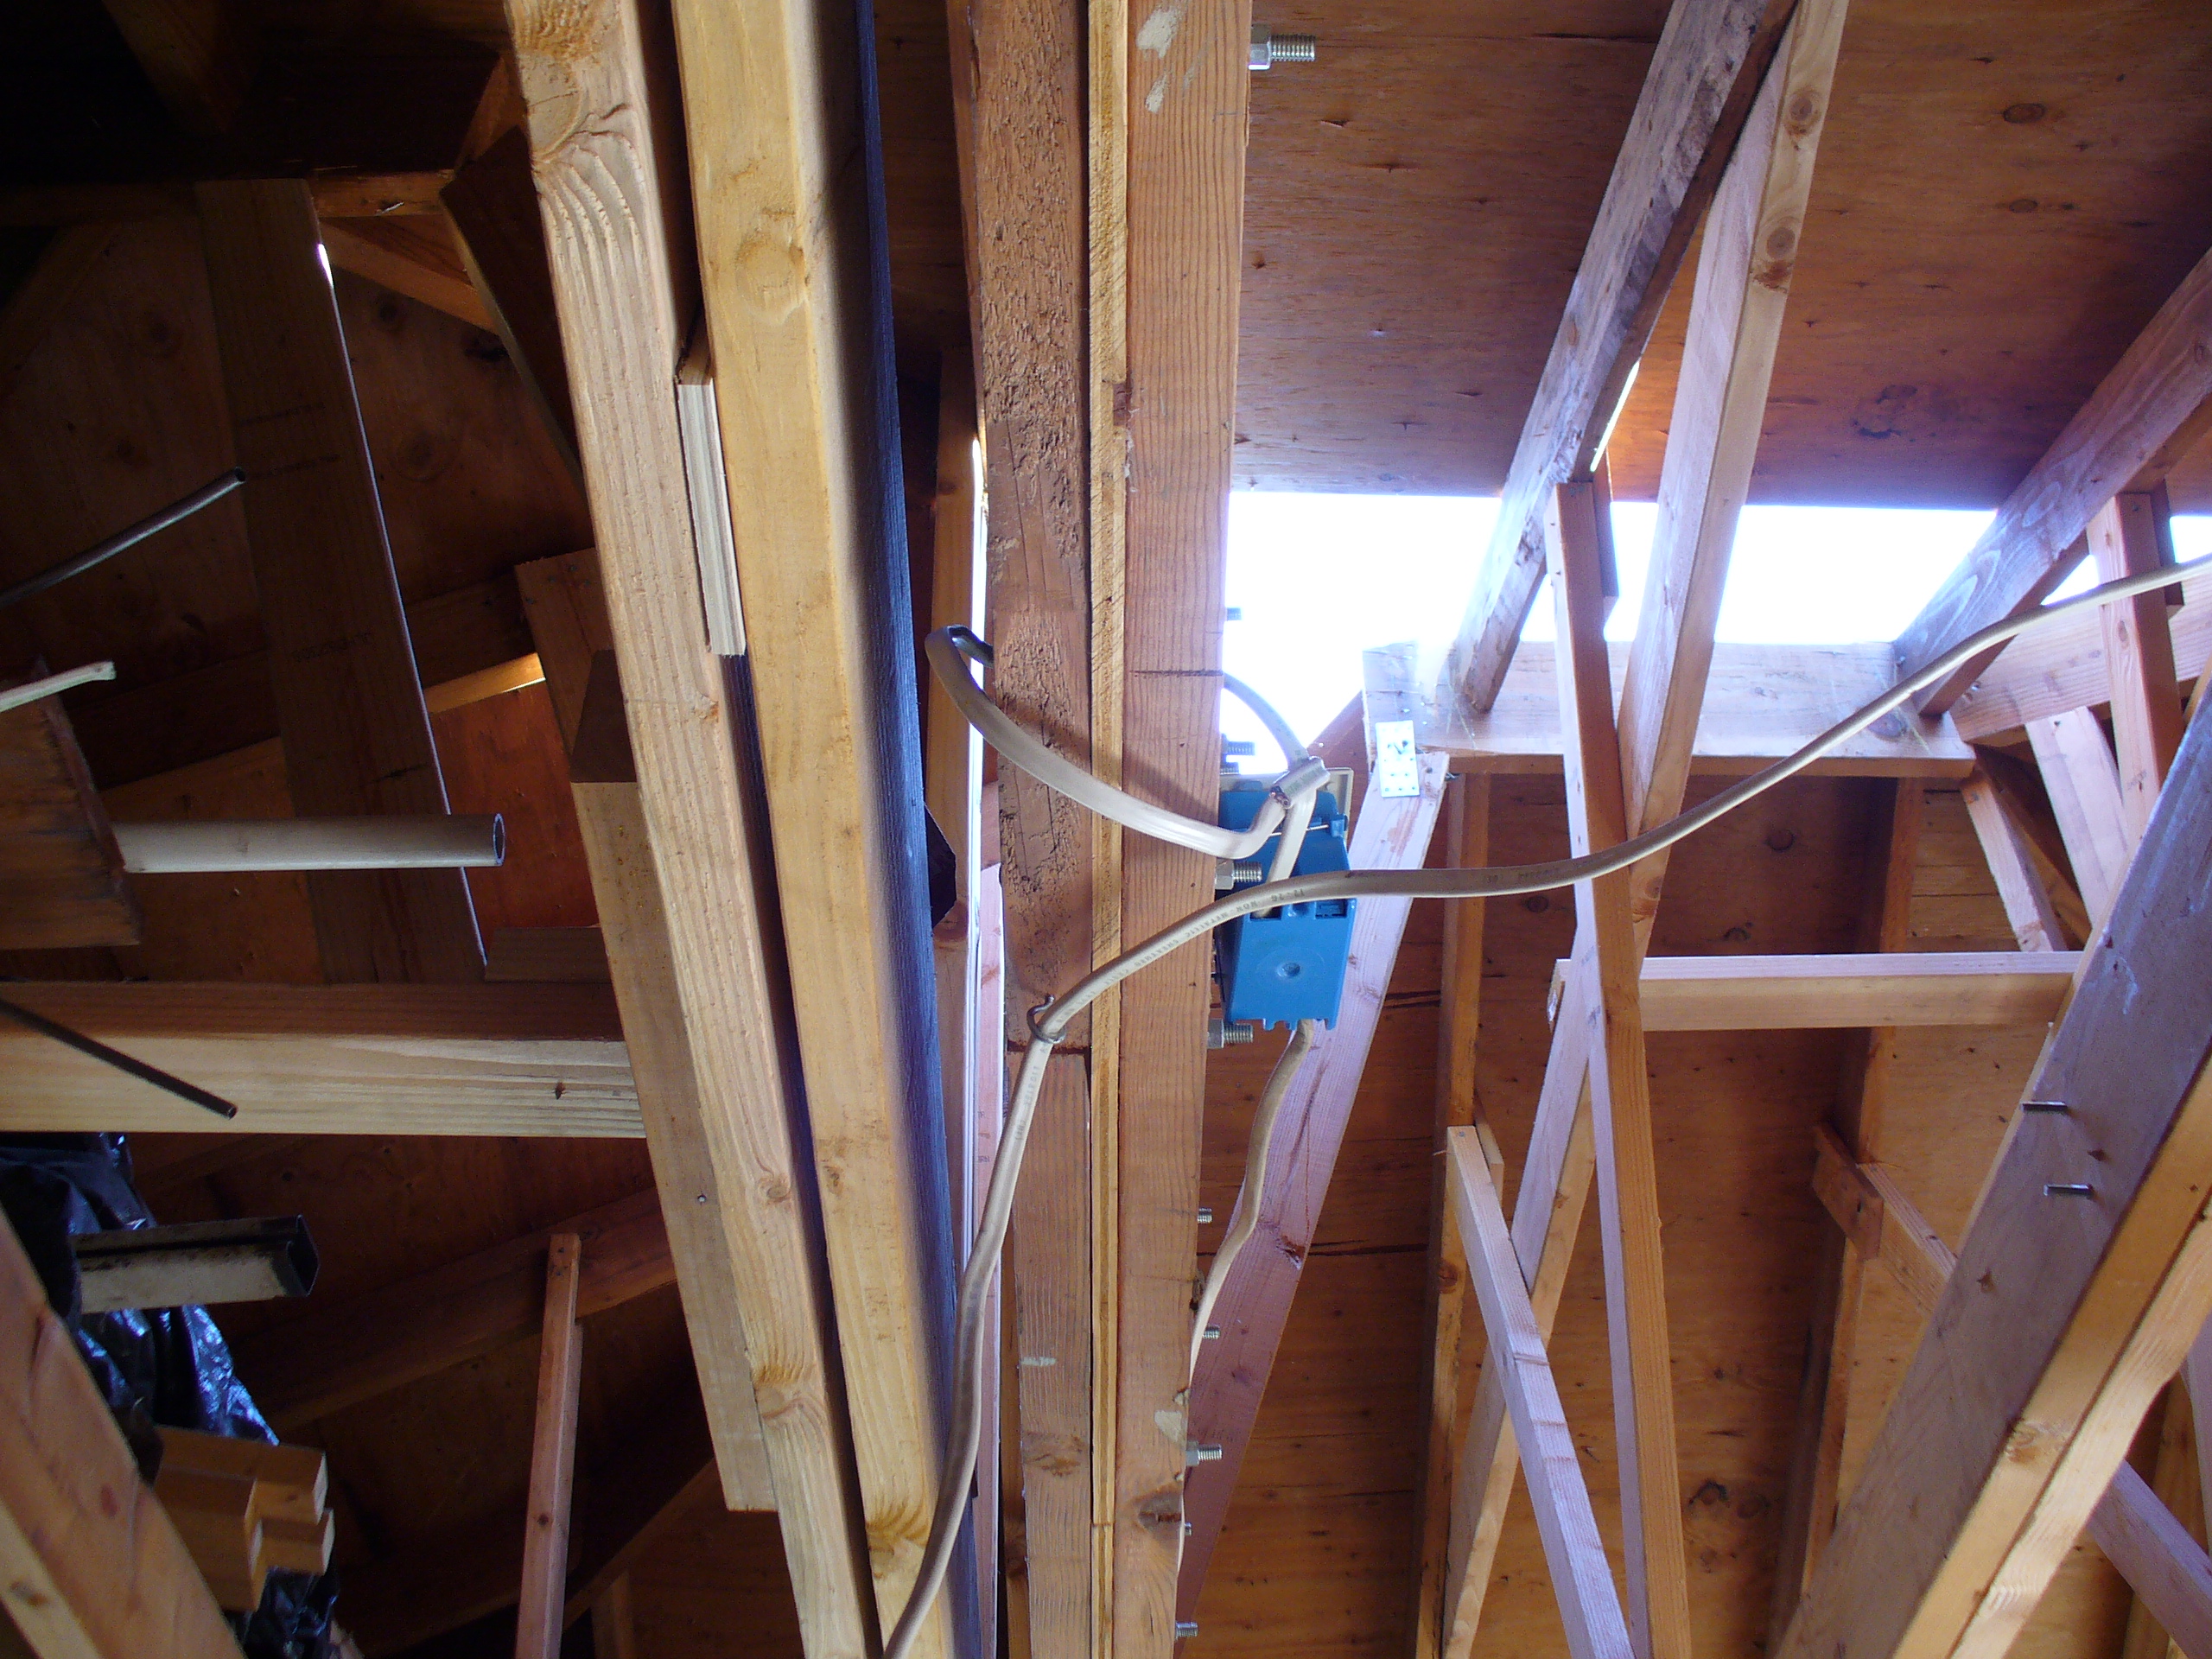
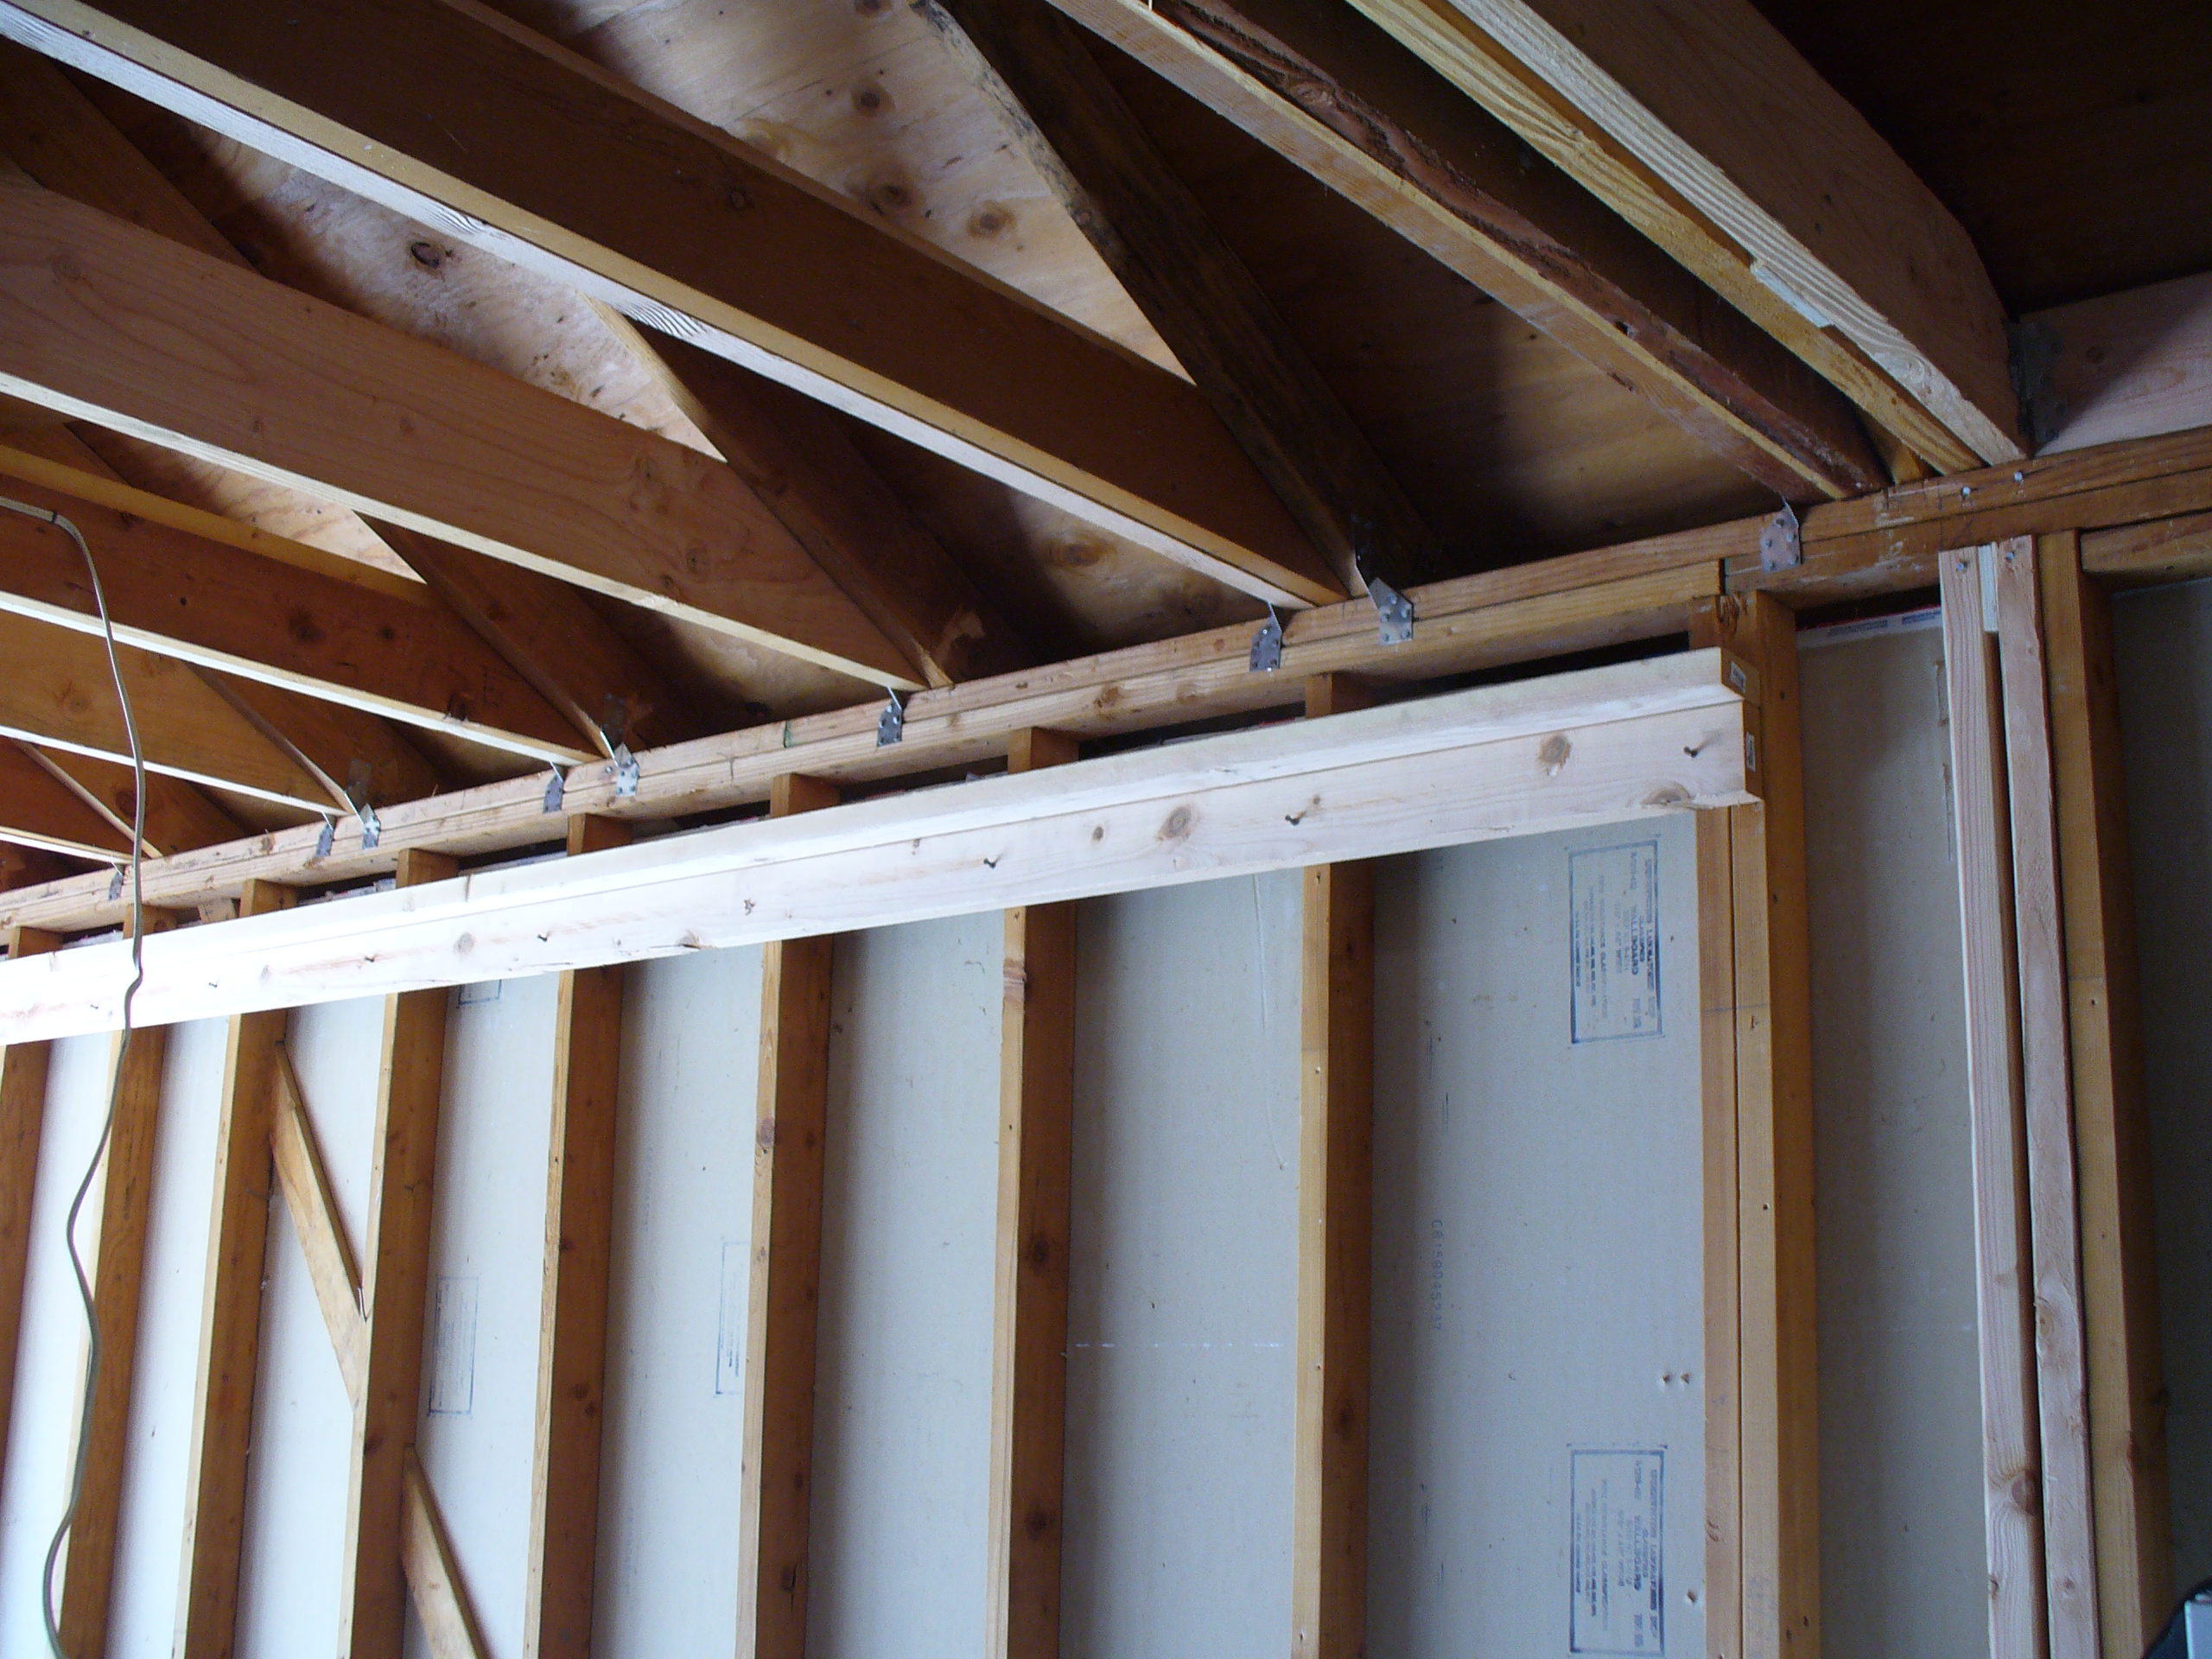
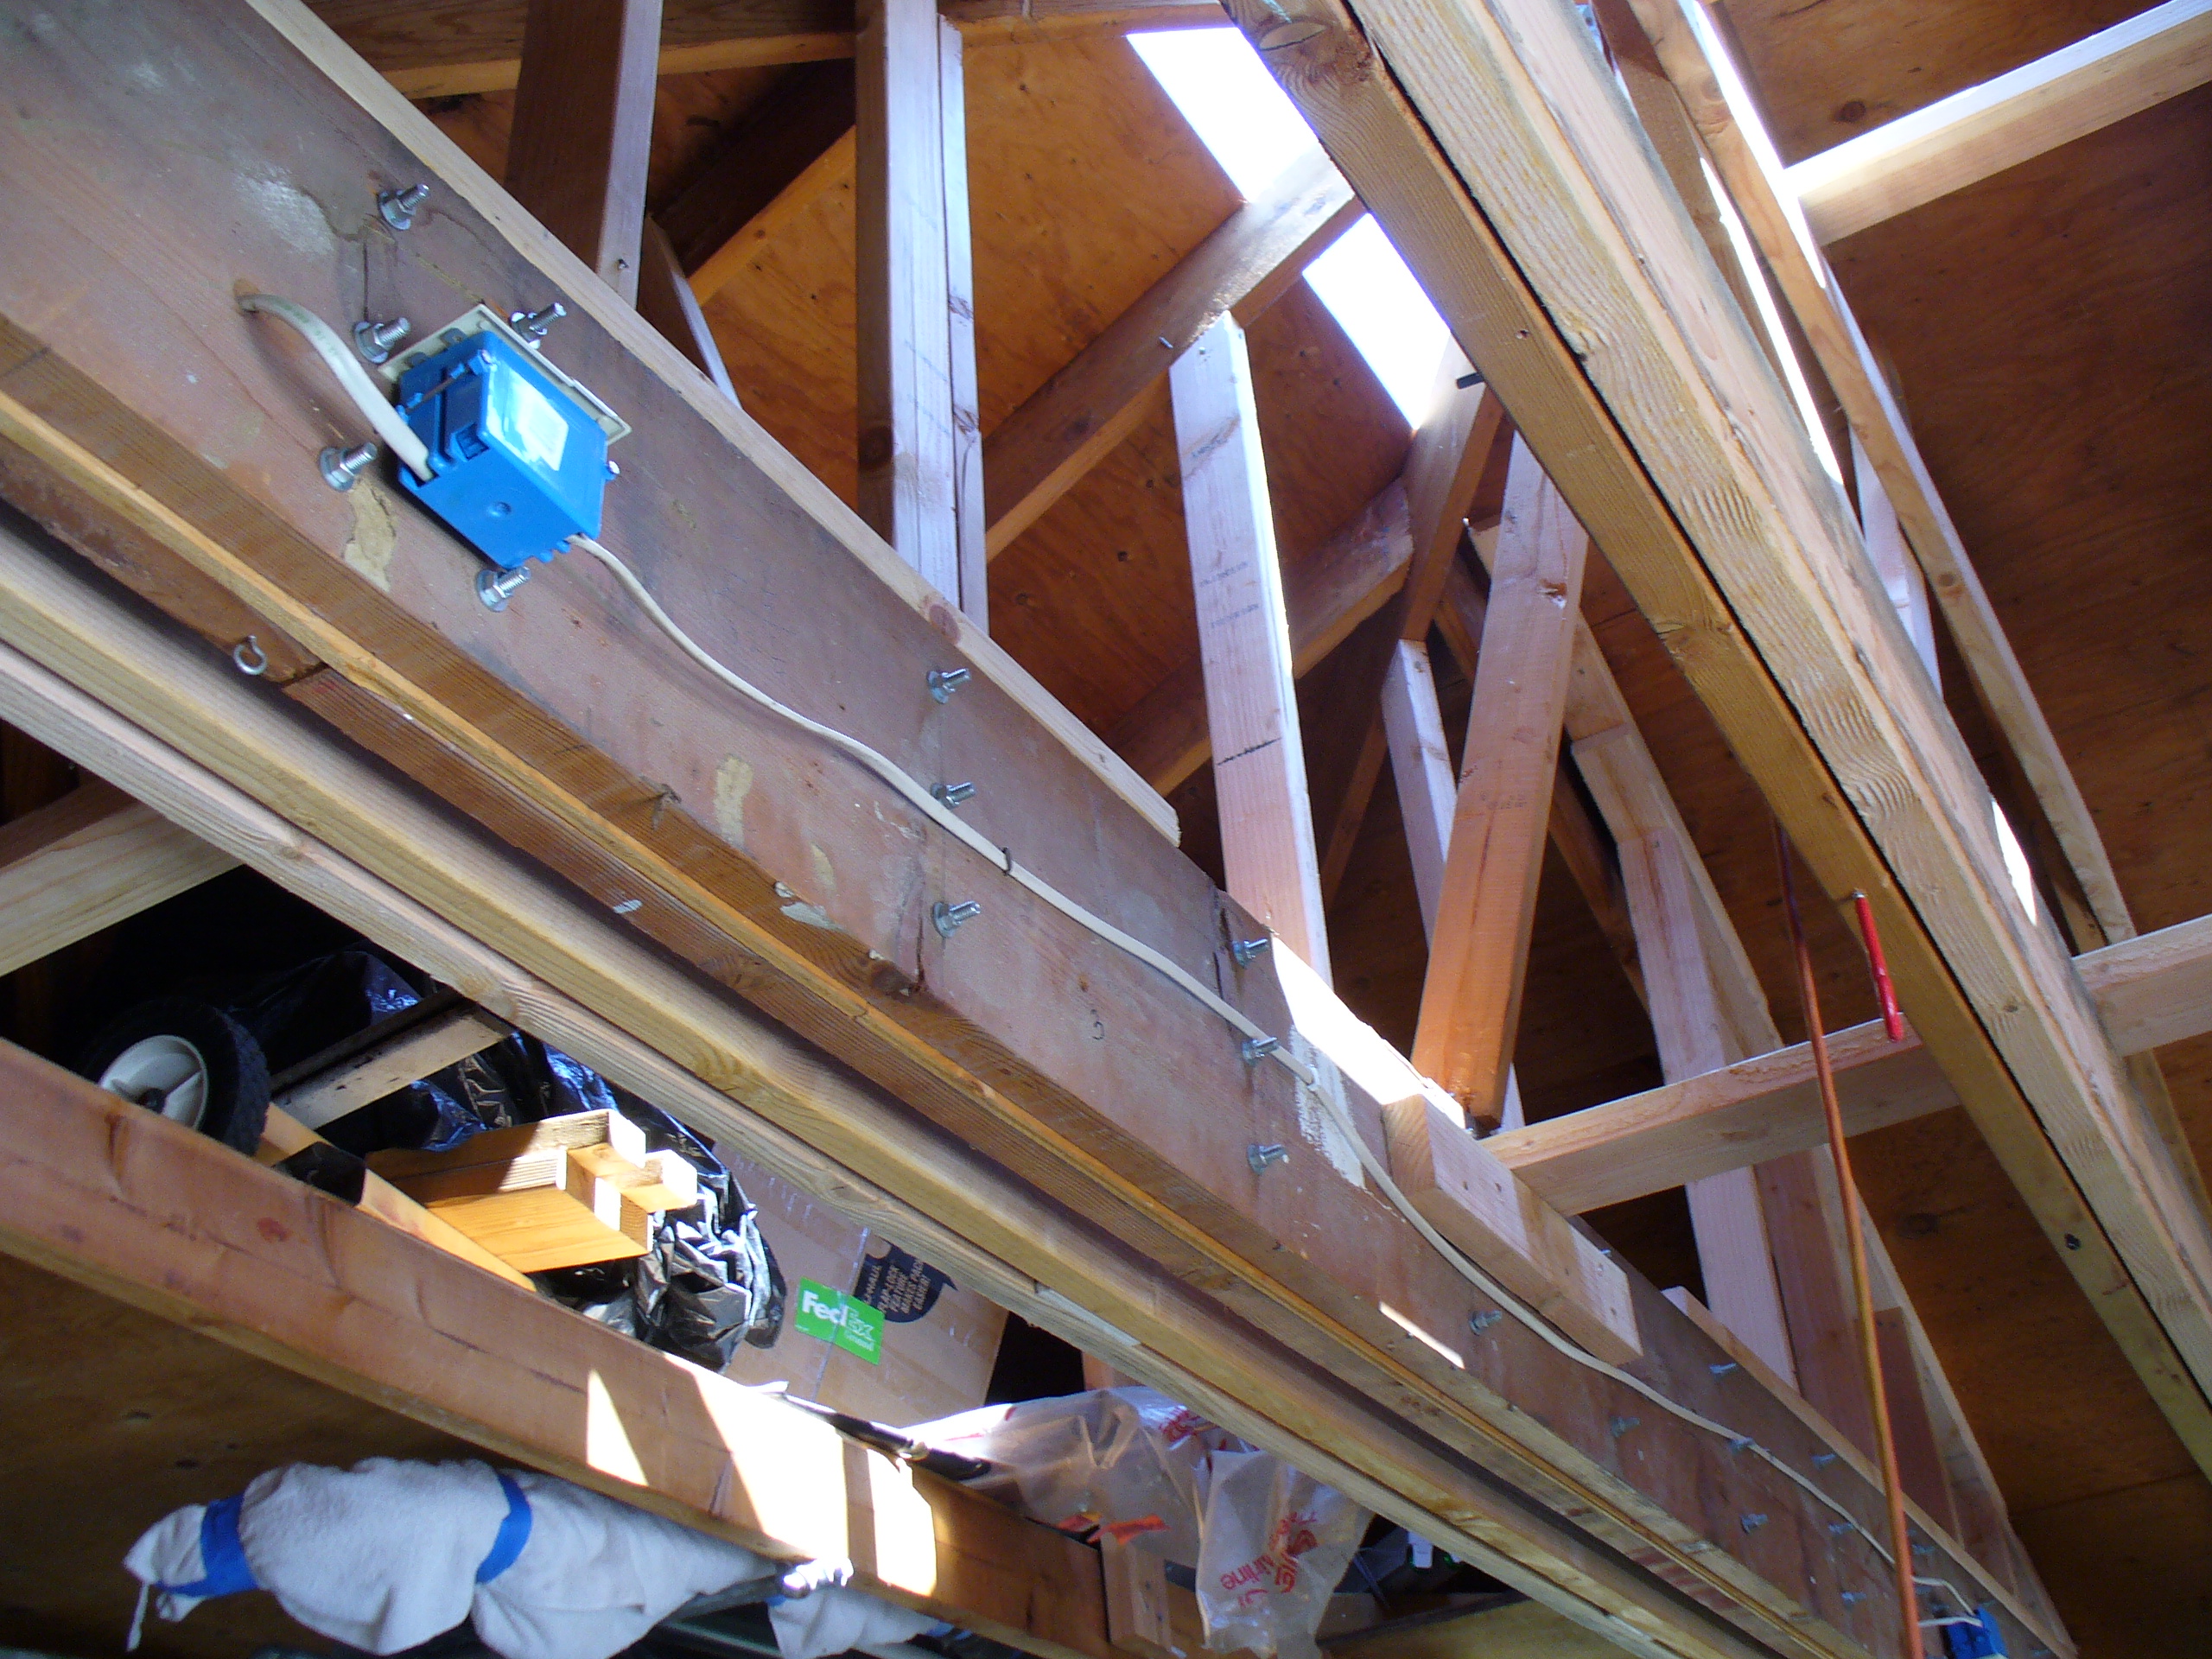
You can see in the photos that quite a bit of structural framing was involved to make sure that the tons involved would not only stay together rigidly during a lift, but would also stay perfectly in line when going straight up about five feet above the original wall height, so when lowering back down they would fit precisely upon the scabbed-in new framing elevation.
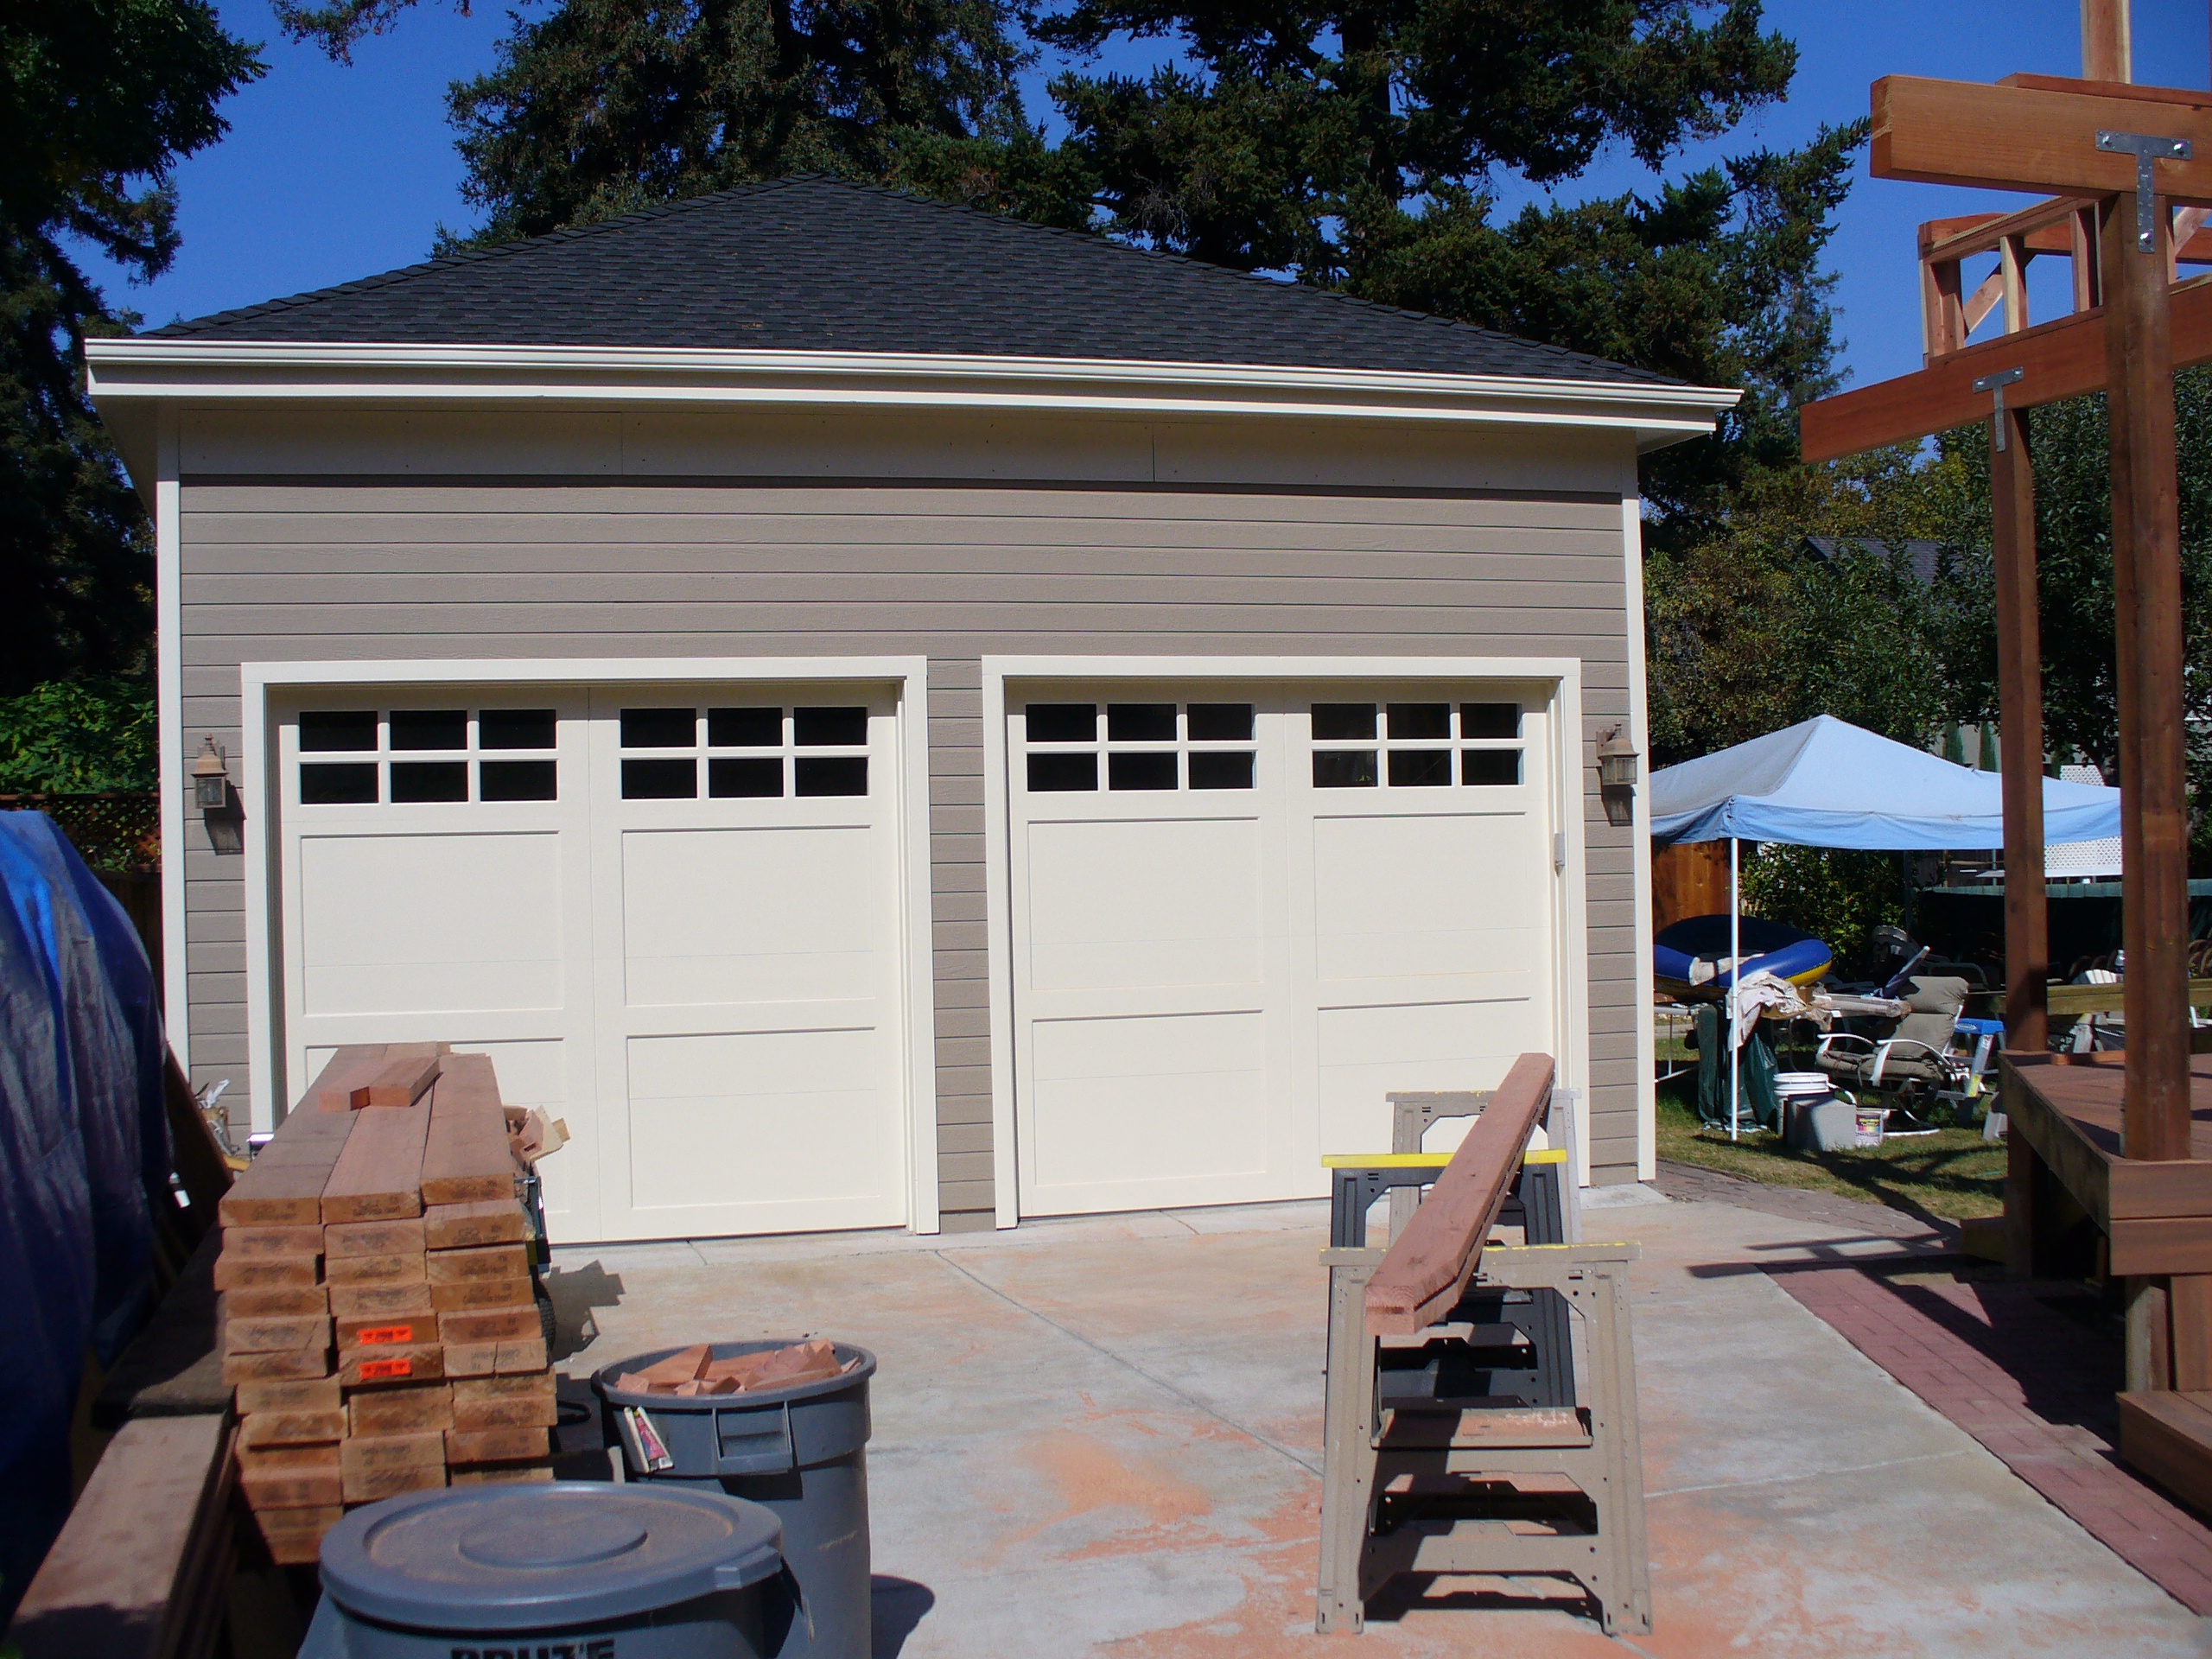
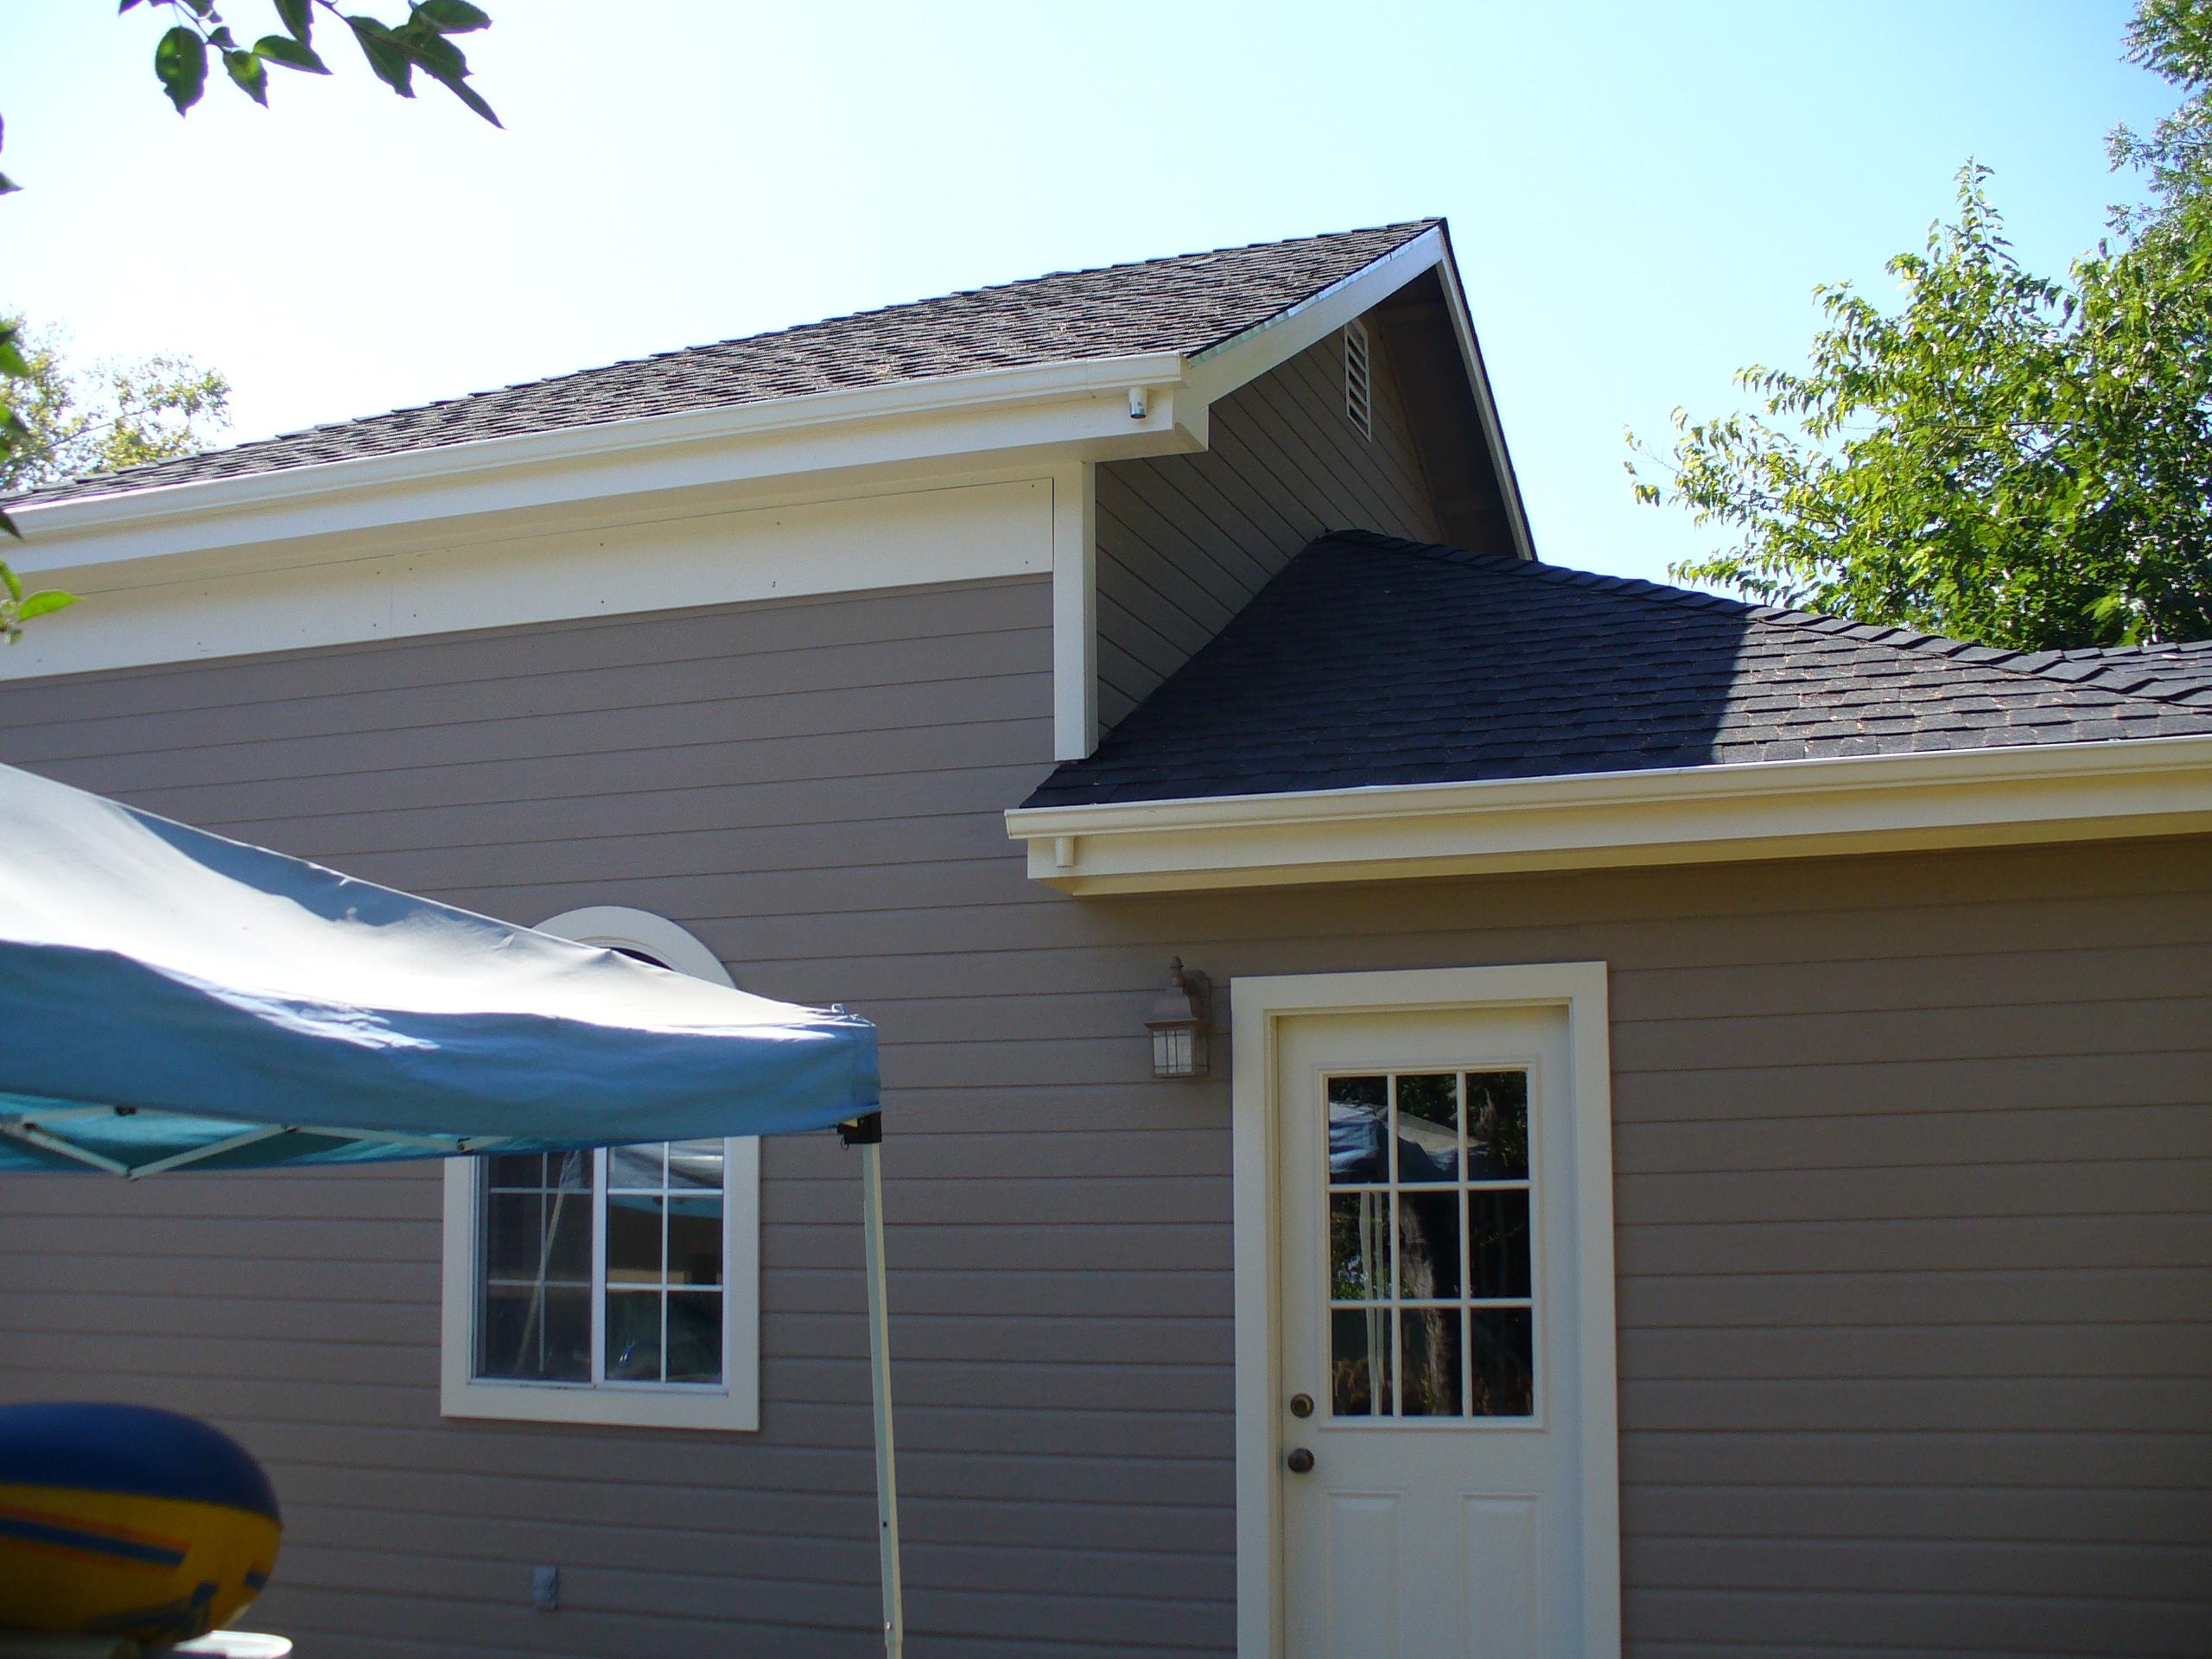
As the old wall heights from concrete footings up were up approximately 8 feet high, the new walls were four feet higher to leave Reno with a 12 foot high ceiling.
(Note: You can control Reno's Garage Lift photos by using the slide controls at each side of the photos, and by using the play/pause controls at the bottom of the slides.)

